I picked up an old Volkswagen LT minibus 2006, and it has a rather tricky floor installed. Have included some pics.
Wondering if anyone could provide some guidance- is it best to remove and relay the floor? Is it going to be very difficult to remove? Can I lay a thin floor on top and forget about it? If I need to remove, any tips on how to do so?
(I seem to be able to add only one photo as I’m a newbie…)
Putting a new floor on top would probably be much easier, but how much do you need the height. If it makes the difference between standing and not being able to stand, it’s probably worth removing the floor. If not, maybe no big deal?
If you haven’t checked it out yet, thesamba.com is a pretty amazing resource for all things VW. They have have dedicated forums there to basically every type of vw they’ve made that you would want to own. Also a great place to shop for a westy if you want to buy one from someone who cared about theirs.
That is essentially same vehicle as 2006 Sprinter.
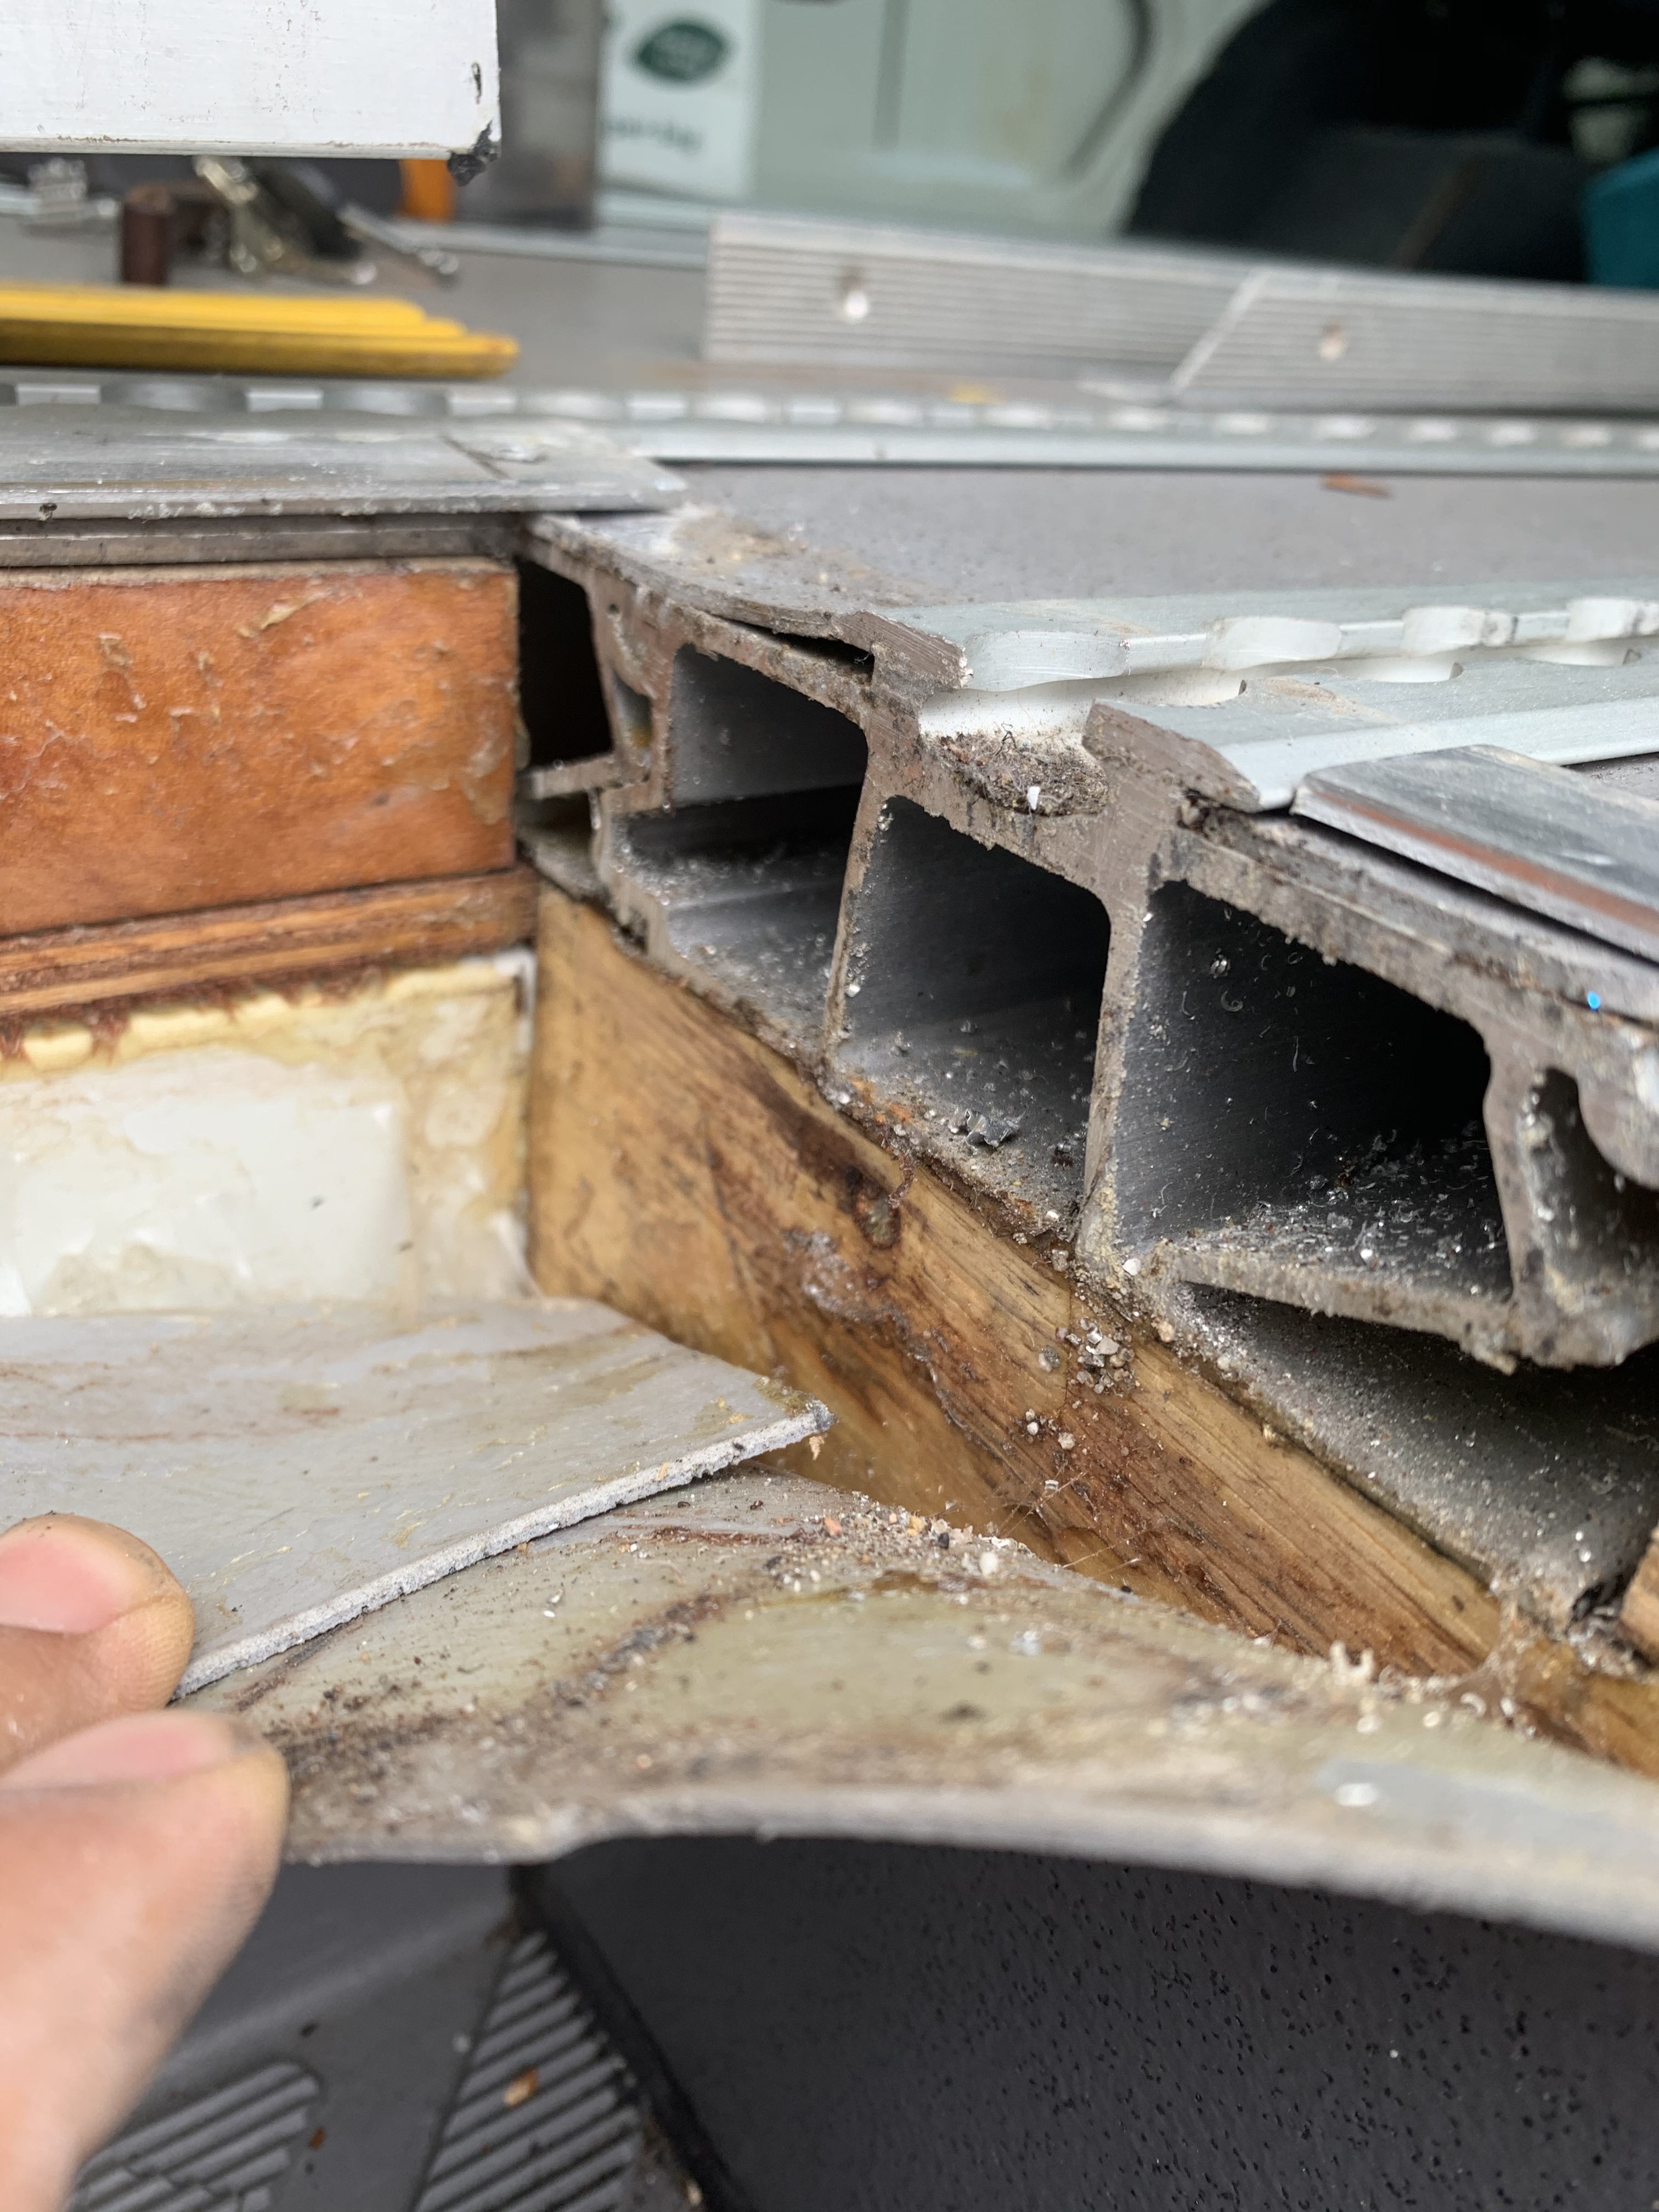
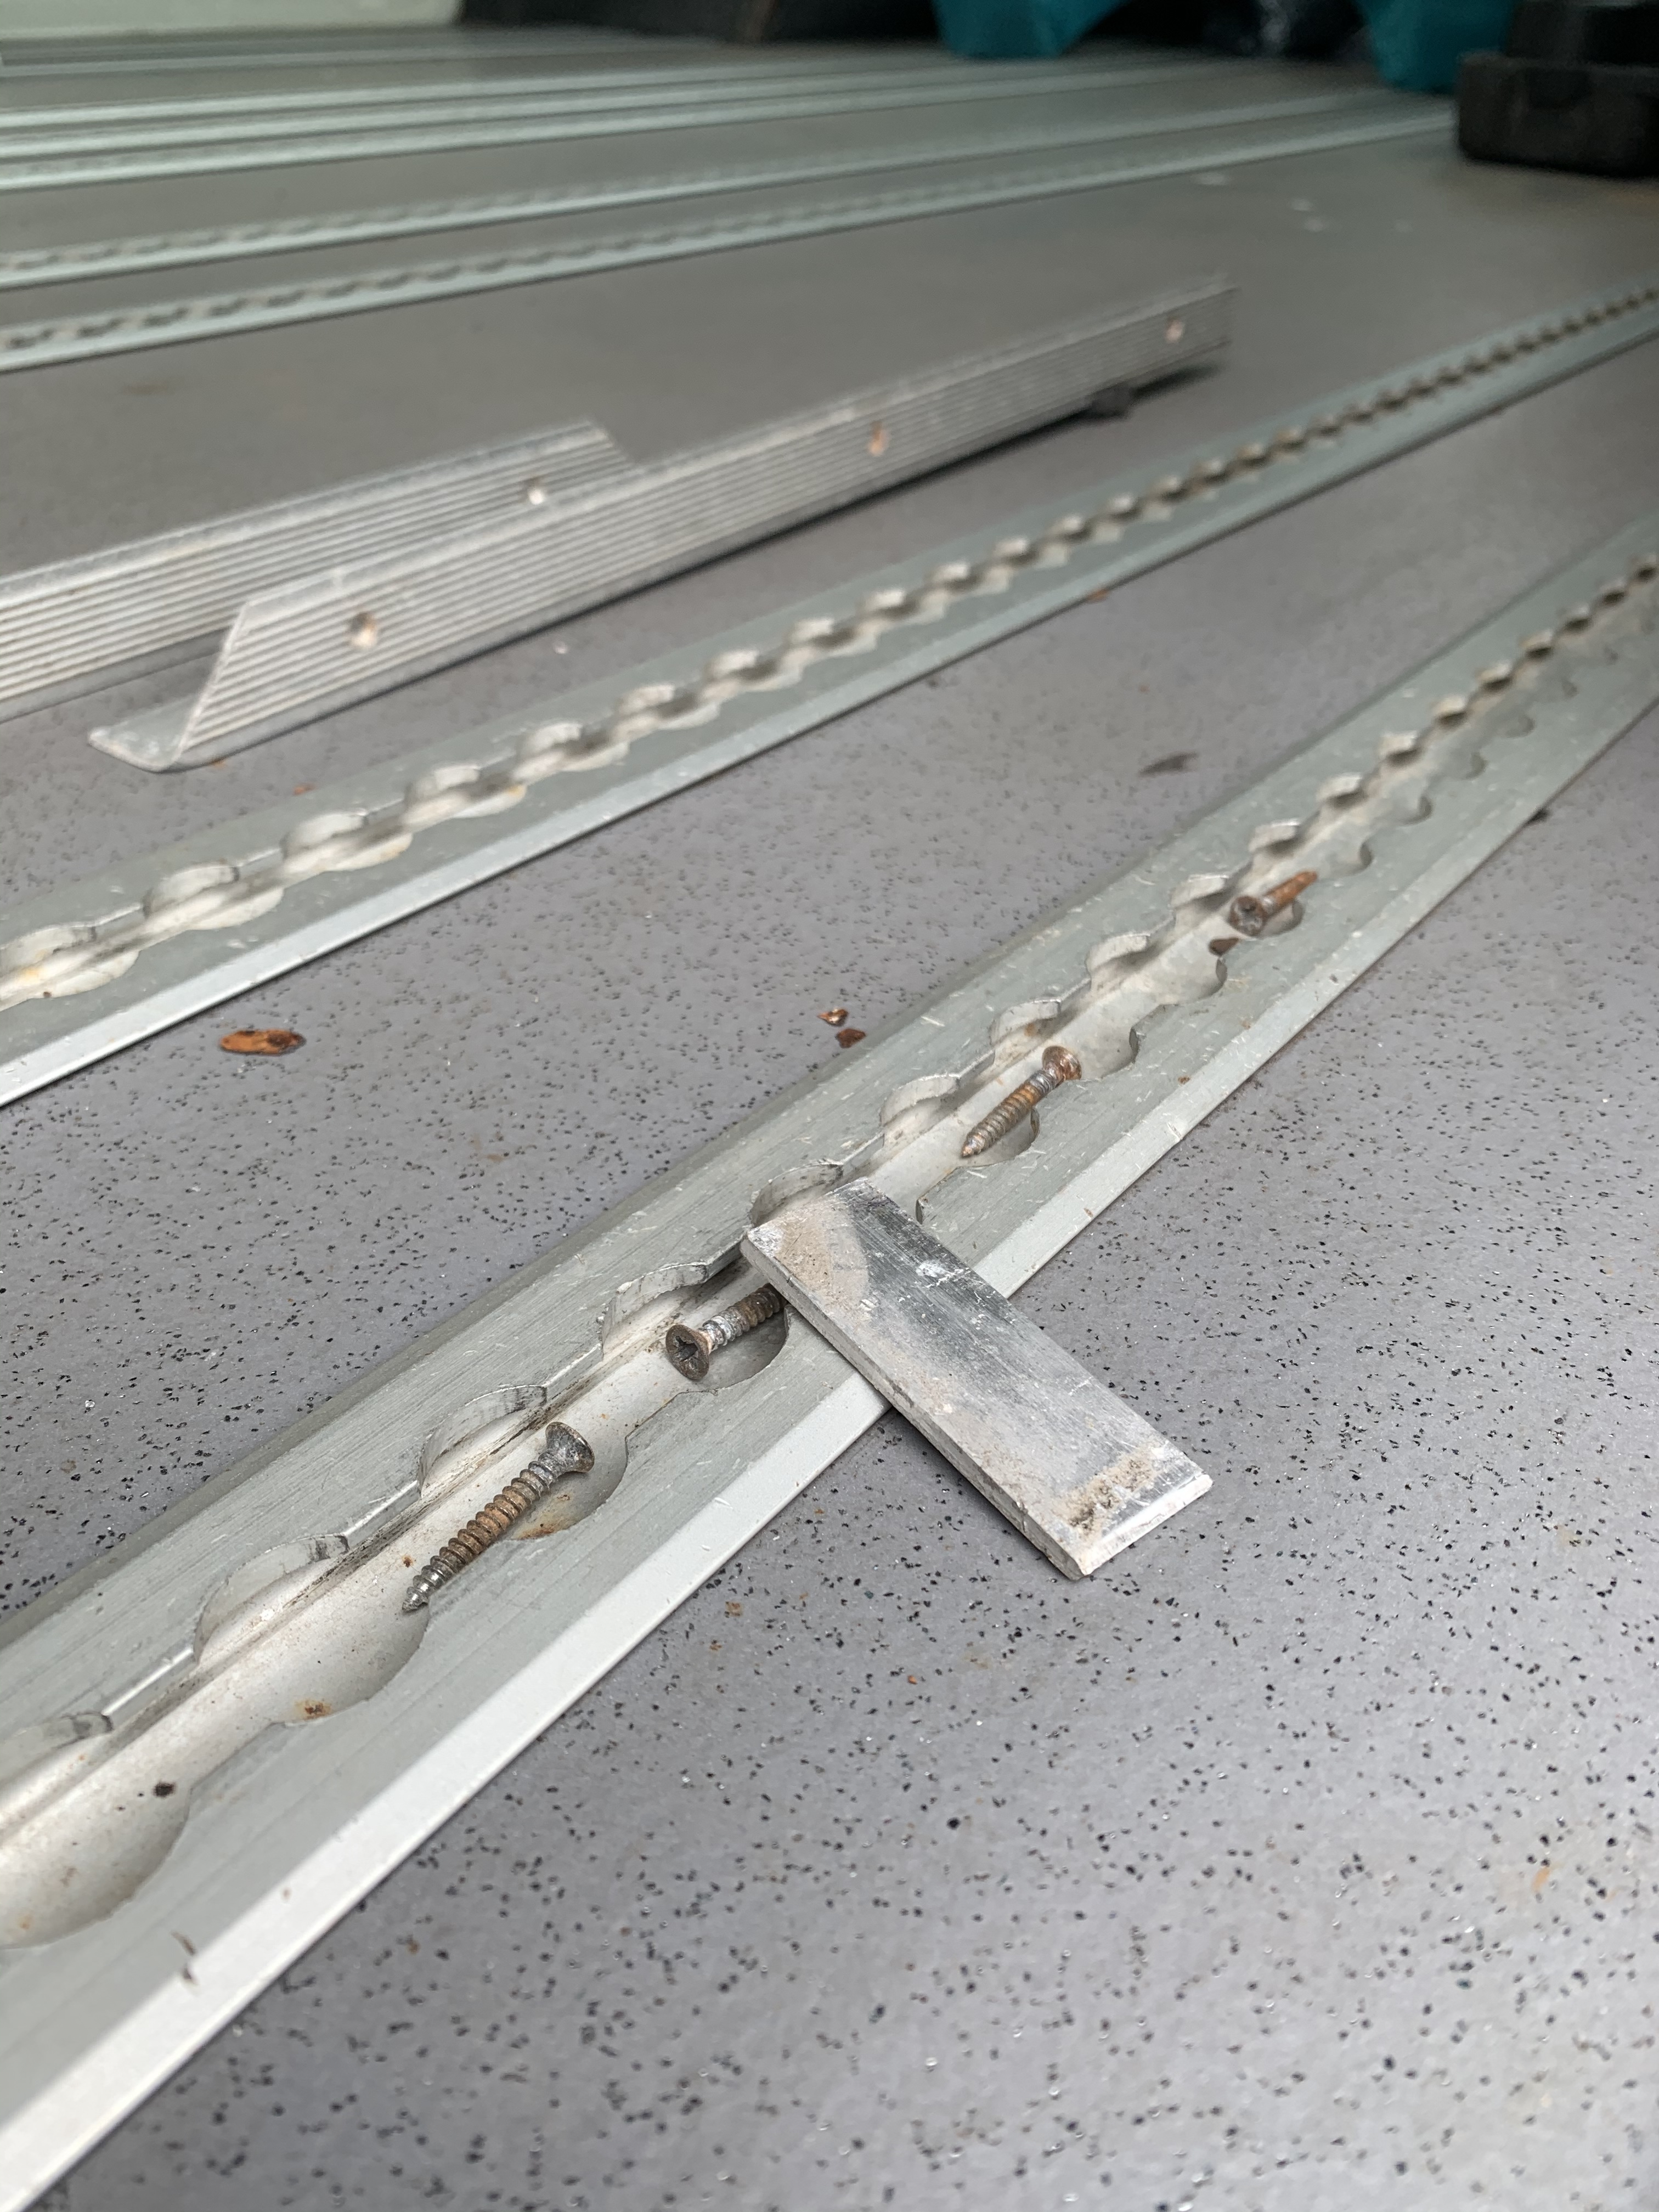
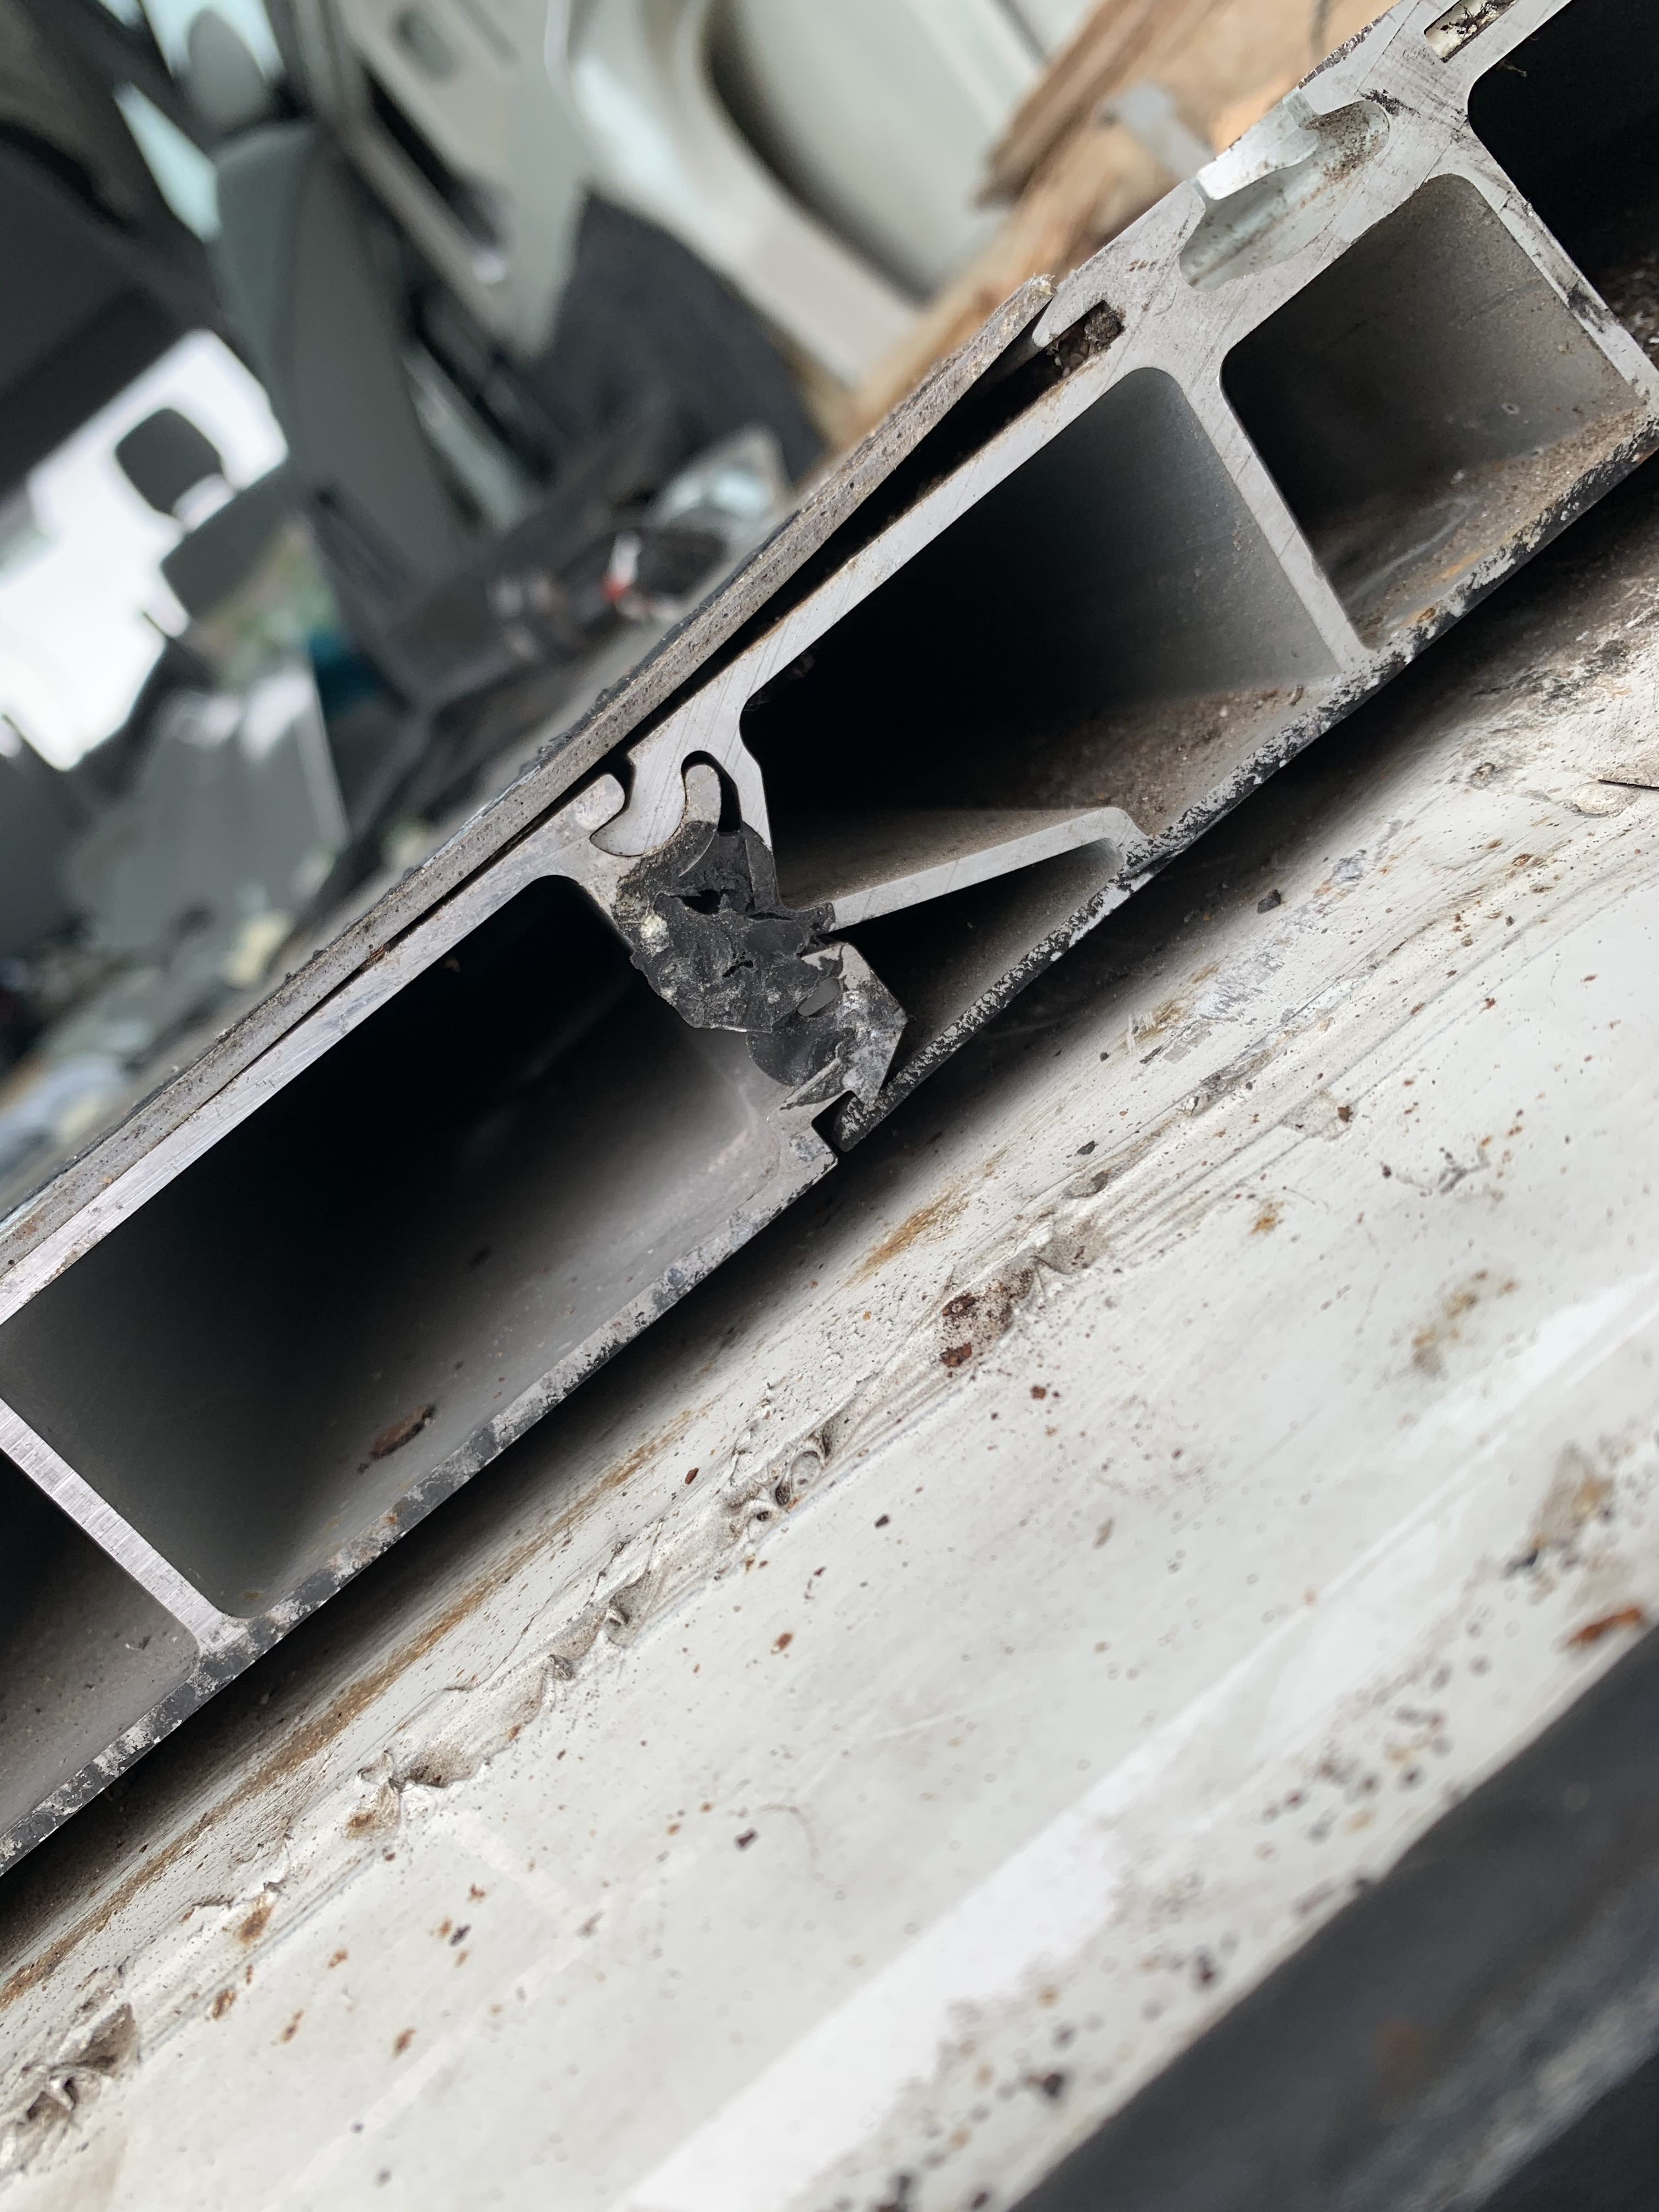
Looks like over the original metal floor they have put wood frame and on top of that the aluminum profile that allows the rails to be screwed in.
If you can find suitable pictures of 2006 or older sprinter floor, you might discover how tall that floor is and how much extra height you would gain if you manage to remove it.
Thanks for all of your replies - I think with a few more pics it will be more clear how the floor is installed. The metal flooring is glued directly to the vans metal floor - the wood you see in the pic is just to fill a gap made by the step.
The metal flooring sections run the full length of the van, so the adhesive is acting on lots of floor area. I’ve tried using a crowbar to prise them up but too firmly attached.
The adhesive is the slightly rubbery, thick white form. Not sure what you call it, but perhaps there’s something that can break it down?
Or any other suggestions as I’m getting pretty stuck for ideas now…
That floor looks great, I wouldn’t remove it. That air space acts like active insulation and ventilation. It’s designed to fasten things to it, so it’s absolutely perfect. Just add plywood and choice of flooring over it.
Cheers!
"Be creative & recycle, reuse, & repurpose." ~ The Camper Van Man
Insulation works merely trapping air. Foam insulation isn’t as effective as fiberglass, because the fiberglass traps more air. Think of the huge difference in a house if you put in a saran wrap type storm window around your existing window. That 3"-4" of open air space between the saran wrap and your window acts as insulation. Double pane storm windows trap air between 2 panes of glass to give you extra insulation. That floor should trap air in a similar way.
For fastening to it, you can use a bolt and a washer that will go through the larger holes, then slide it slightly forwards or backwards, and the narrower part will hold it down, tighten it and it will be secure. I would put the hold down bolts where I wanted to secure things to, because the bolts will come up past the plywood. Perhaps add runners with counter sunk holes for the nuts, to then attach your furniture too. Another option might be to use toggle bolts (nuts), so you’re screwing down from the top, so they can be flush with the floor once tightened. Eye hooks screwed in from the top could also be handy. In short there are many ways to utilize those marvelous brackets, and all without the need to drill holes through your floor.
Cheers!
"Be creative & recycle, reuse, & repurpose." ~ The Camper Van Man
Thanks again @Van_Dweller - unfortunately I’m very inexperienced in this field and have no idea what a lot of the things you just said mean when explaining how to fix the ply down to the metal.
If I’m putting a bolt through the floor, how can I access the other end to attach the nuts? As they will be underneath the floor?
Can I use some self tapping screws and adhesive to attach the ply board?
Sorry for the constant questions - I guess I’m wondering if you could explain the second part above in slightly more Lehman’s terms?
Many thanks for all of your input, really appreciated and helpful
In the first case, the bolt head and washer go into the track, and the bolt comes up through the floor.
In the second case, the toggle bolt anchor goes into the track, and it’s width will grab the track and also prevent it from turning. You drill holes in your plywood in line with the tracks, put the bolt through the plywood, and screw the anchor loosely onto the back side. When you put your plywood down, you make sure the anchors go into the tracks. You might have to rotate them slightly if the get out of line. Then you just tighten the bolts and you’re good to go. Pay attention the bolt lengths. You want them long enough to go through everything, but you don’t want them so long that they bottom out on the track bottom before they’re tight.
Cheers!
"Be creative & recycle, reuse, & repurpose." ~ The Camper Van Man
I looked on “Humble Roads” channel and he insists that leaving air underneath the flooring is a good idea.
would you agree with that?
I’m thinking of drilling air holes in my flooring battens to enable air to flow beneath the flooring I’m also gonna lay cork to the underside of the flooring (which will be about 12mm ply) coz it’s just about the best insulation you can buy it’s expensive (but I’m only gonna do it once)
What do you think about those two questions?
airflow beneath the flooring
using cork for insulation
Thanks
Oh and thanks for the info on the fans BTW I’m planning now to use on for the hob extraction and 2 or three for airflow inside the van as well as opening windows
I have planned 4 windows all together plus the door so im all good about ventilation. One point I will make here is I did consider a roof vent/fan but as It’s only screwed down its an easy point of entry for thieves . . . .so I’ve abandoned the idea in favour of the fans
The manufacturers use two separate schemes that seem quite effective. They either wick the moisture away from the metal, to the interior, where it can be dried out, or they ventilate everywhere there is metal. In passenger vans this is usually hidden from view, but still there and essential.
Cheers!
"It’s nice to be important but it’s more important to be nice." ~ Nature Lover