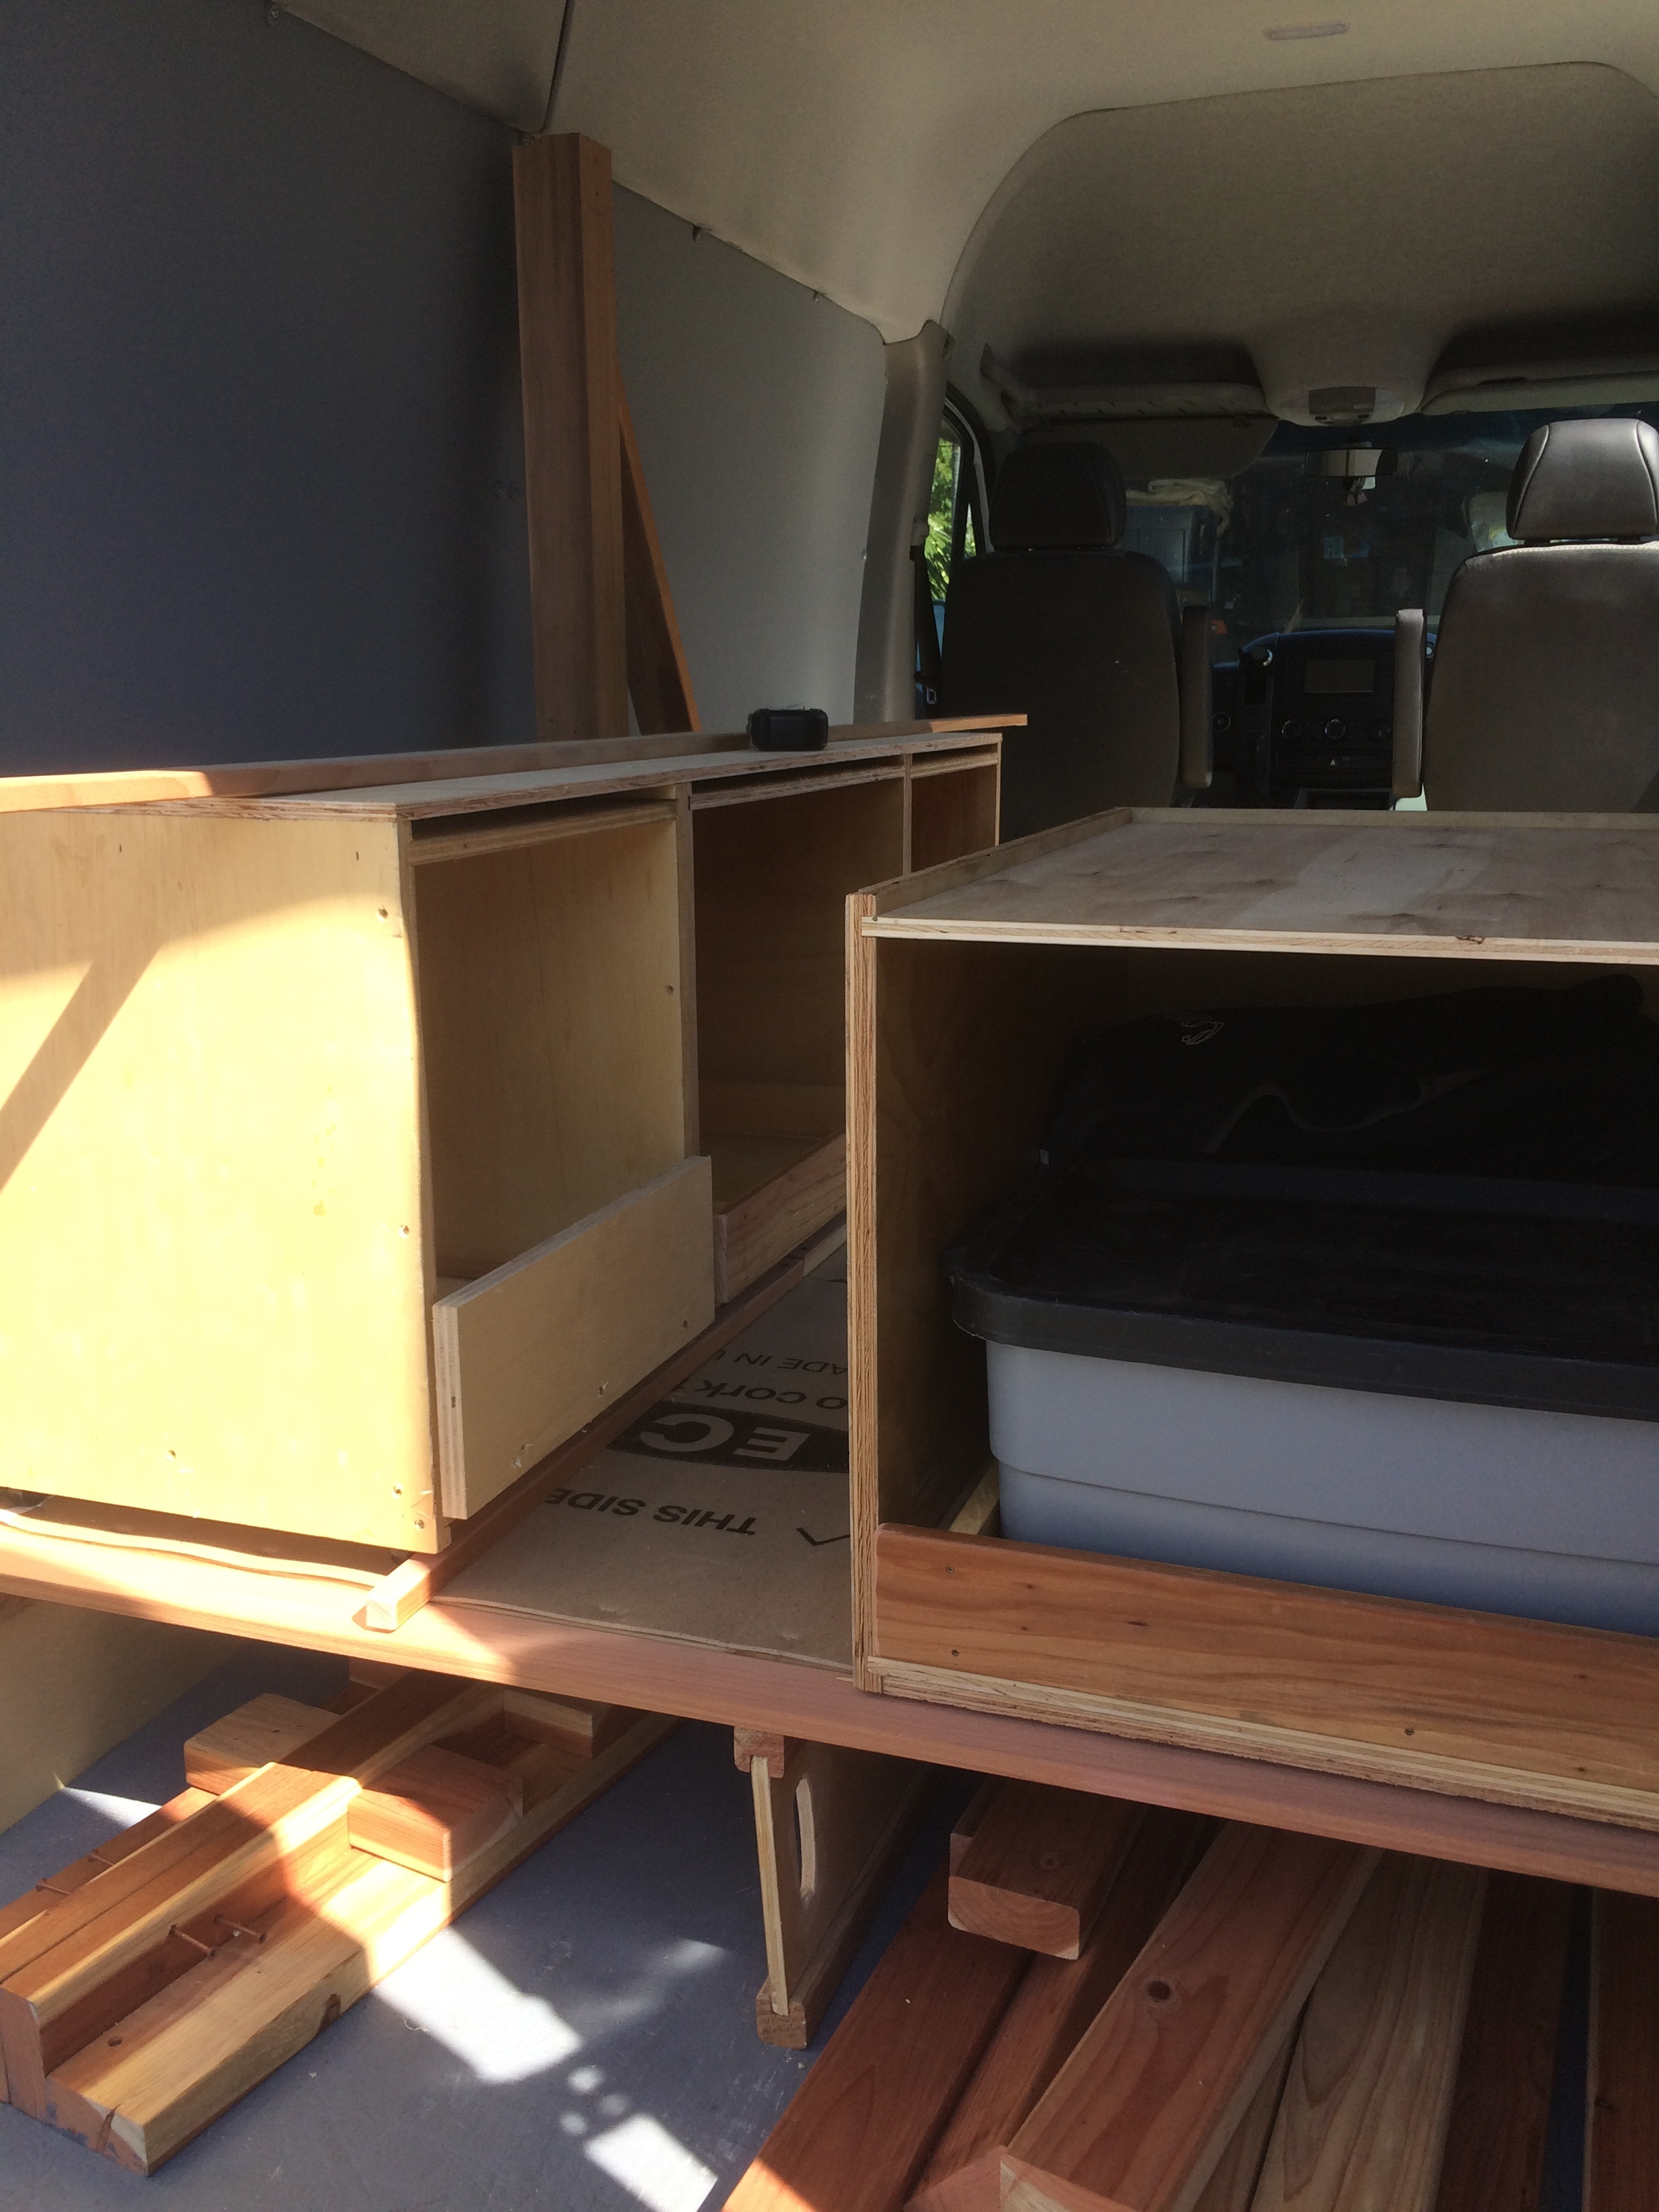
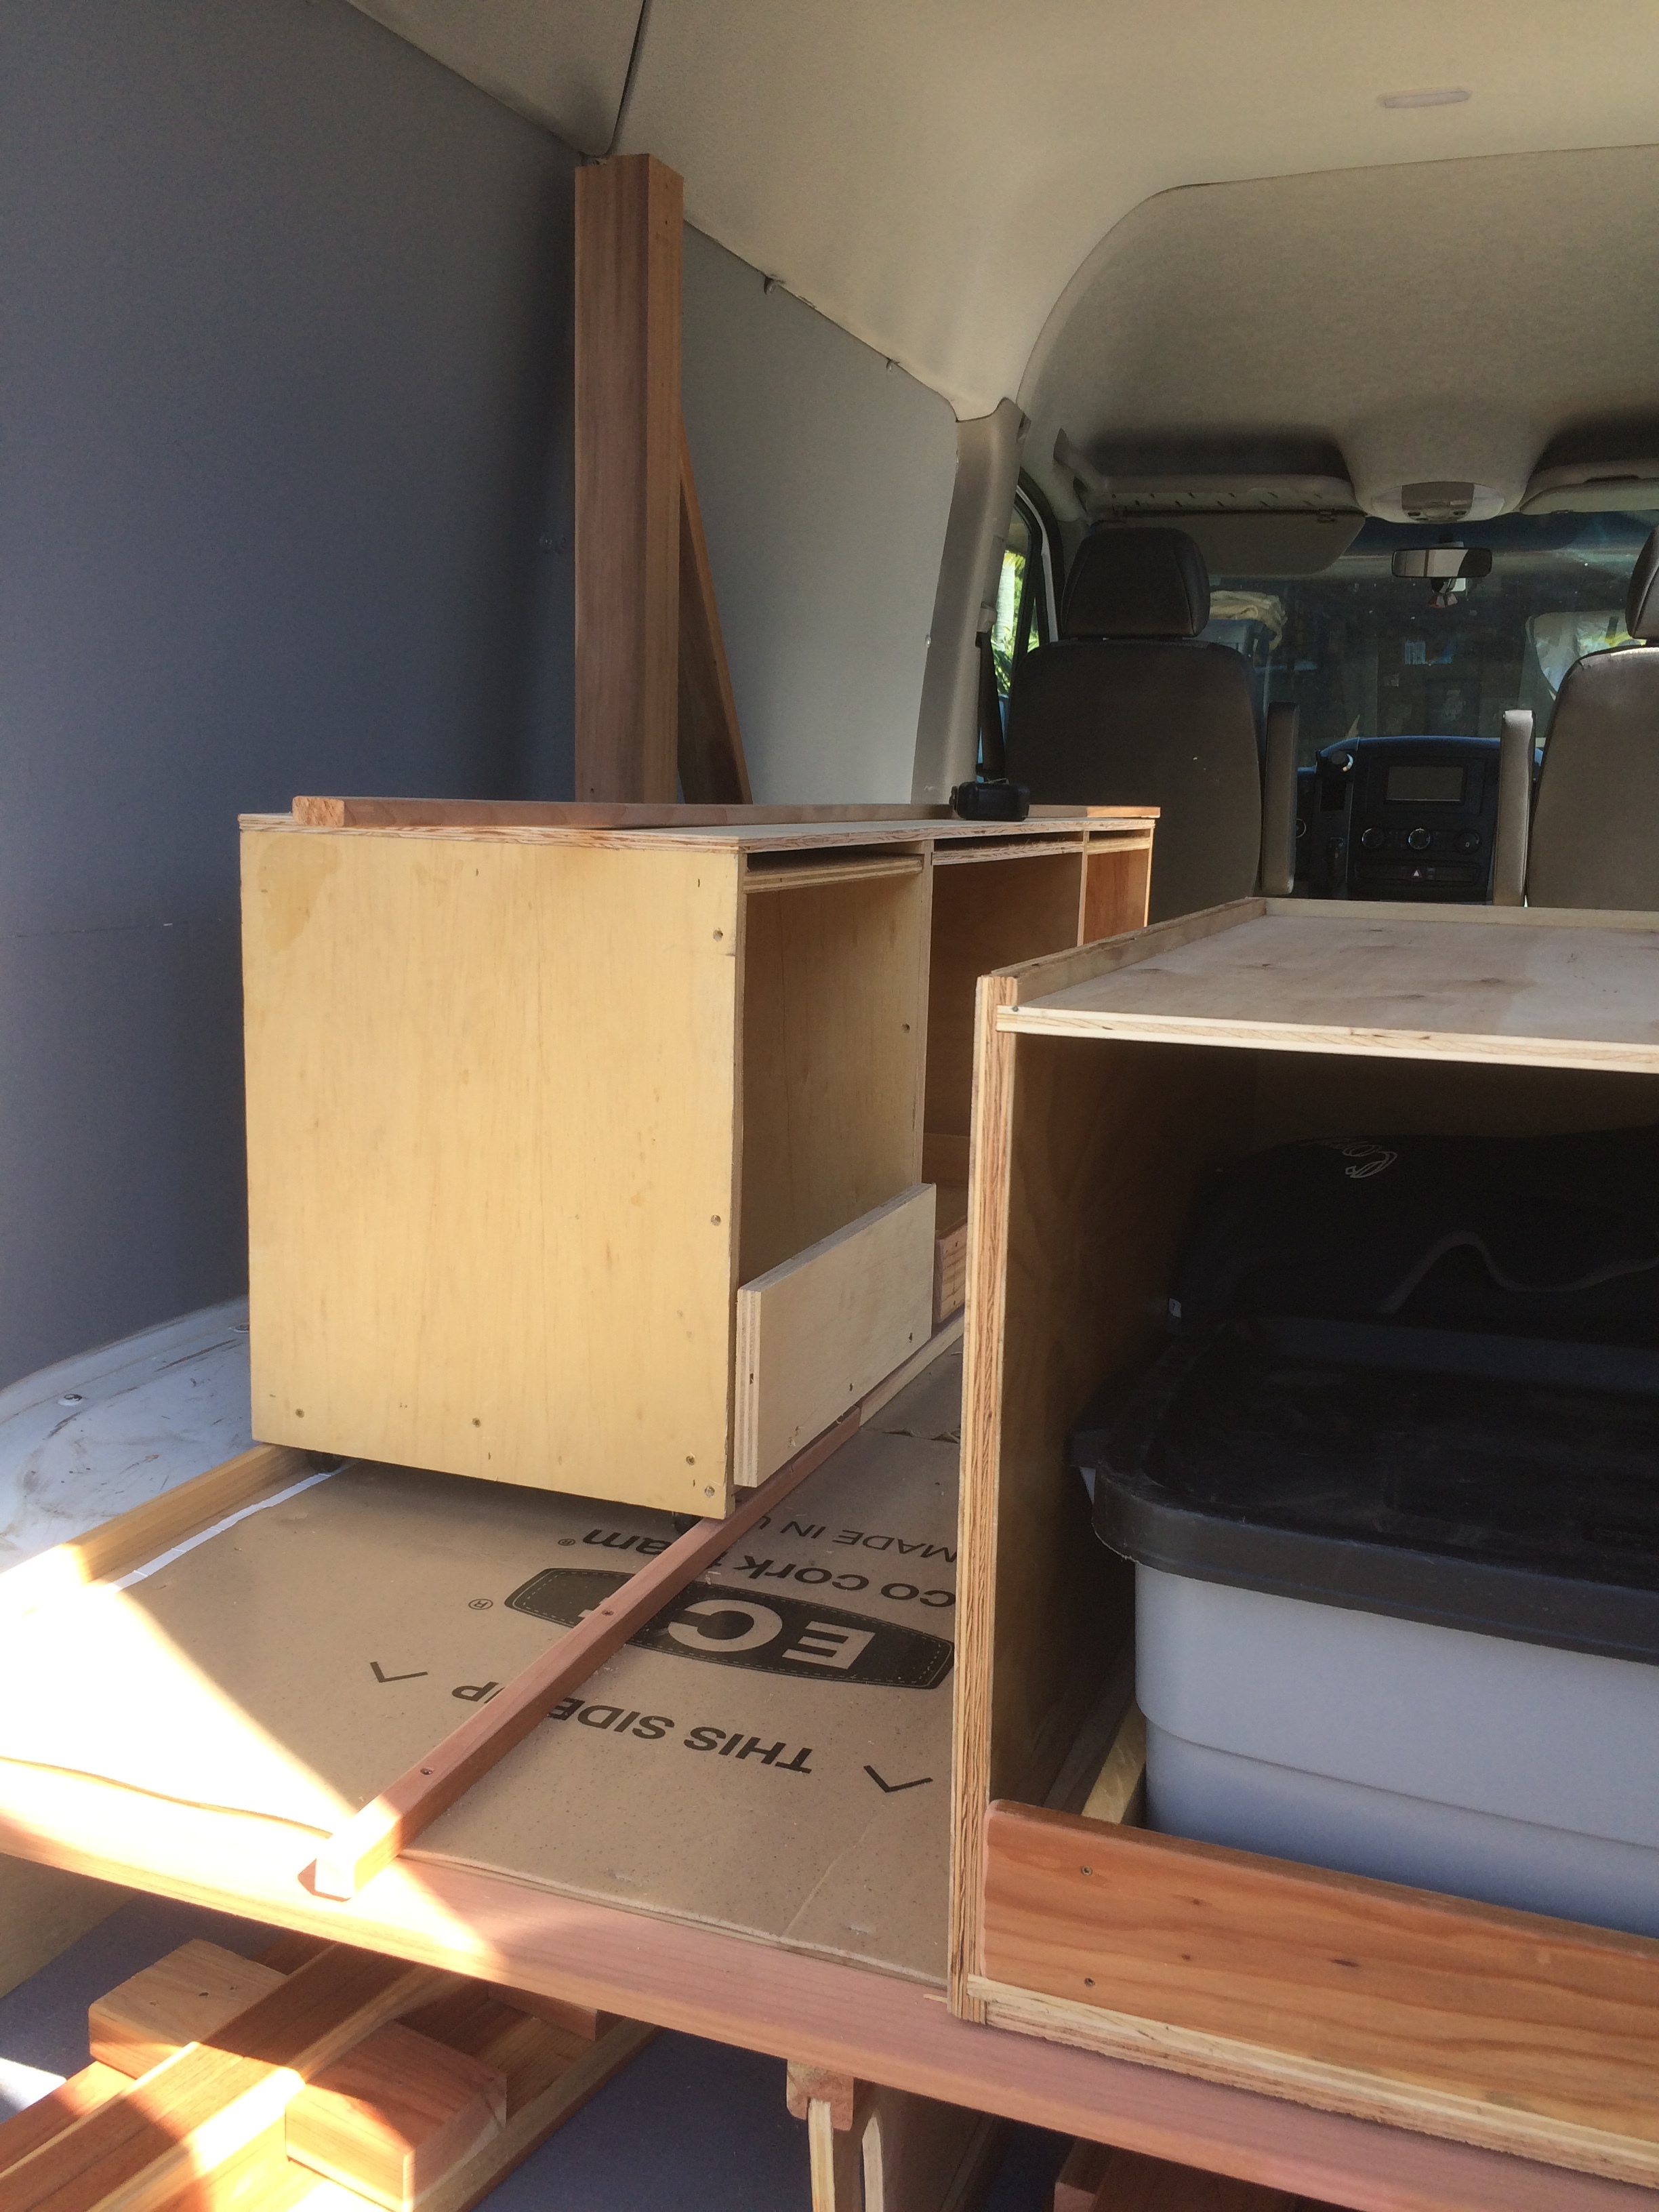
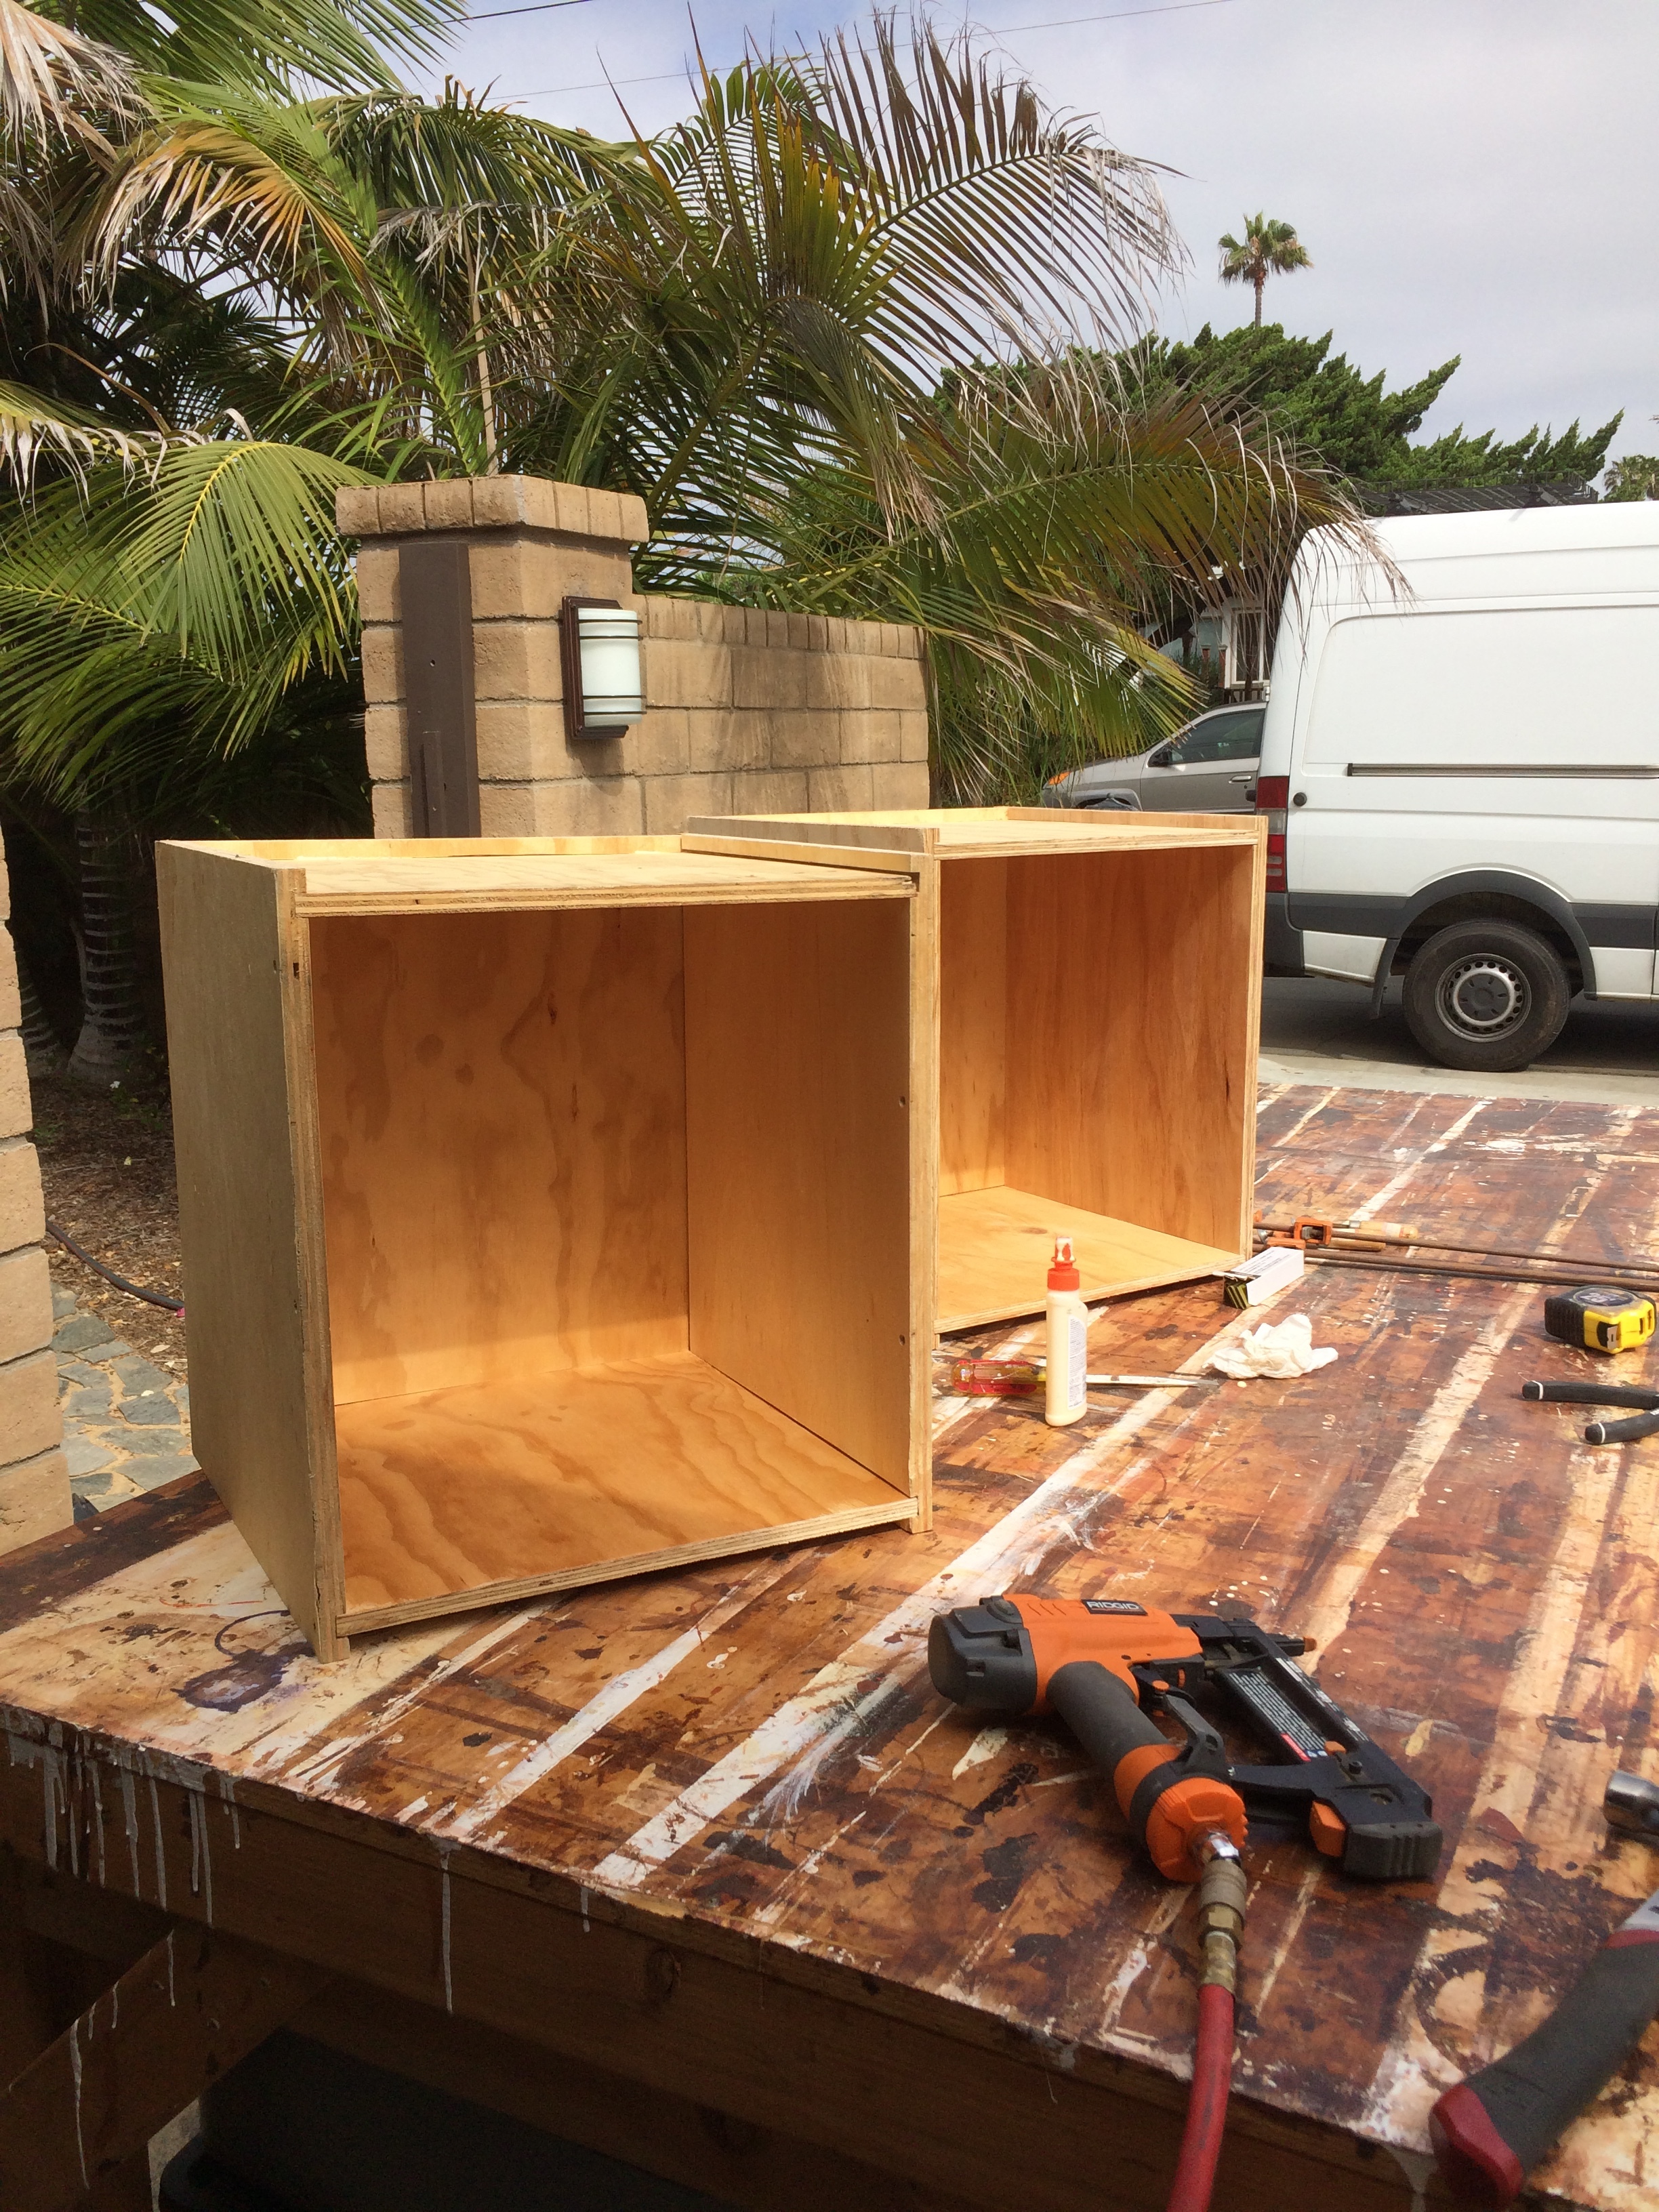
First cabinets built though not faced or trimmed.
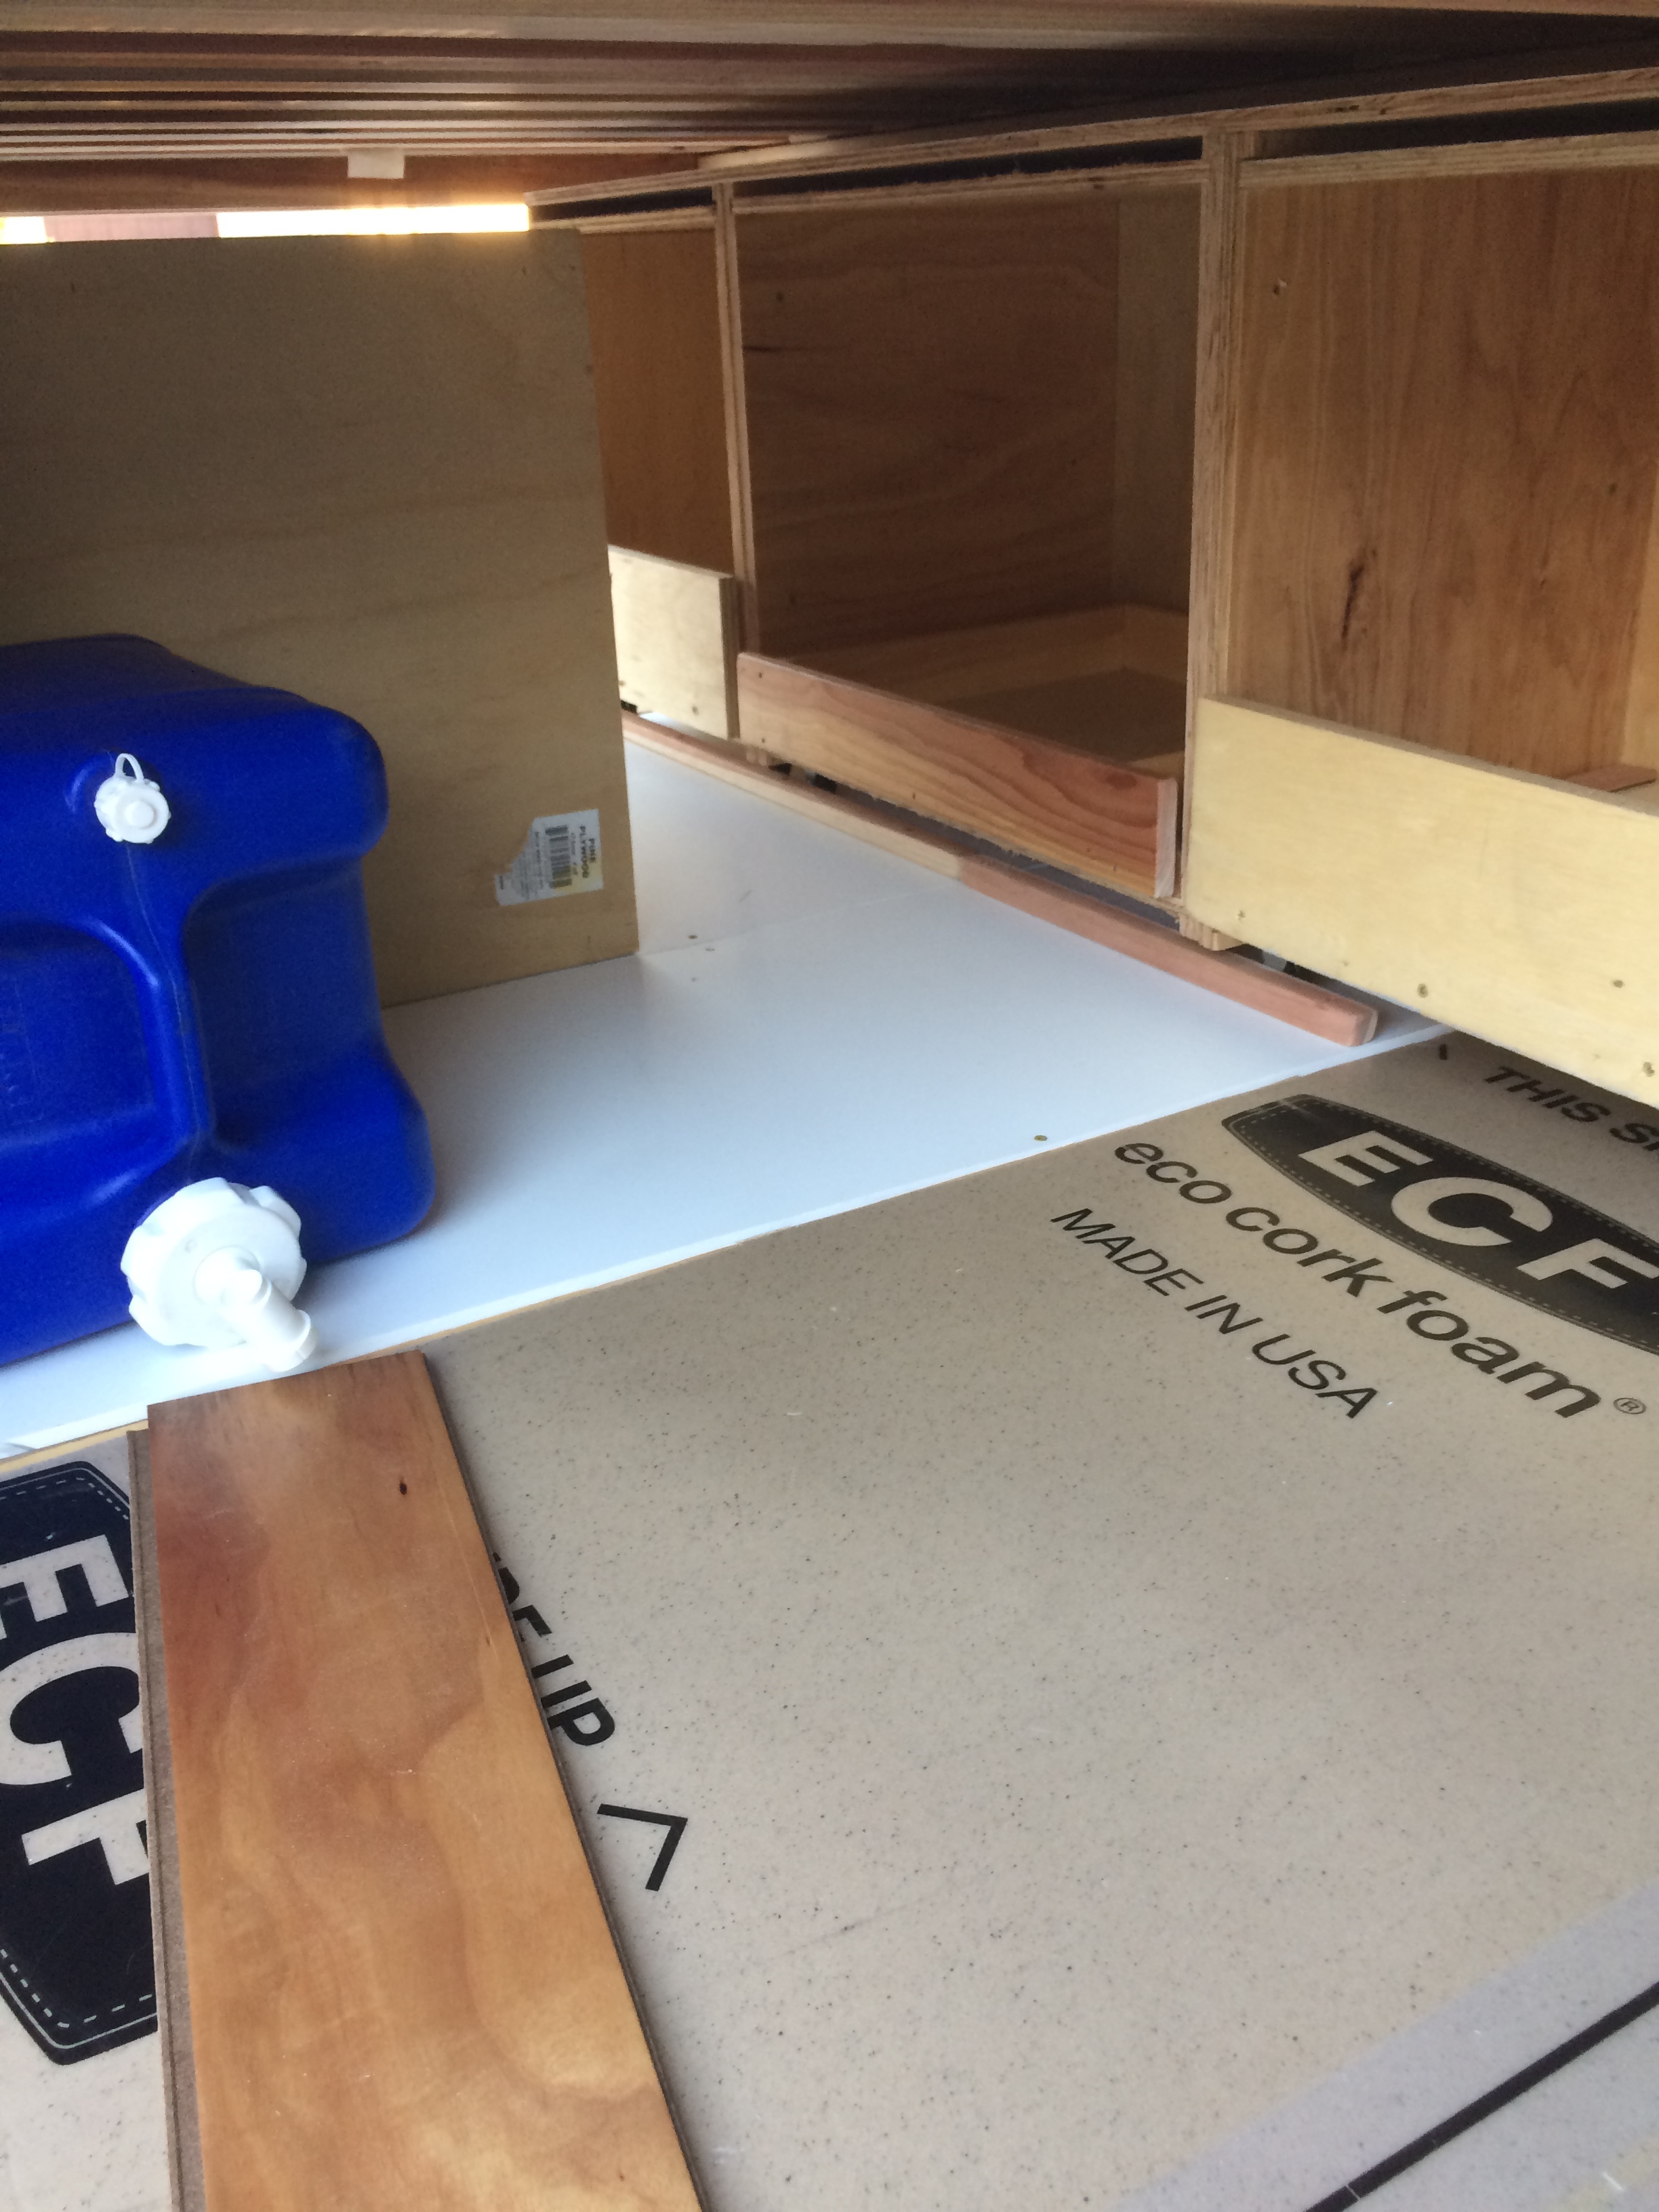
I needed more plywood and it all fits under the floor. No removal of cabinets just take out the surfboards and 10 inch support divider and head to the local lumber supplier
First cabinets built though not faced or trimmed.
I needed more plywood and it all fits under the floor. No removal of cabinets just take out the surfboards and 10 inch support divider and head to the local lumber supplier
Rear cabinets done and all cabinets bolted in. I was going to use drawer slides but the long ones are up near $200. A pair. I won’t be carrying that much weight so I opted for redwood trellis cap from Home Depot
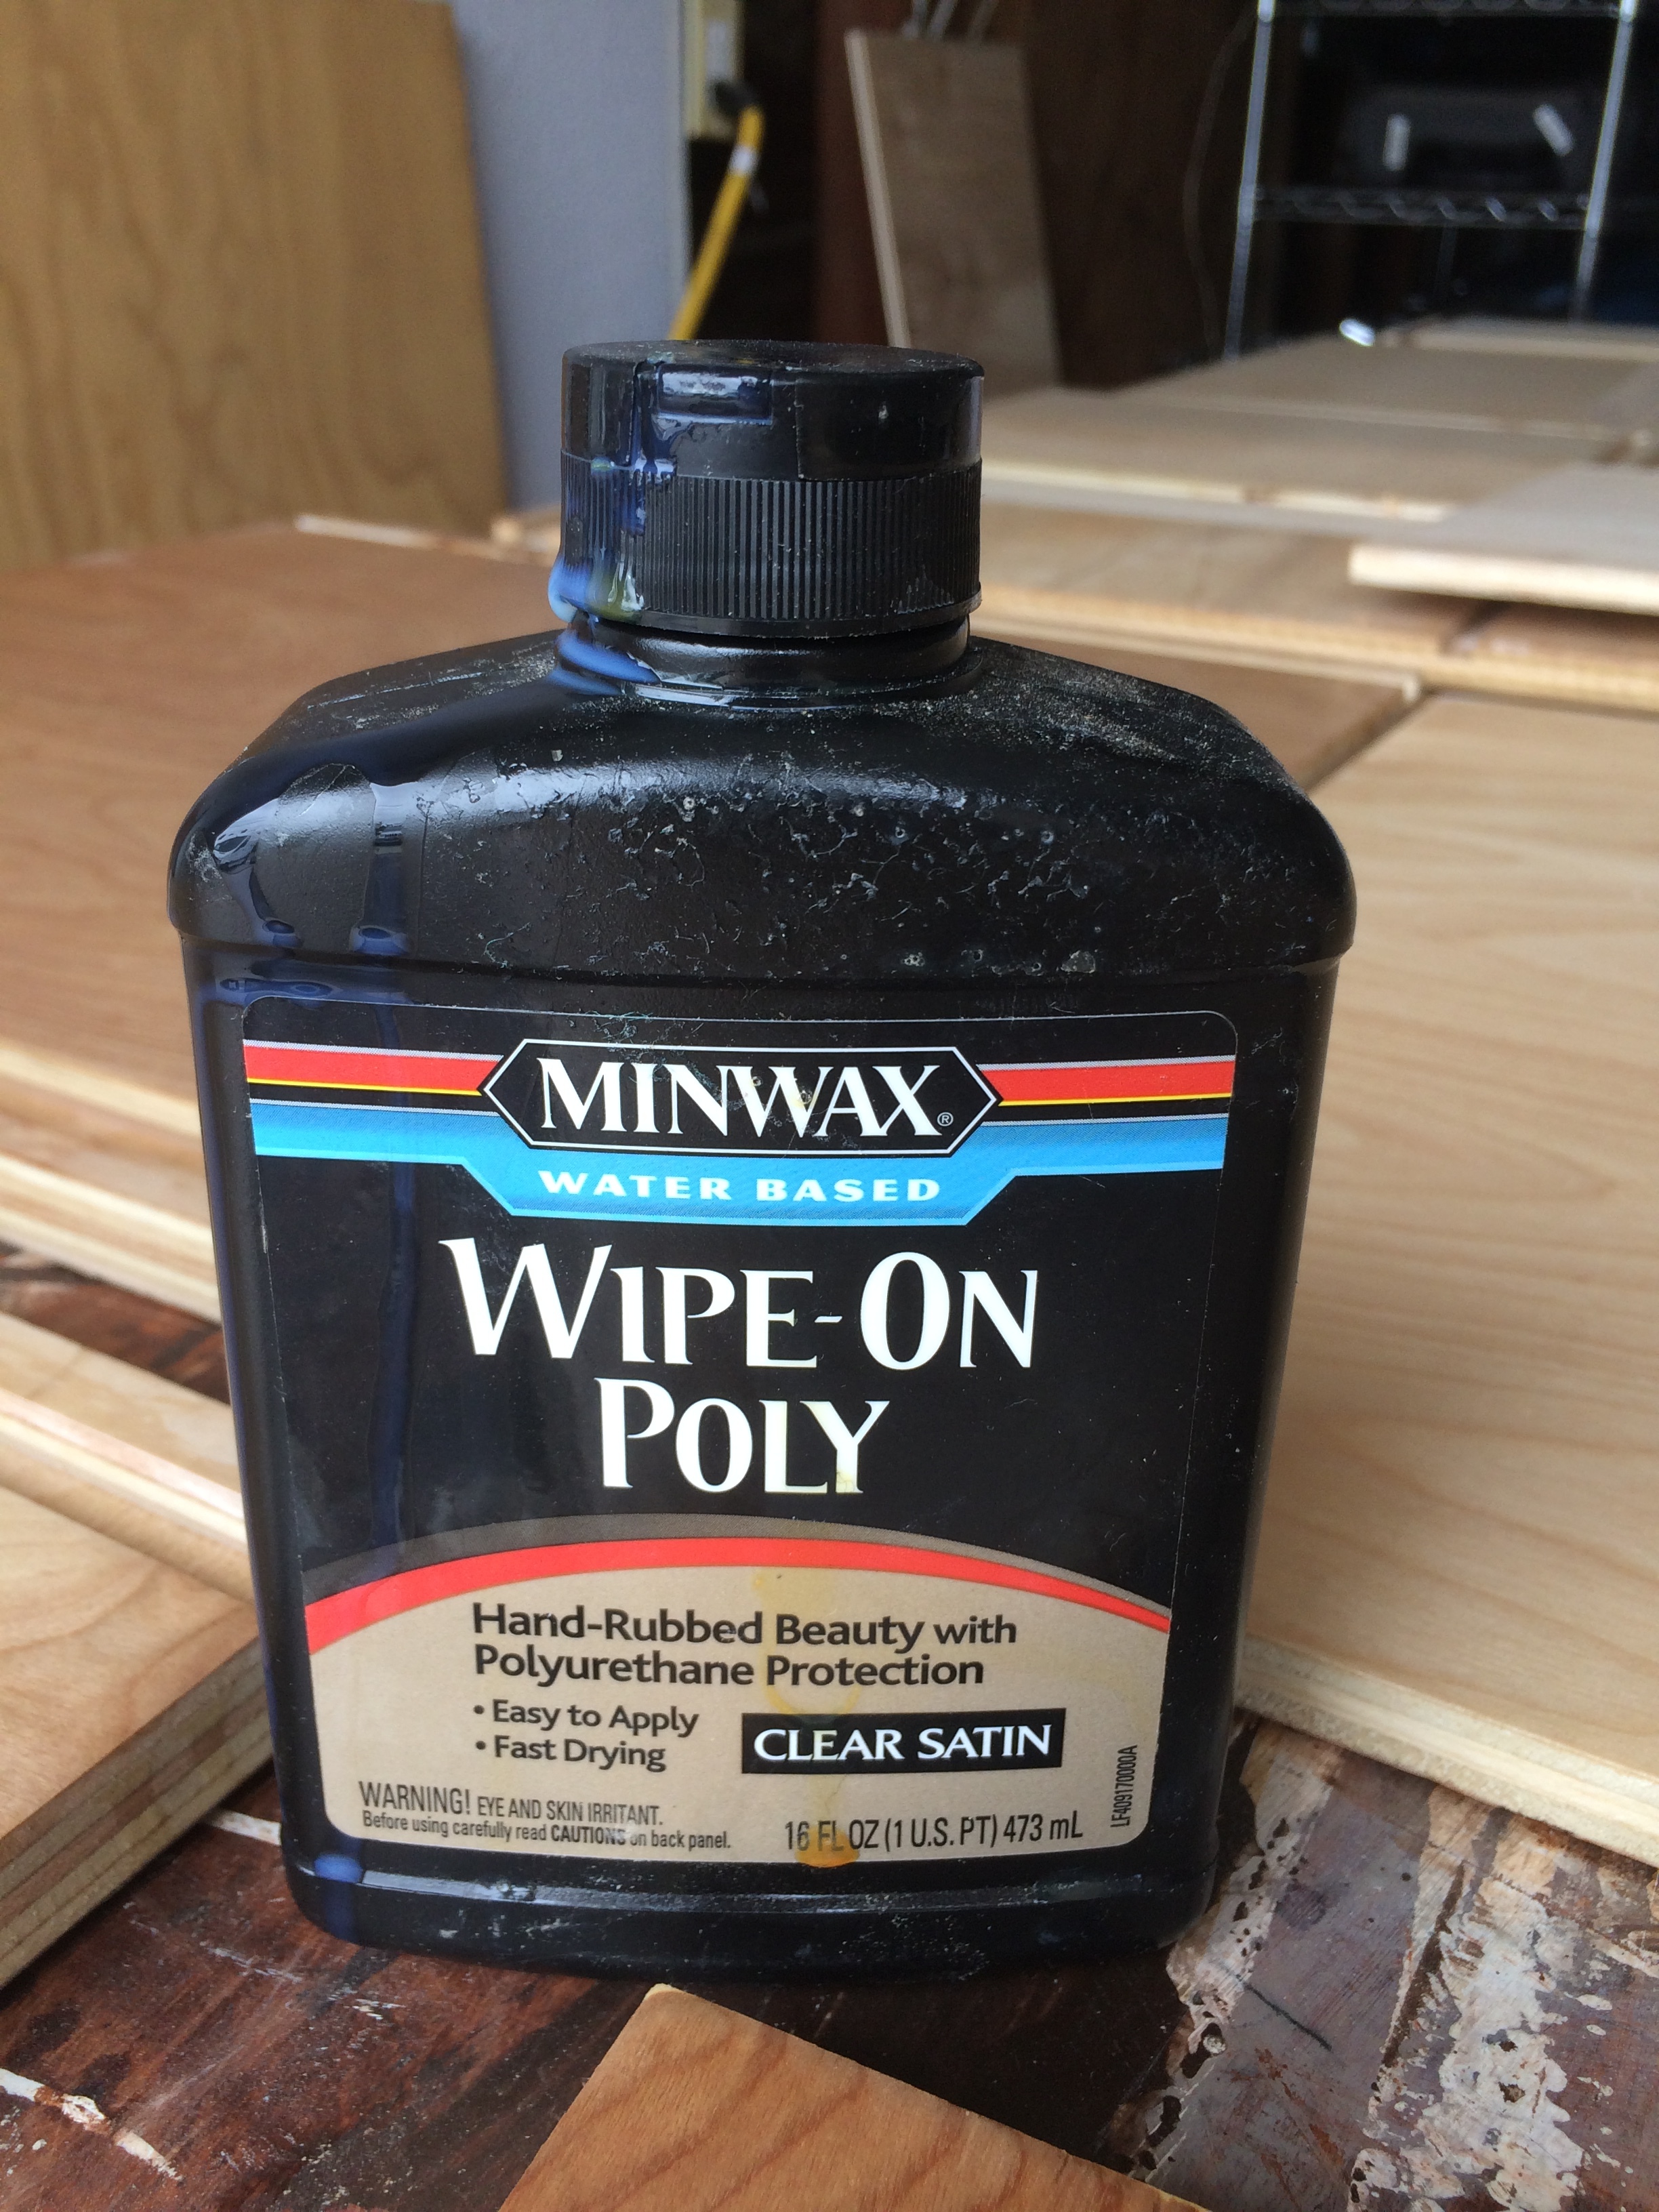
The slide trays are coated with minwax water based wipeon poly from Lowe’s. They now have an exclusive contract so don’t look for it at Home Depot . Great stuff
The slide trays are done and just drying
Today is build the bed platform day.
I just subscribed to this topic so I get email notified every time you update us 
So happy you are doing this. A lot to learn. How much are you spending on this build in total? and will you be meeting that budget by the end of it. Or do you expect to go over?
GThe spend so far has been about $3500.
Includes:
Wood was expensive by choice. The (4) clear red cedar posts were over $300. Birch ply is about $50. per sheet, same for for sanded plywood, redwood 2x4s are expensive as is redwood trim. I have no budget goals other than build at a reasonable level of expense
Not finished, but now functional
Coming together pretty nicely.
Following along on your build almost makes it feel like im there with you 

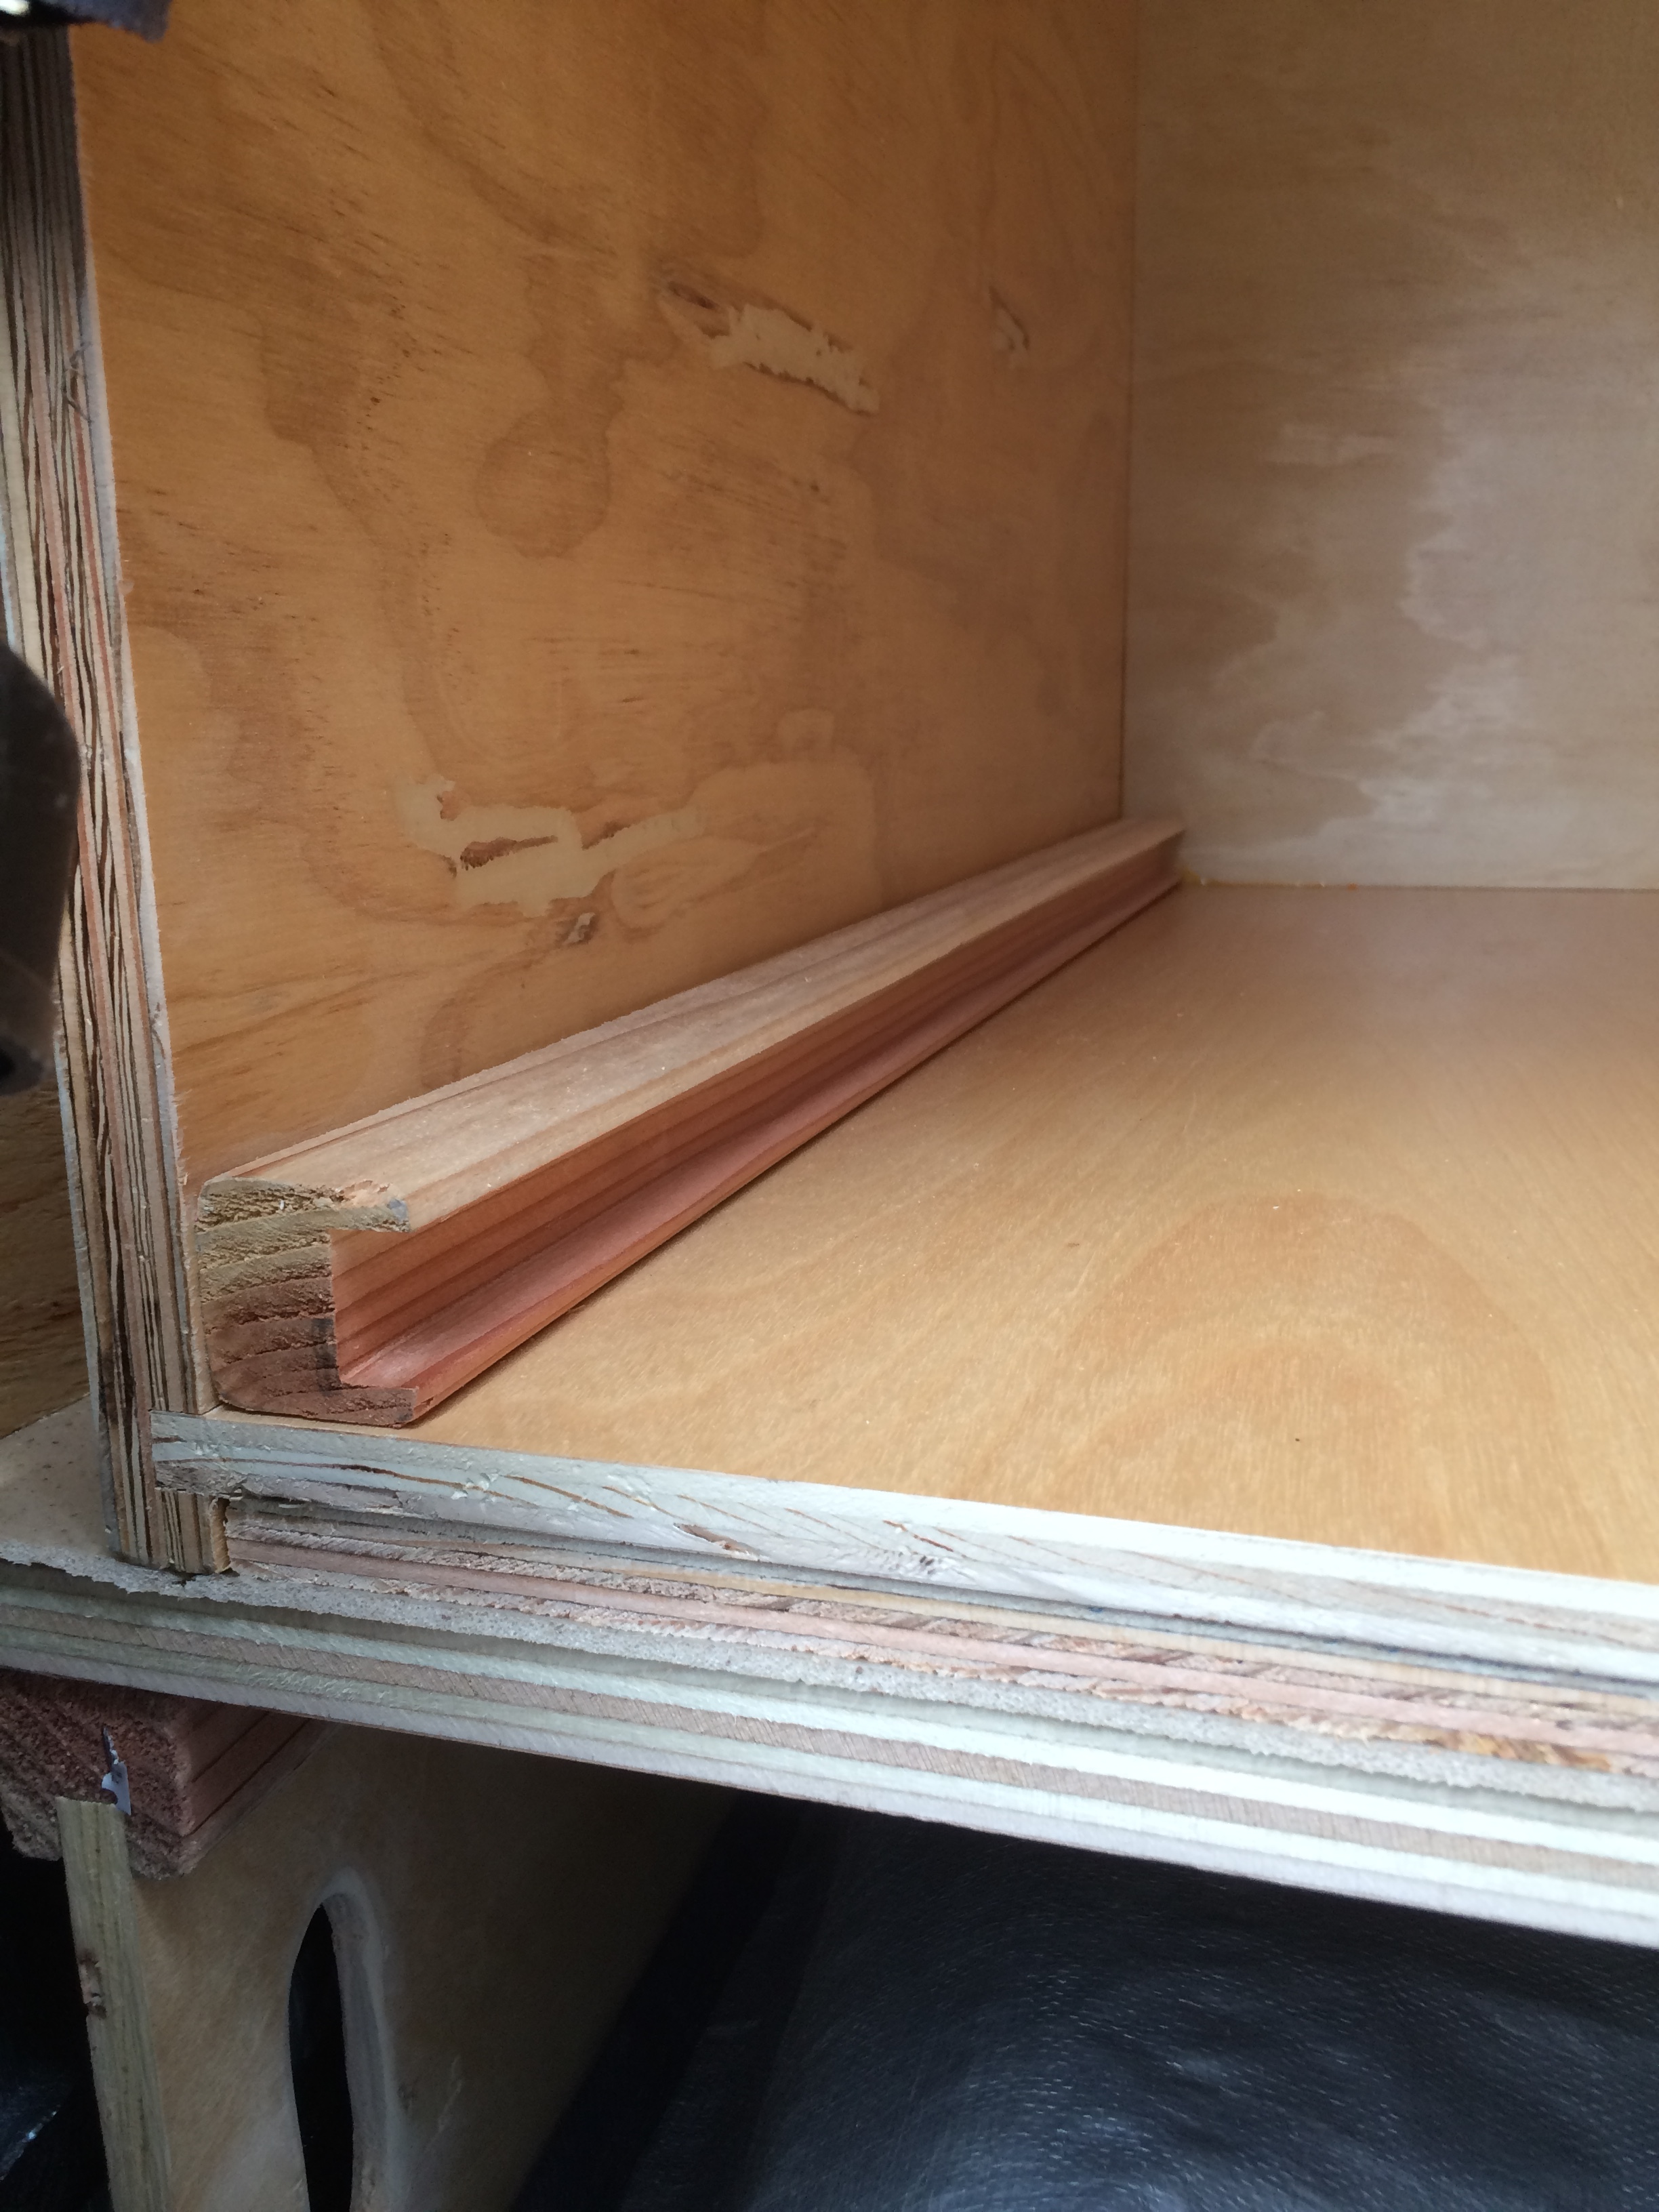
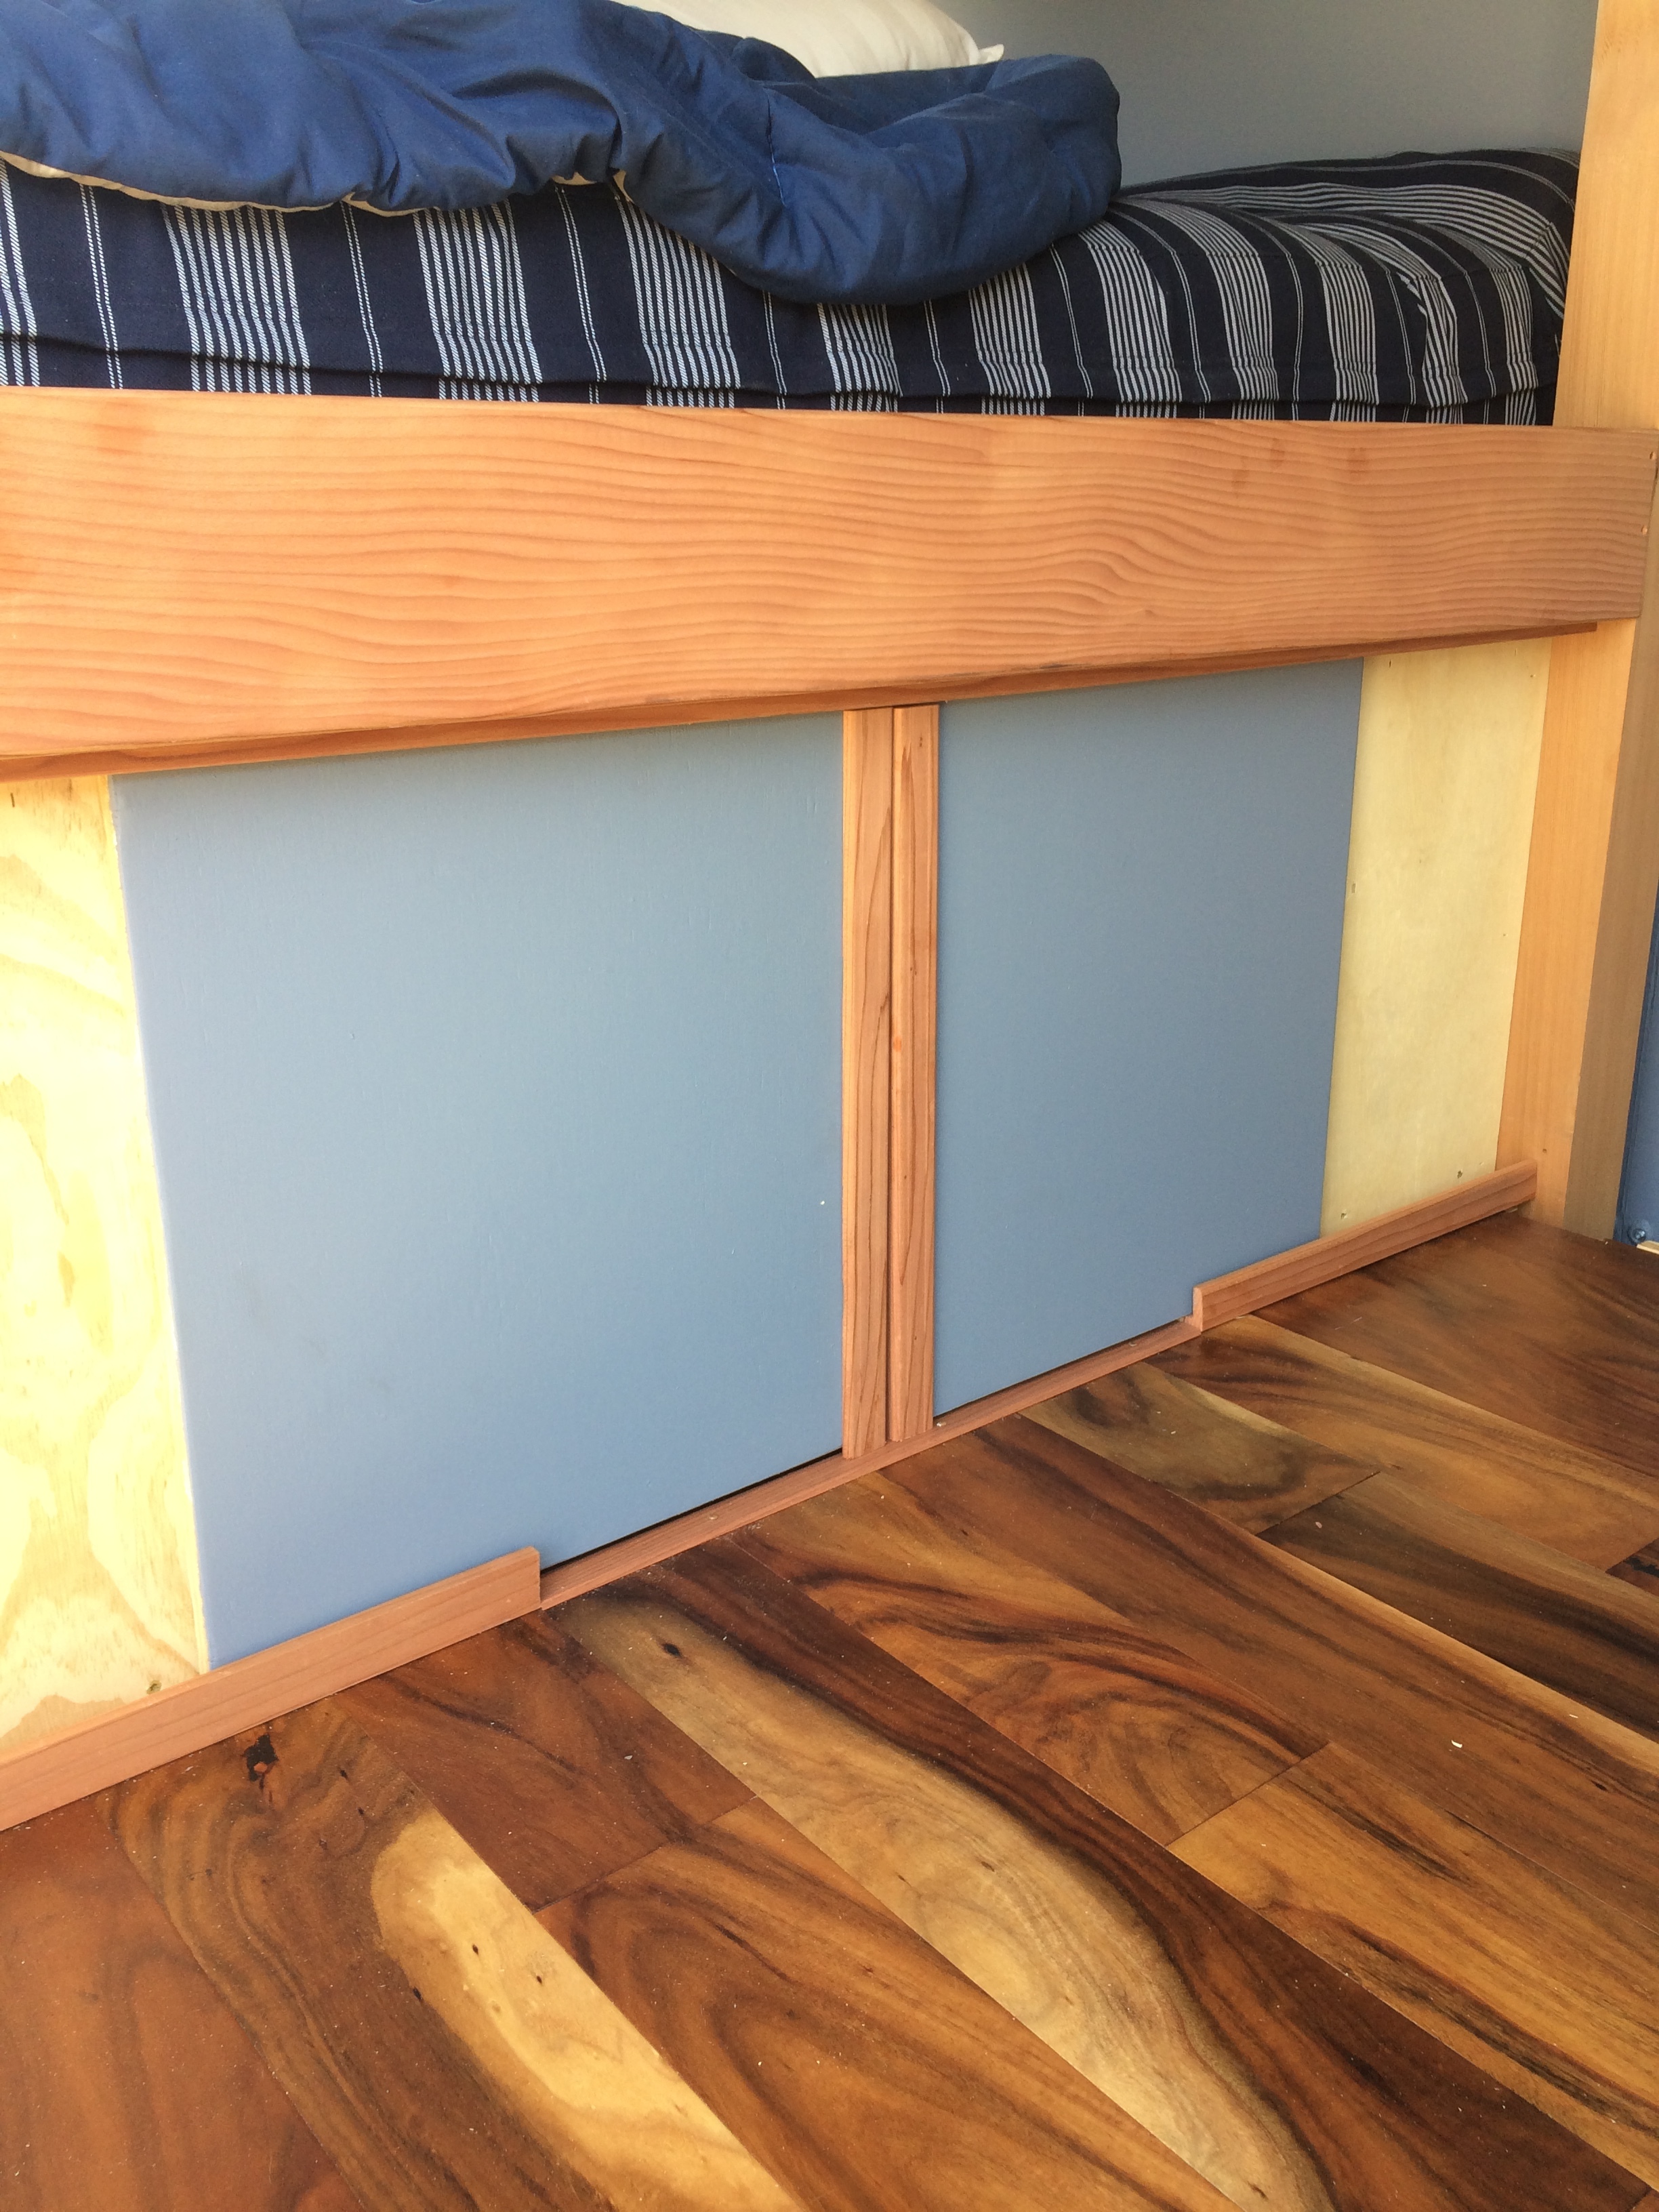
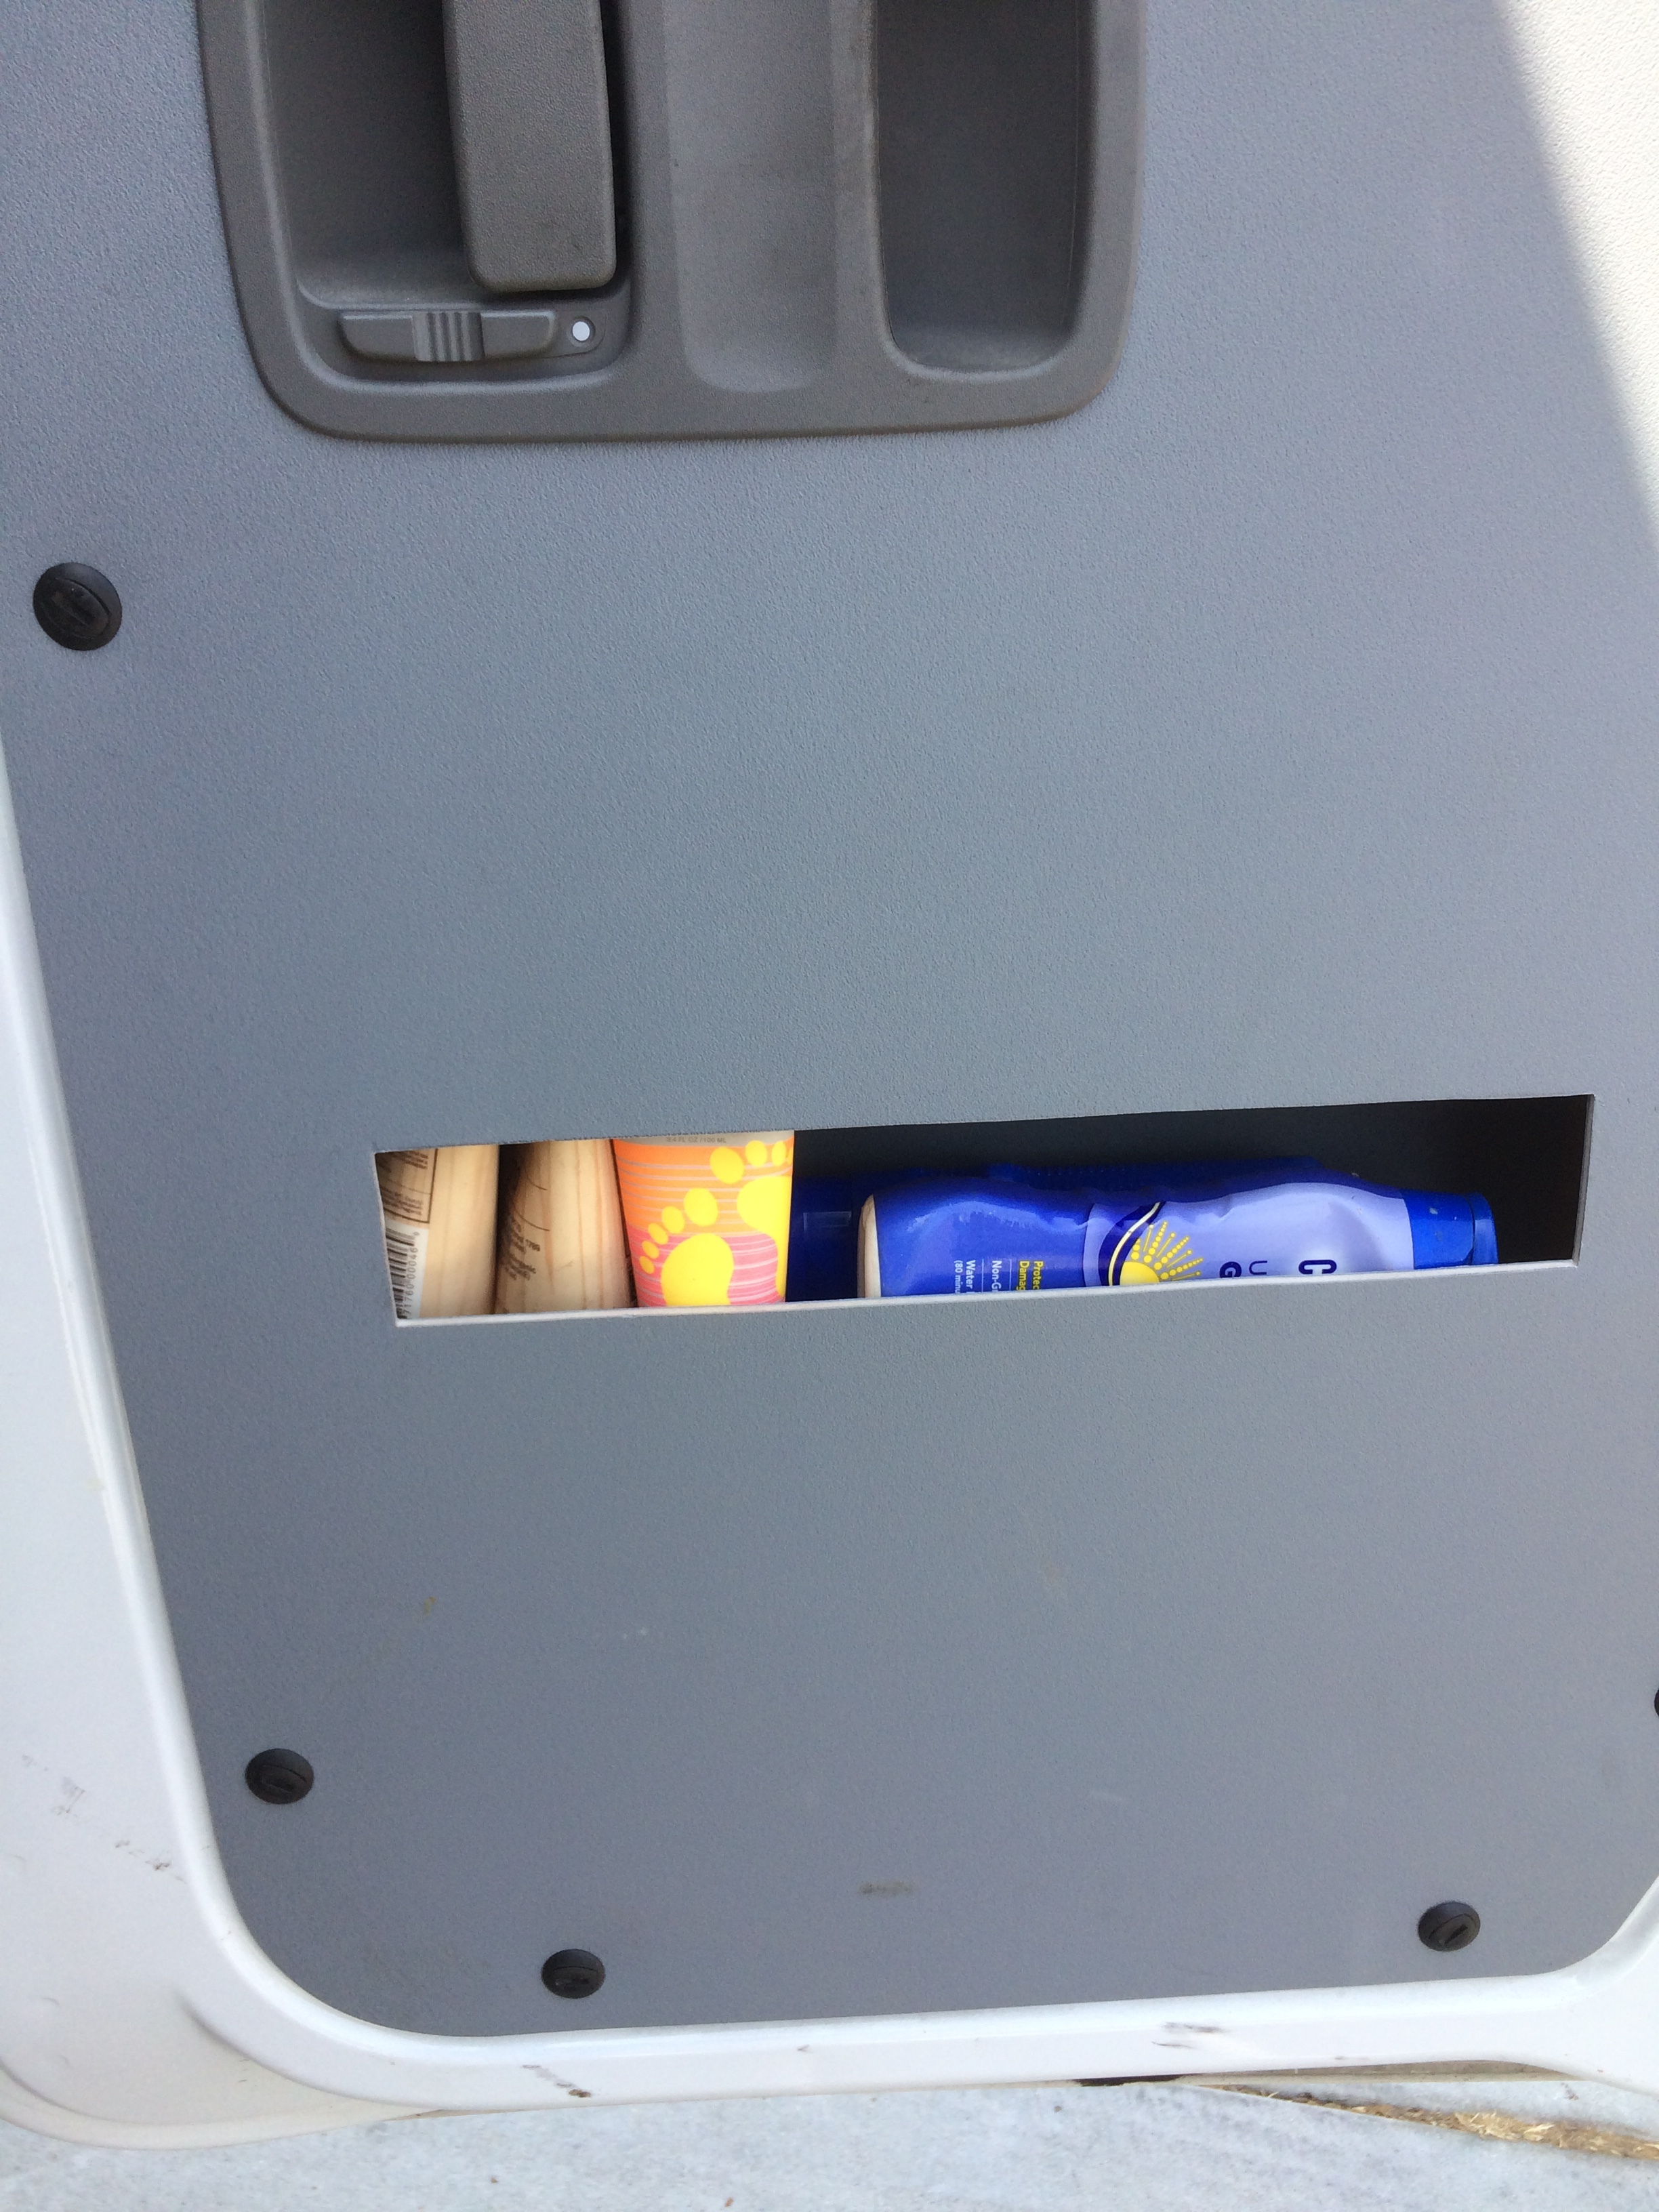
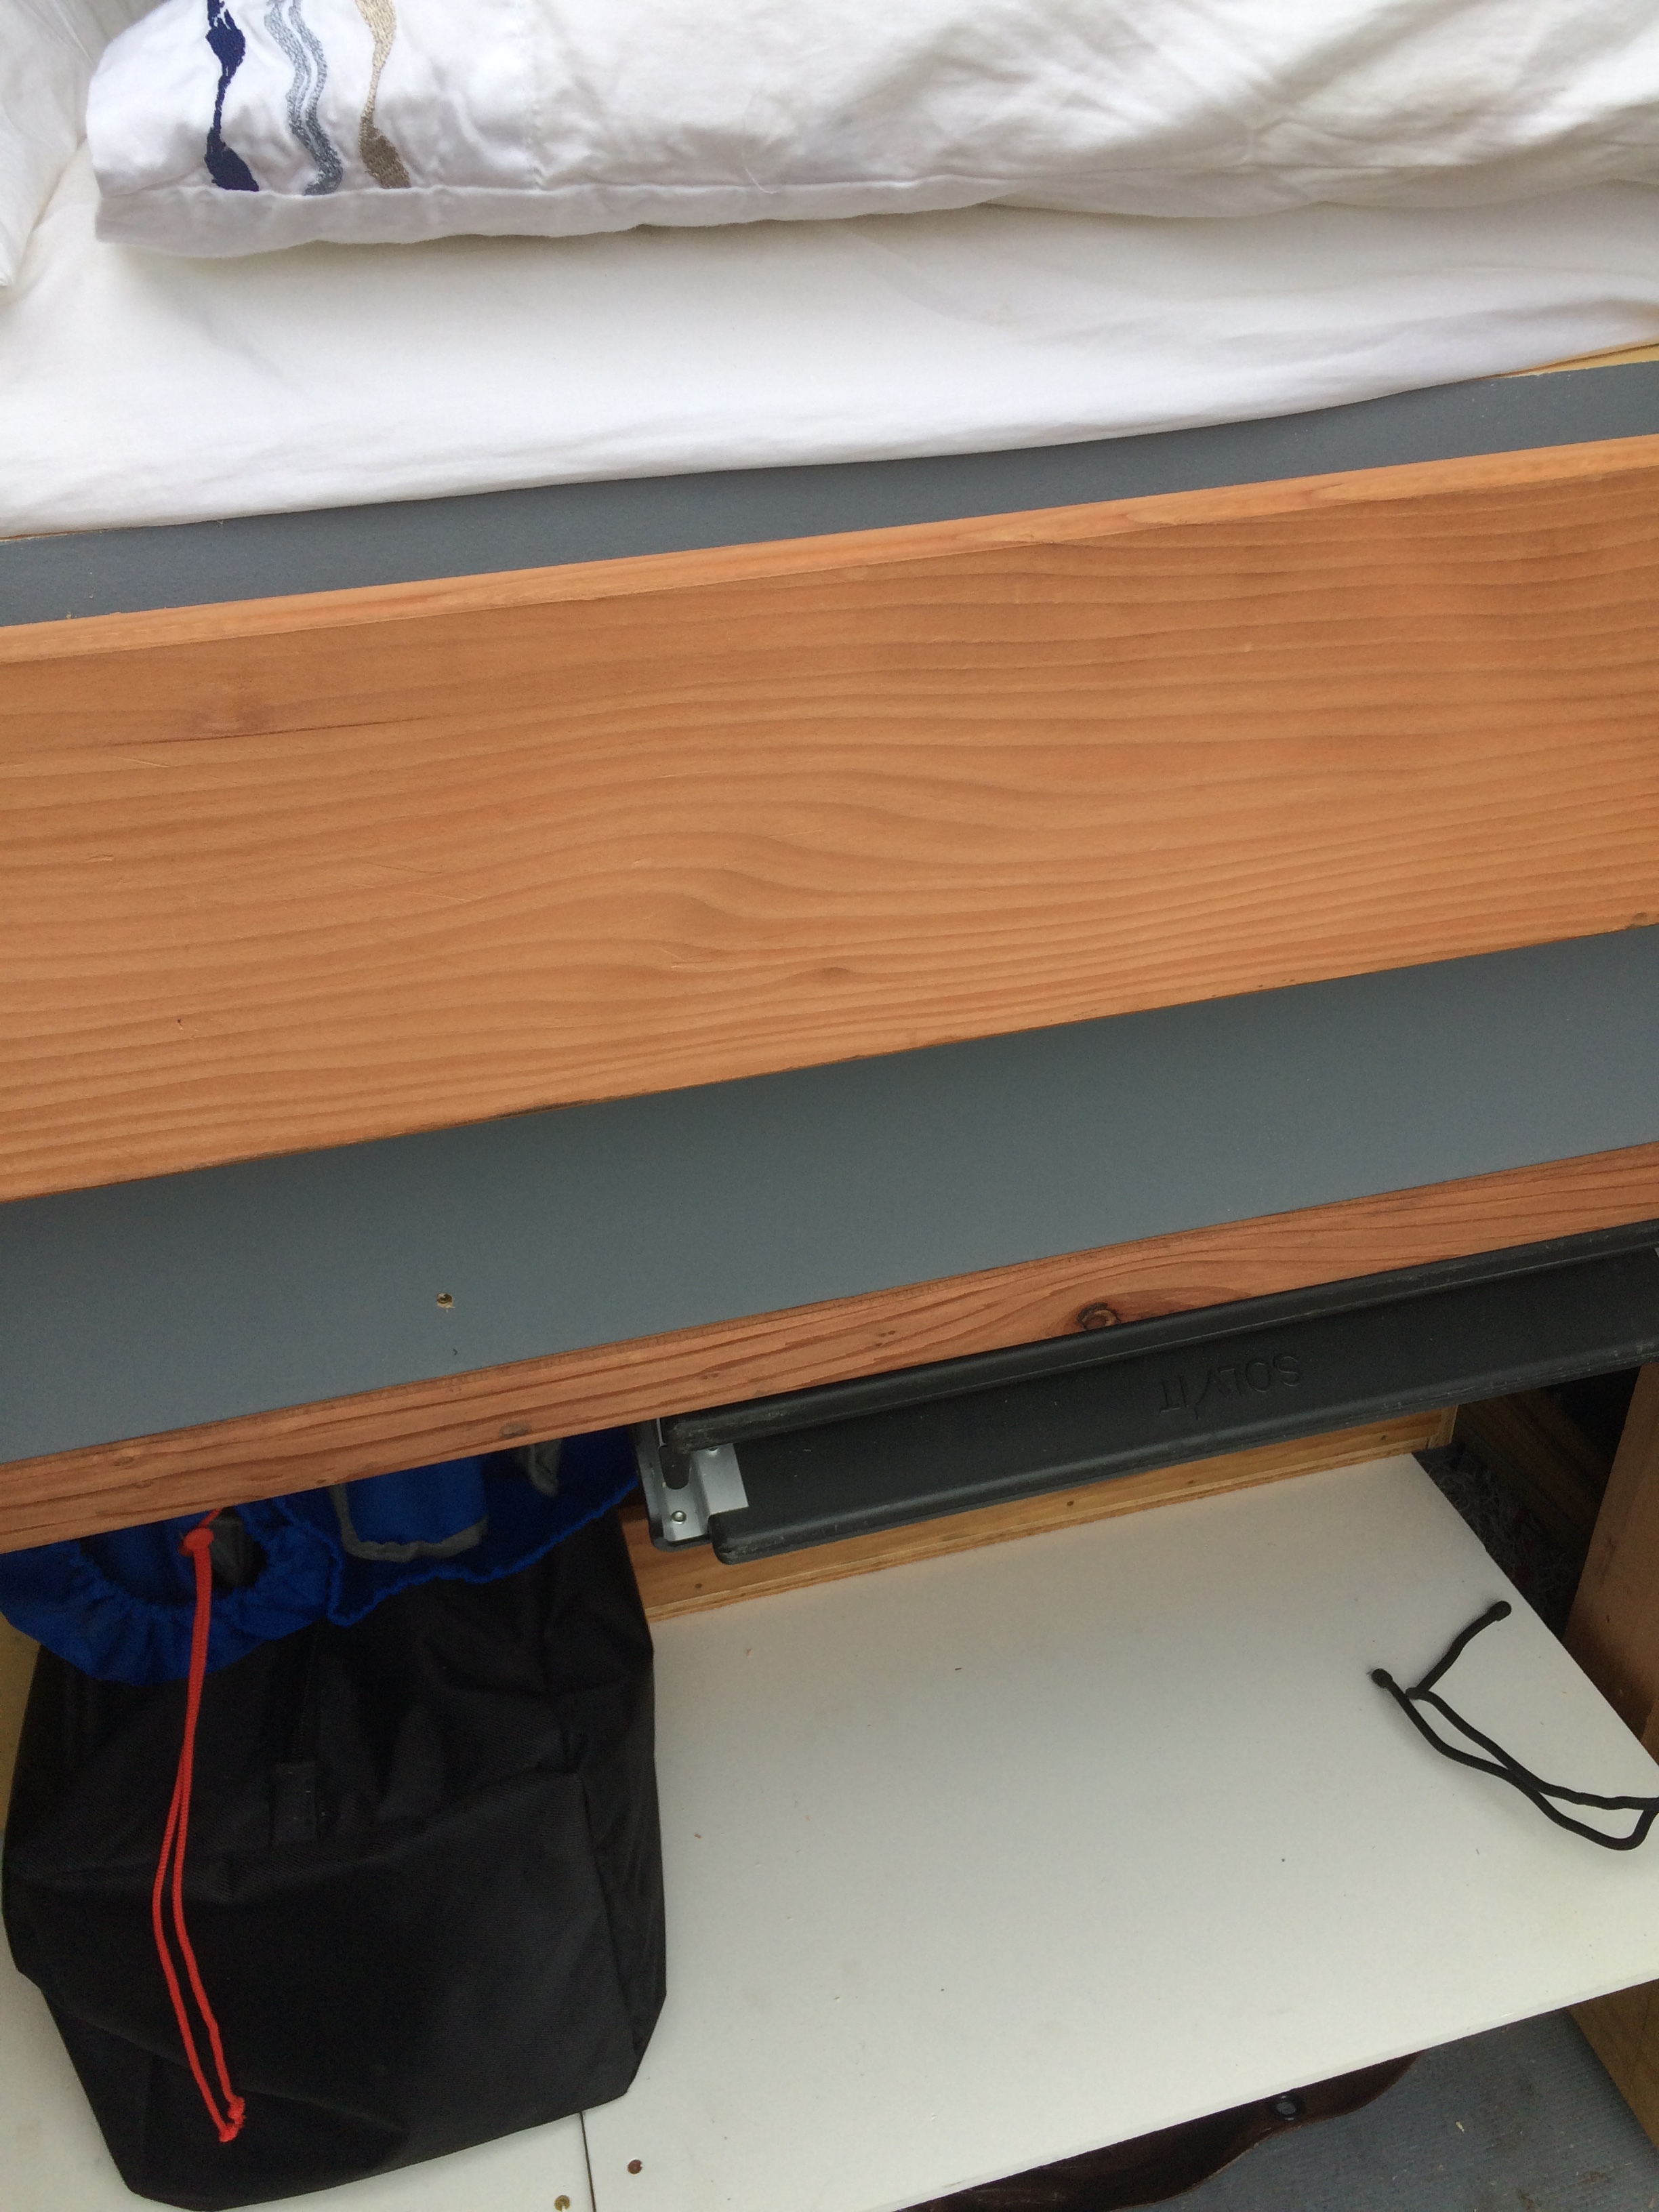
A little more progress. A tray along the edge of the bed (behind the redwood trim) to throw in keys , cell phone a bottle of water while in bed. The bottom of the tray is lined with ecofoam. That’s turned out to be a handy product. It will keep things from rattling and a clank when you throw in keys or change. I also added sliding doors to the porta potty garage. Redwood lattice cap is handy here for both the door slides and trim
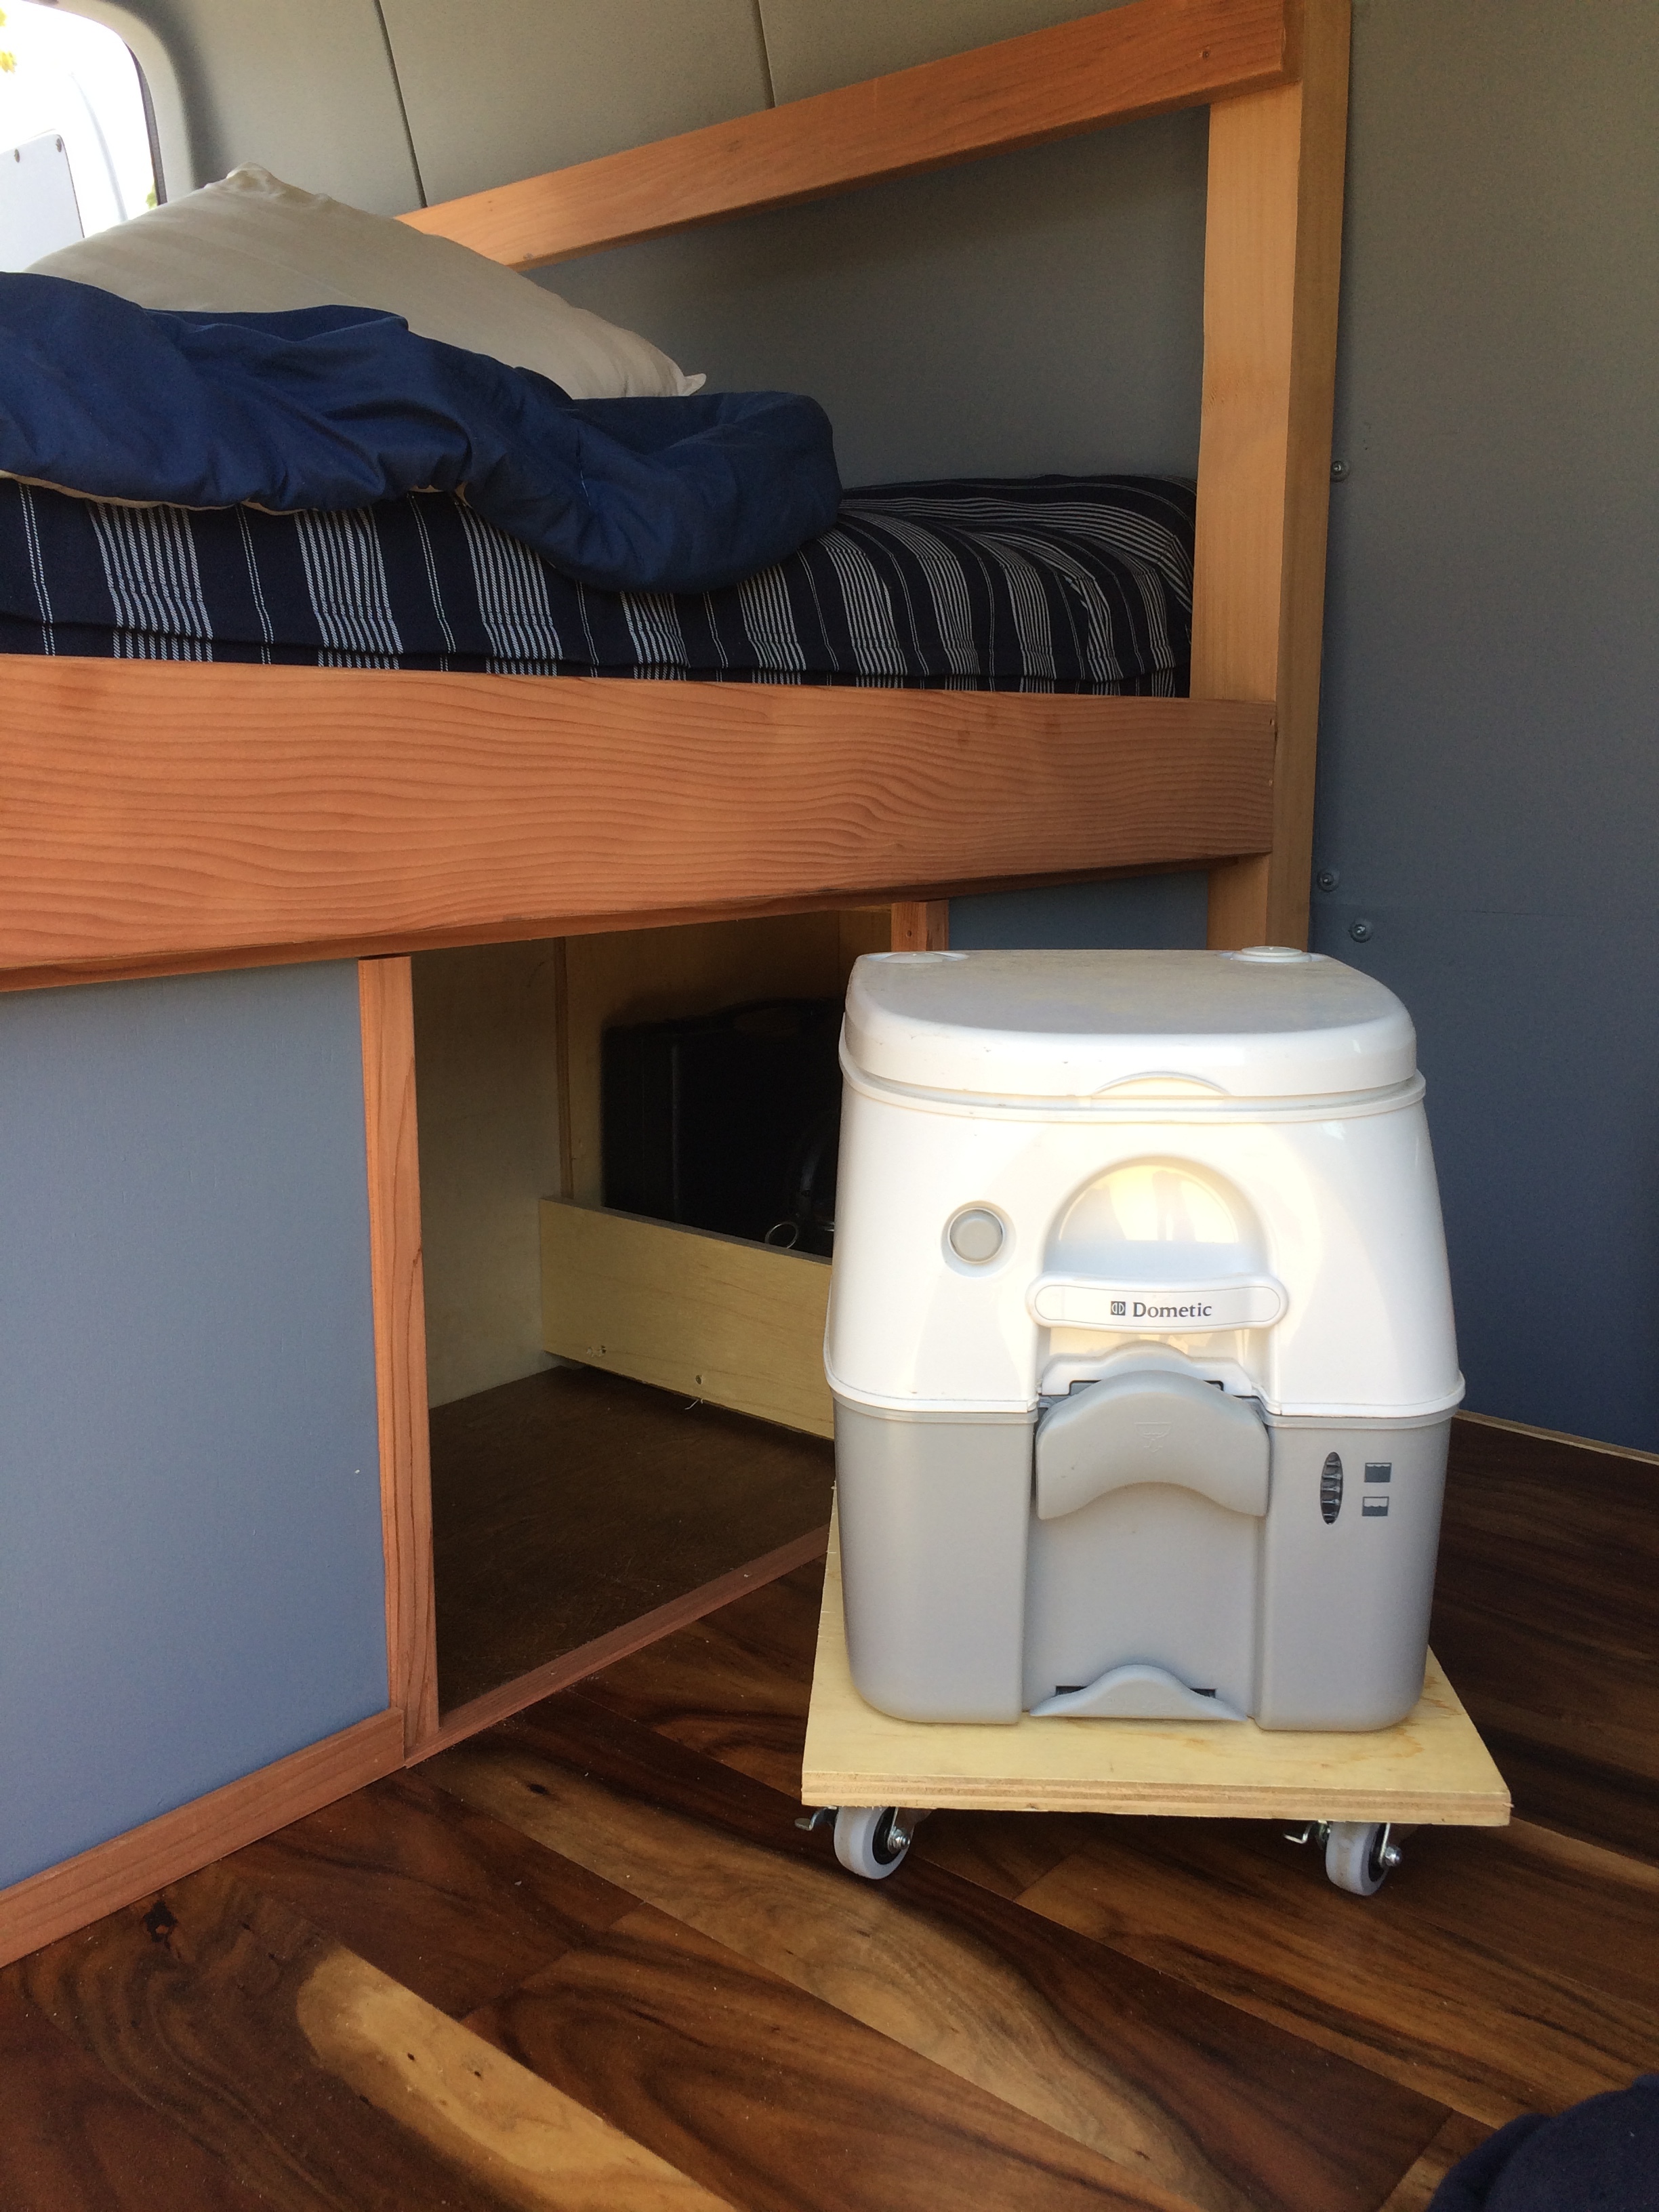
What’s that little white and grey box? is it a toilet?
Loving the build so far!
Now that I experienced what worked and what didn’t. I blew it up, which is easy when it’s modular.
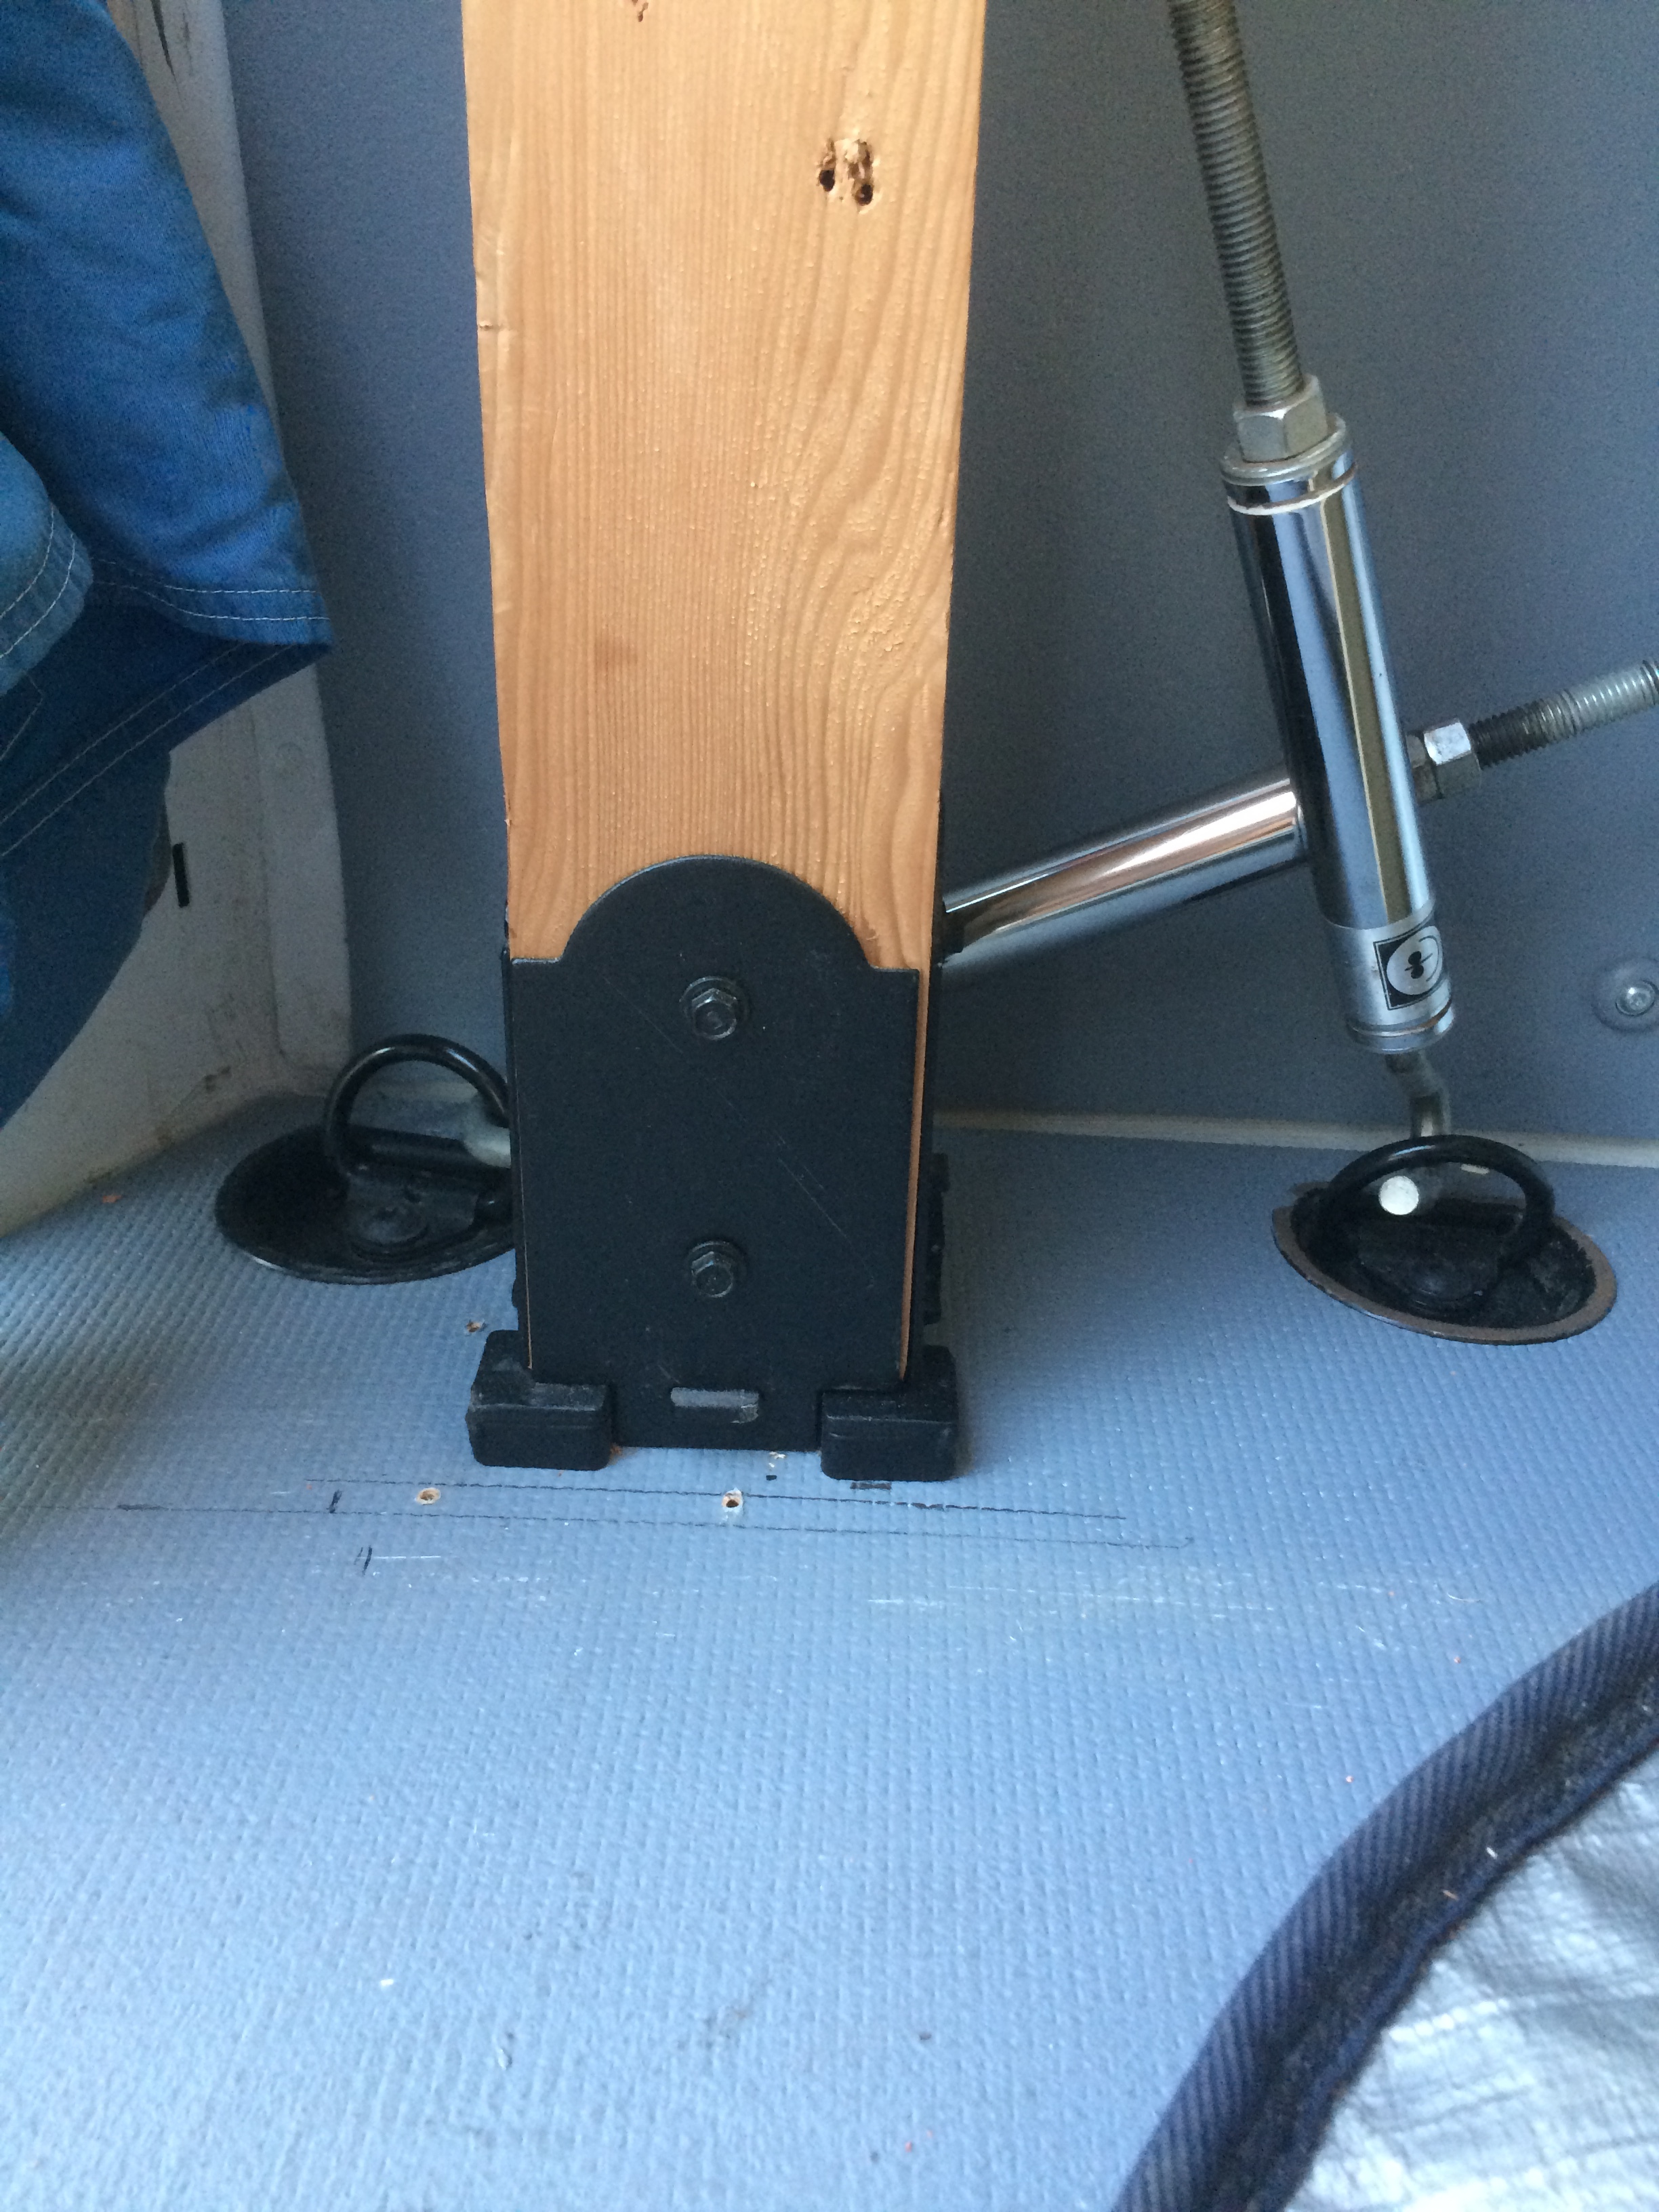
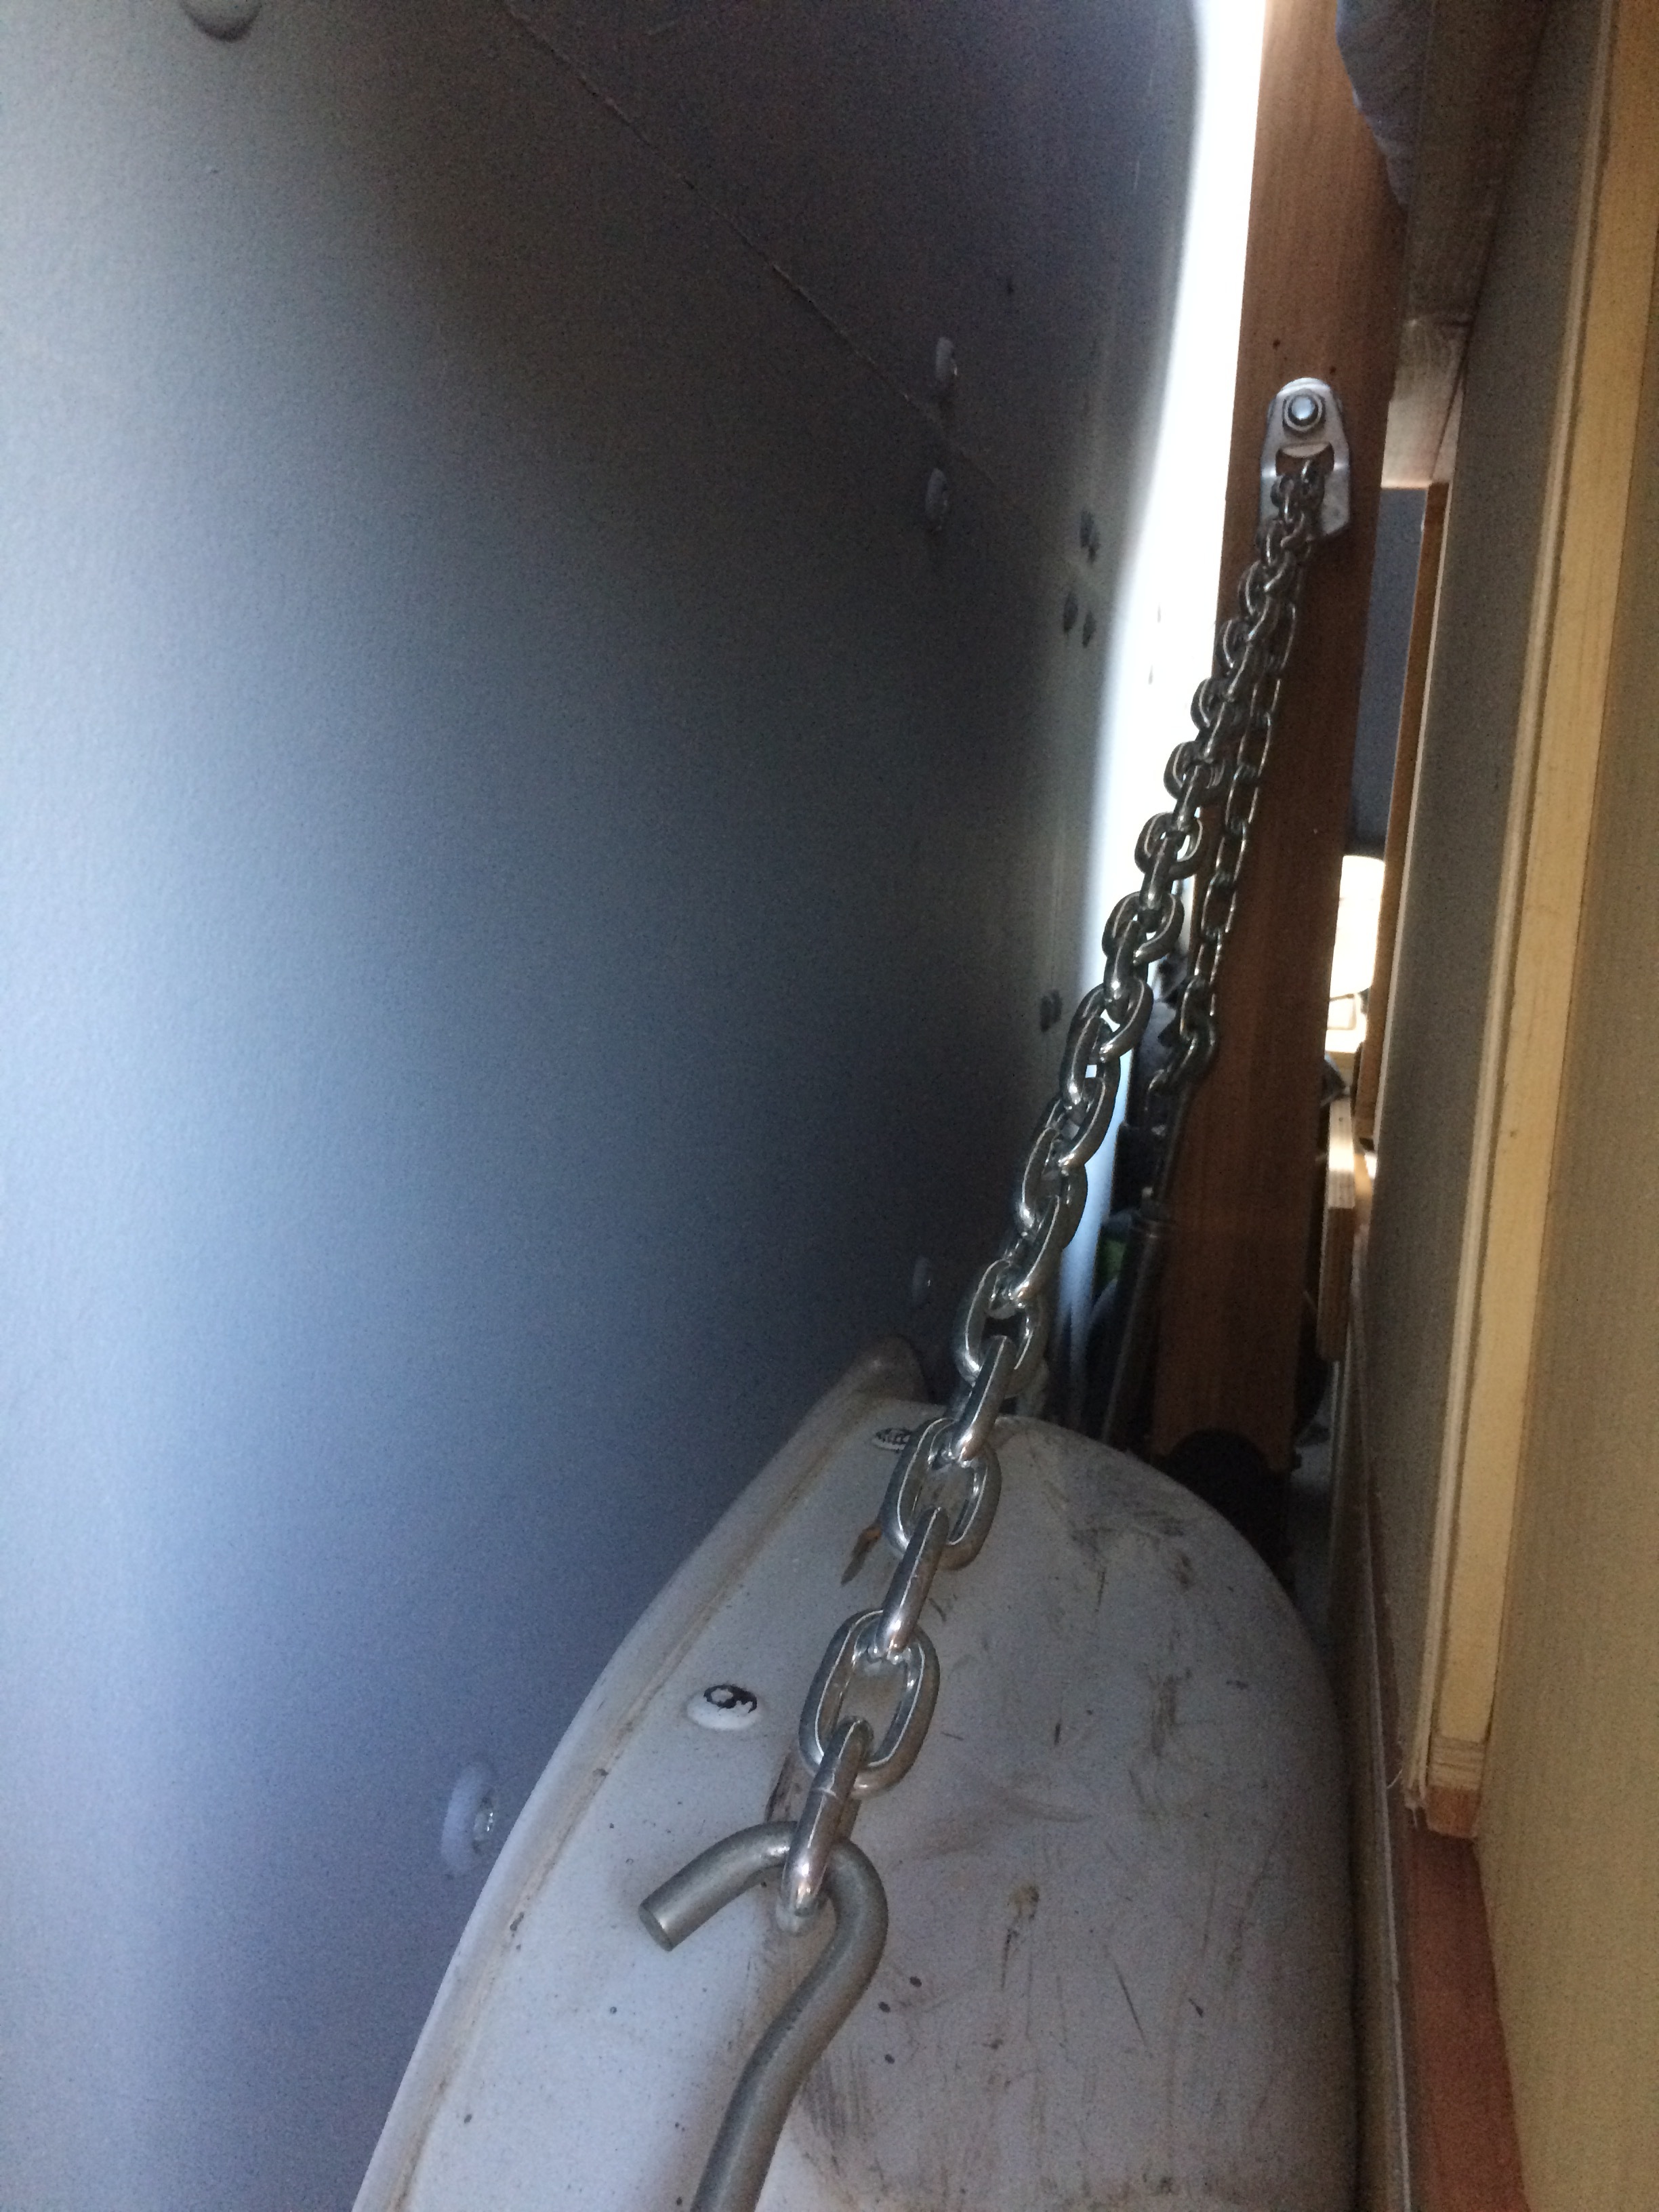
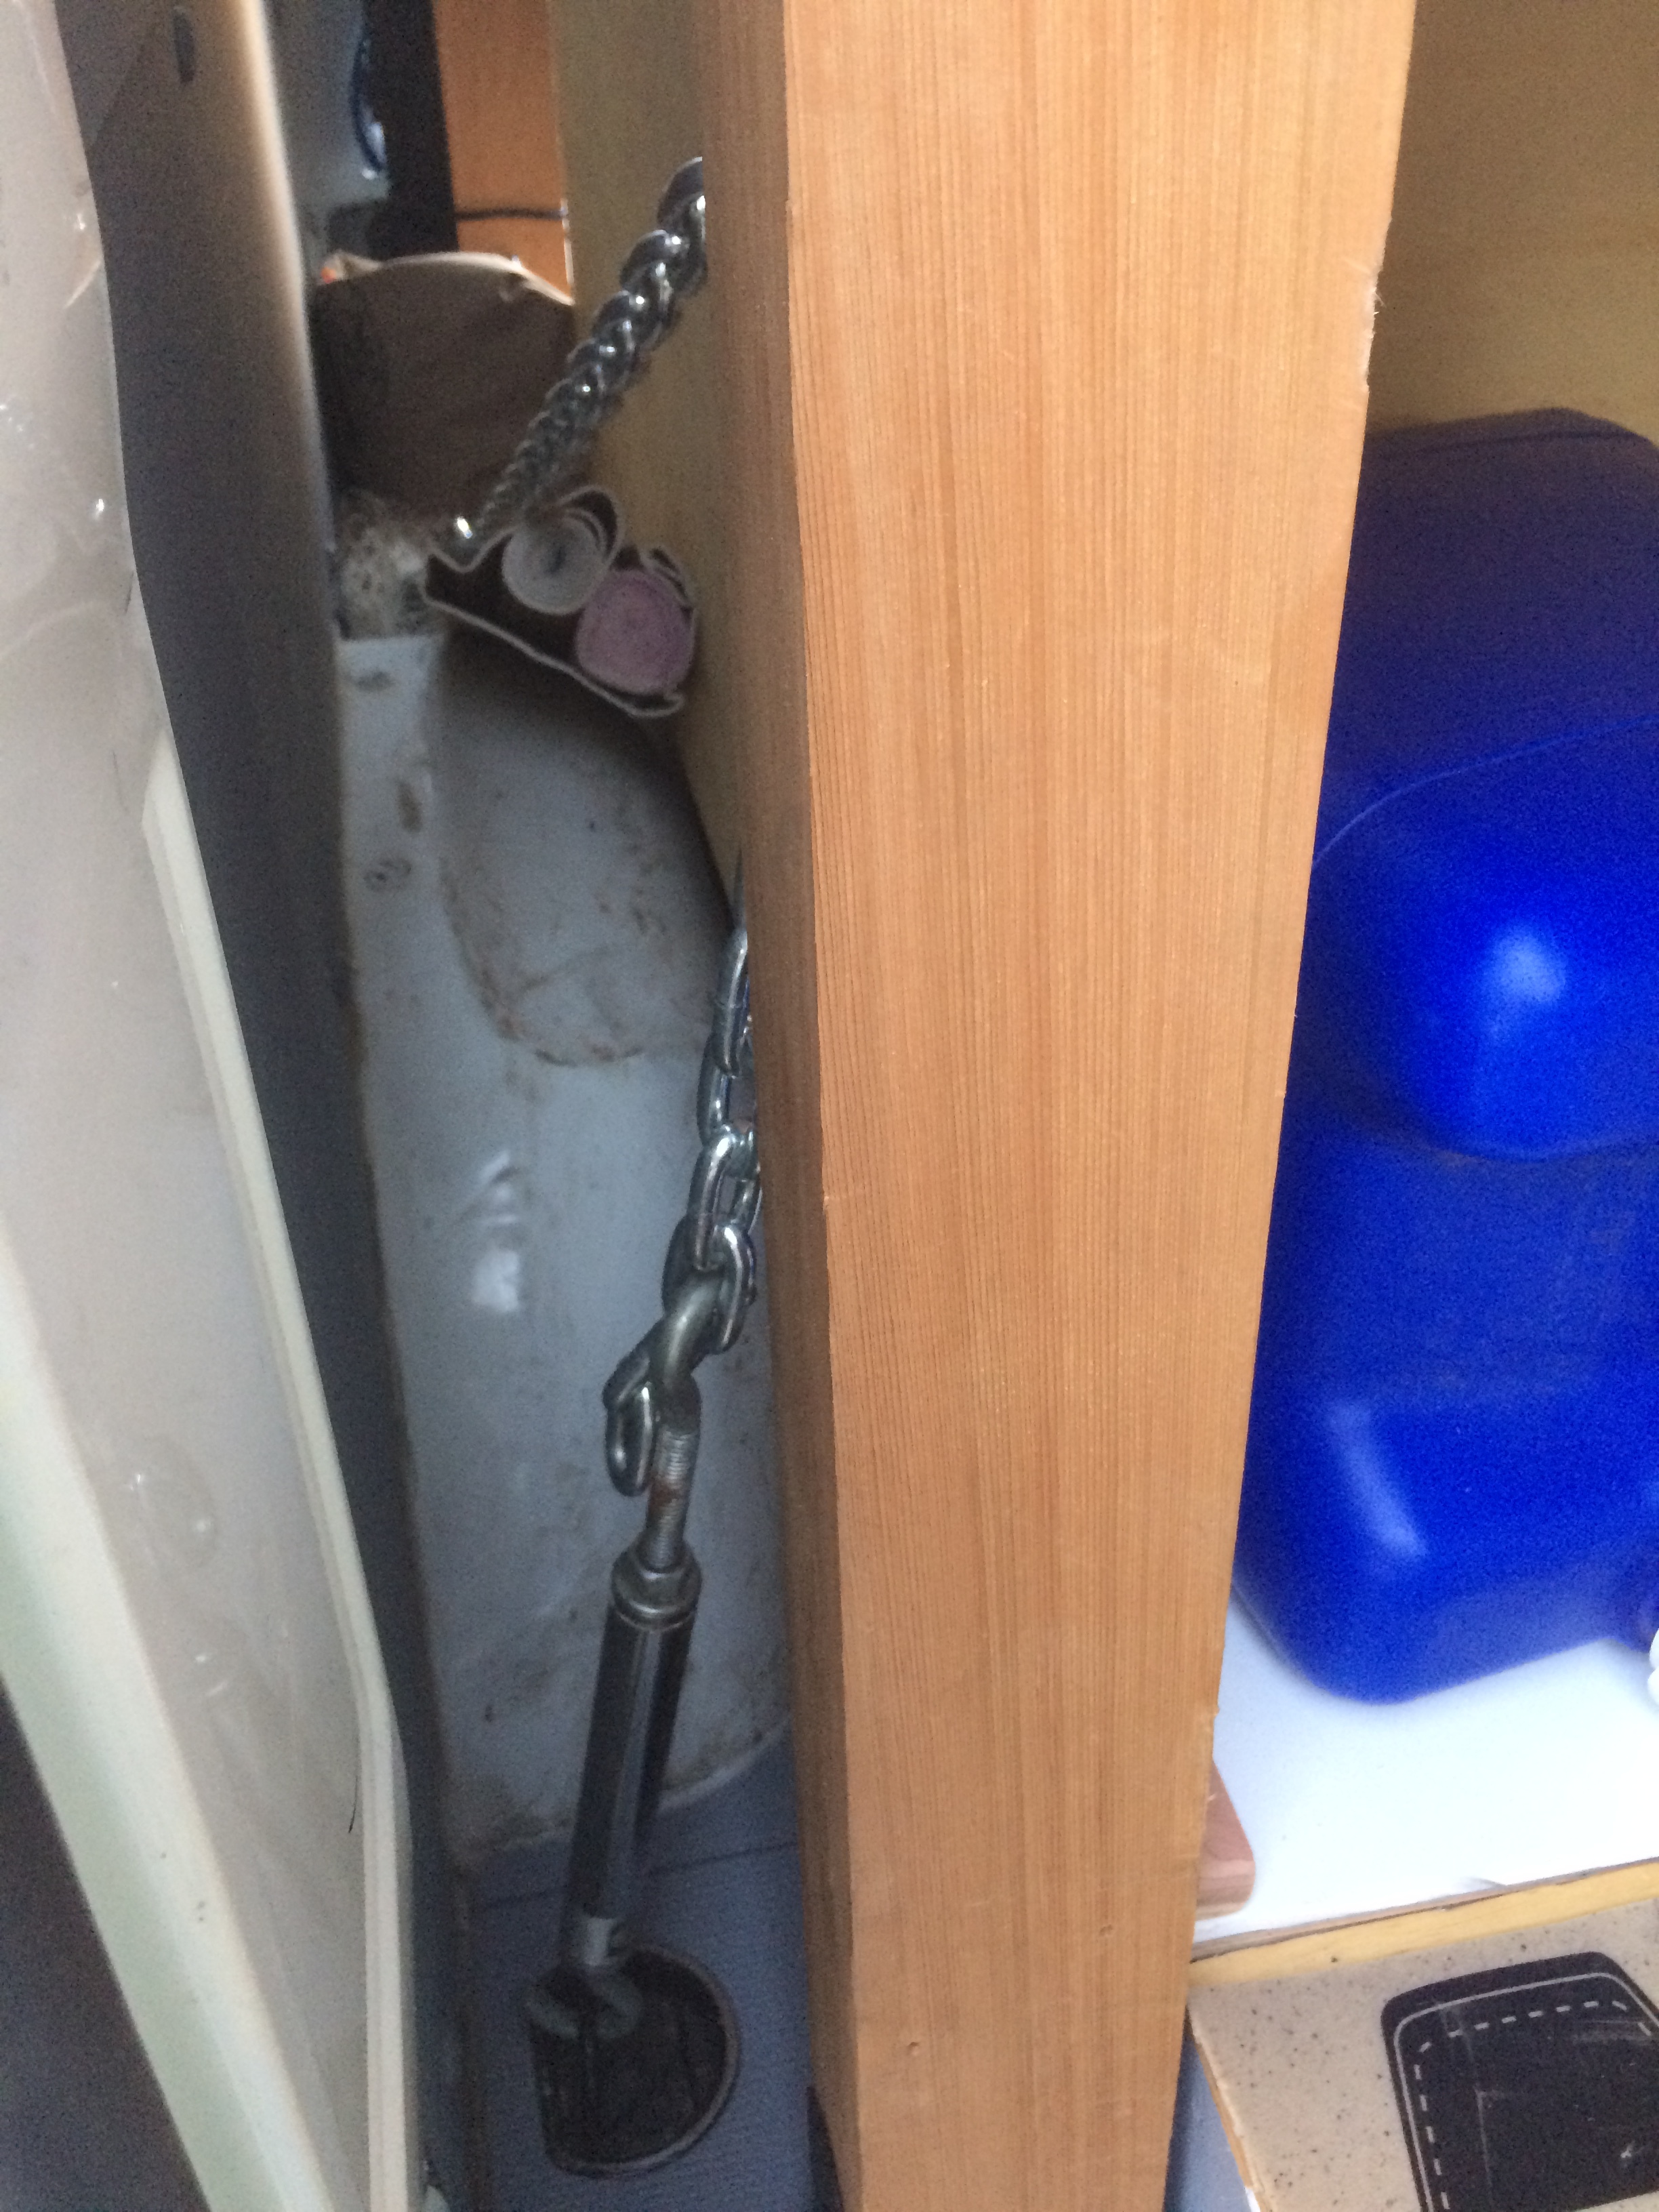
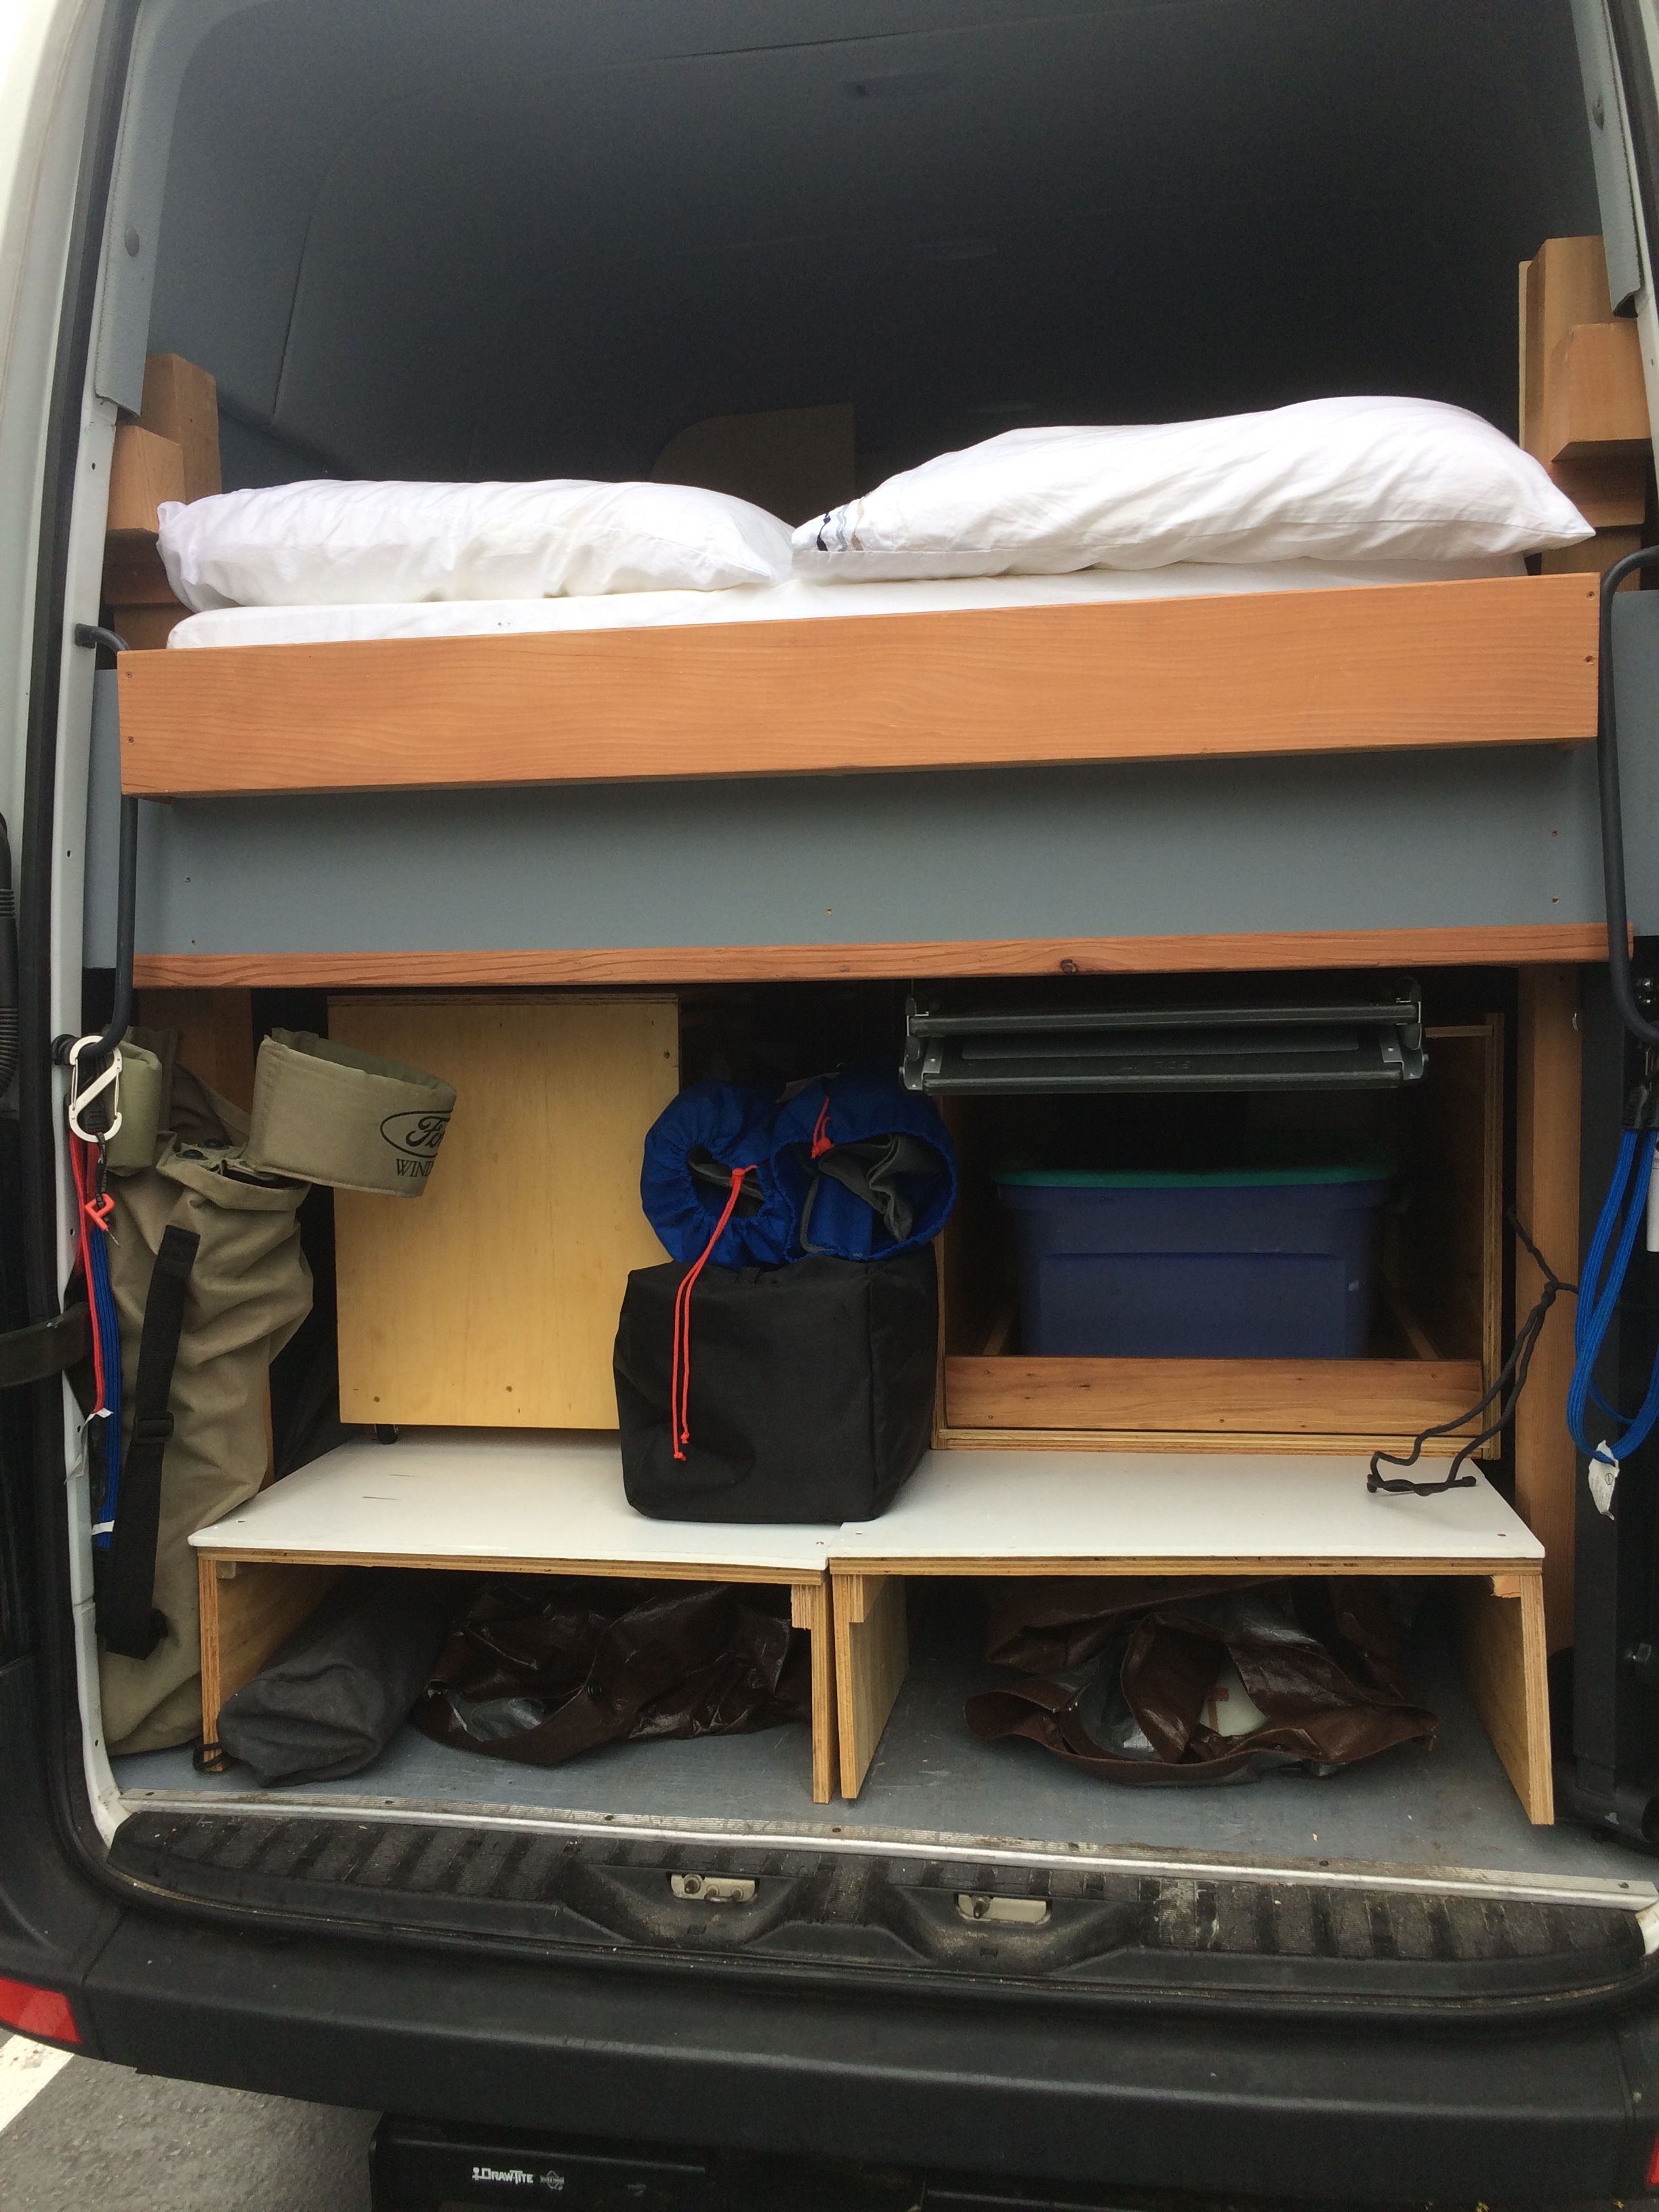
After getting the cabinets reconfigured, I decided it was time to not play the odds on the results of an accident. I didn’t want to tie to the walls because it will make it less modular. I thought about tie downs with turnbuckles but the average turnbuckle is not strong enough.  camper tie downs! I found a set of used happijacs, supplemented with chains and hardware and I was able to connect to 6 of the factory tie downs that are connected to the van floor/frame. I have a video on my Instagram account @surfvancampvan. These are the only photos that I have.
And finally I added a better floor in the storage area. I used 3/16 Azek sheet (should have used 1/2). Azek is great material, the 3/16 would be great for wall panels, cellular pvc is fire resistant, flexible. It can be painted, routed just like wood and the 3/4 will hold a screw.
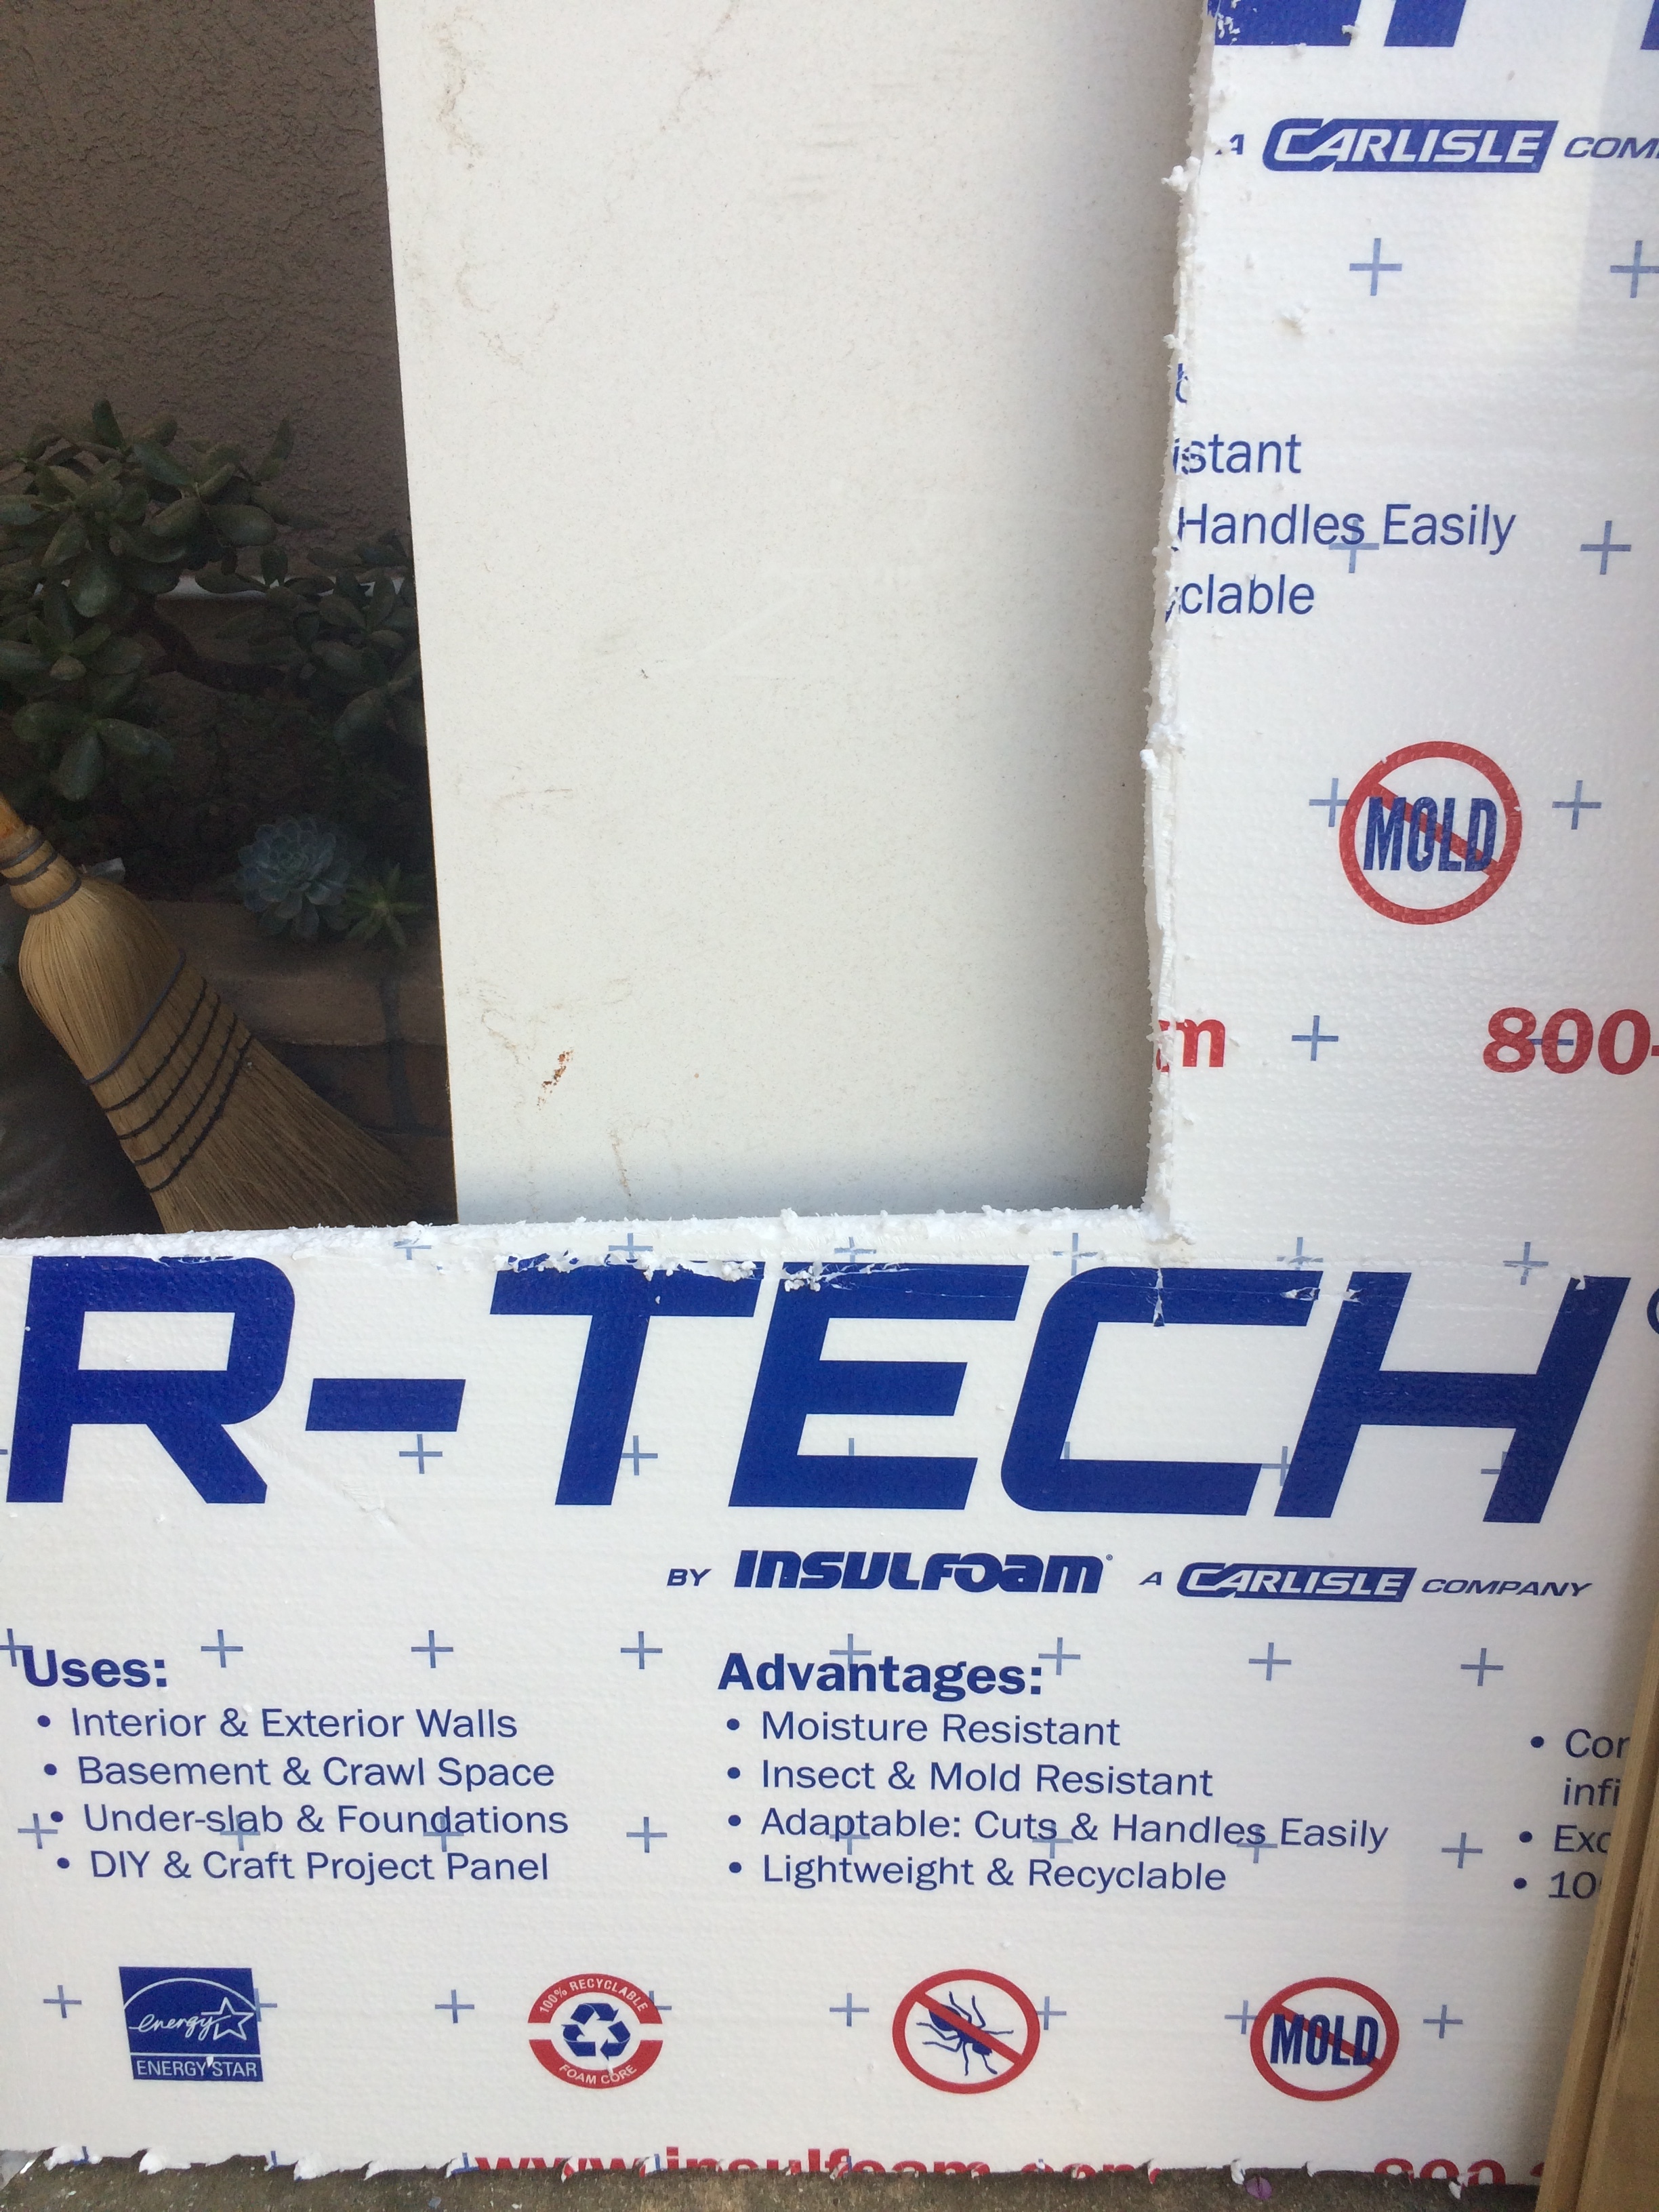
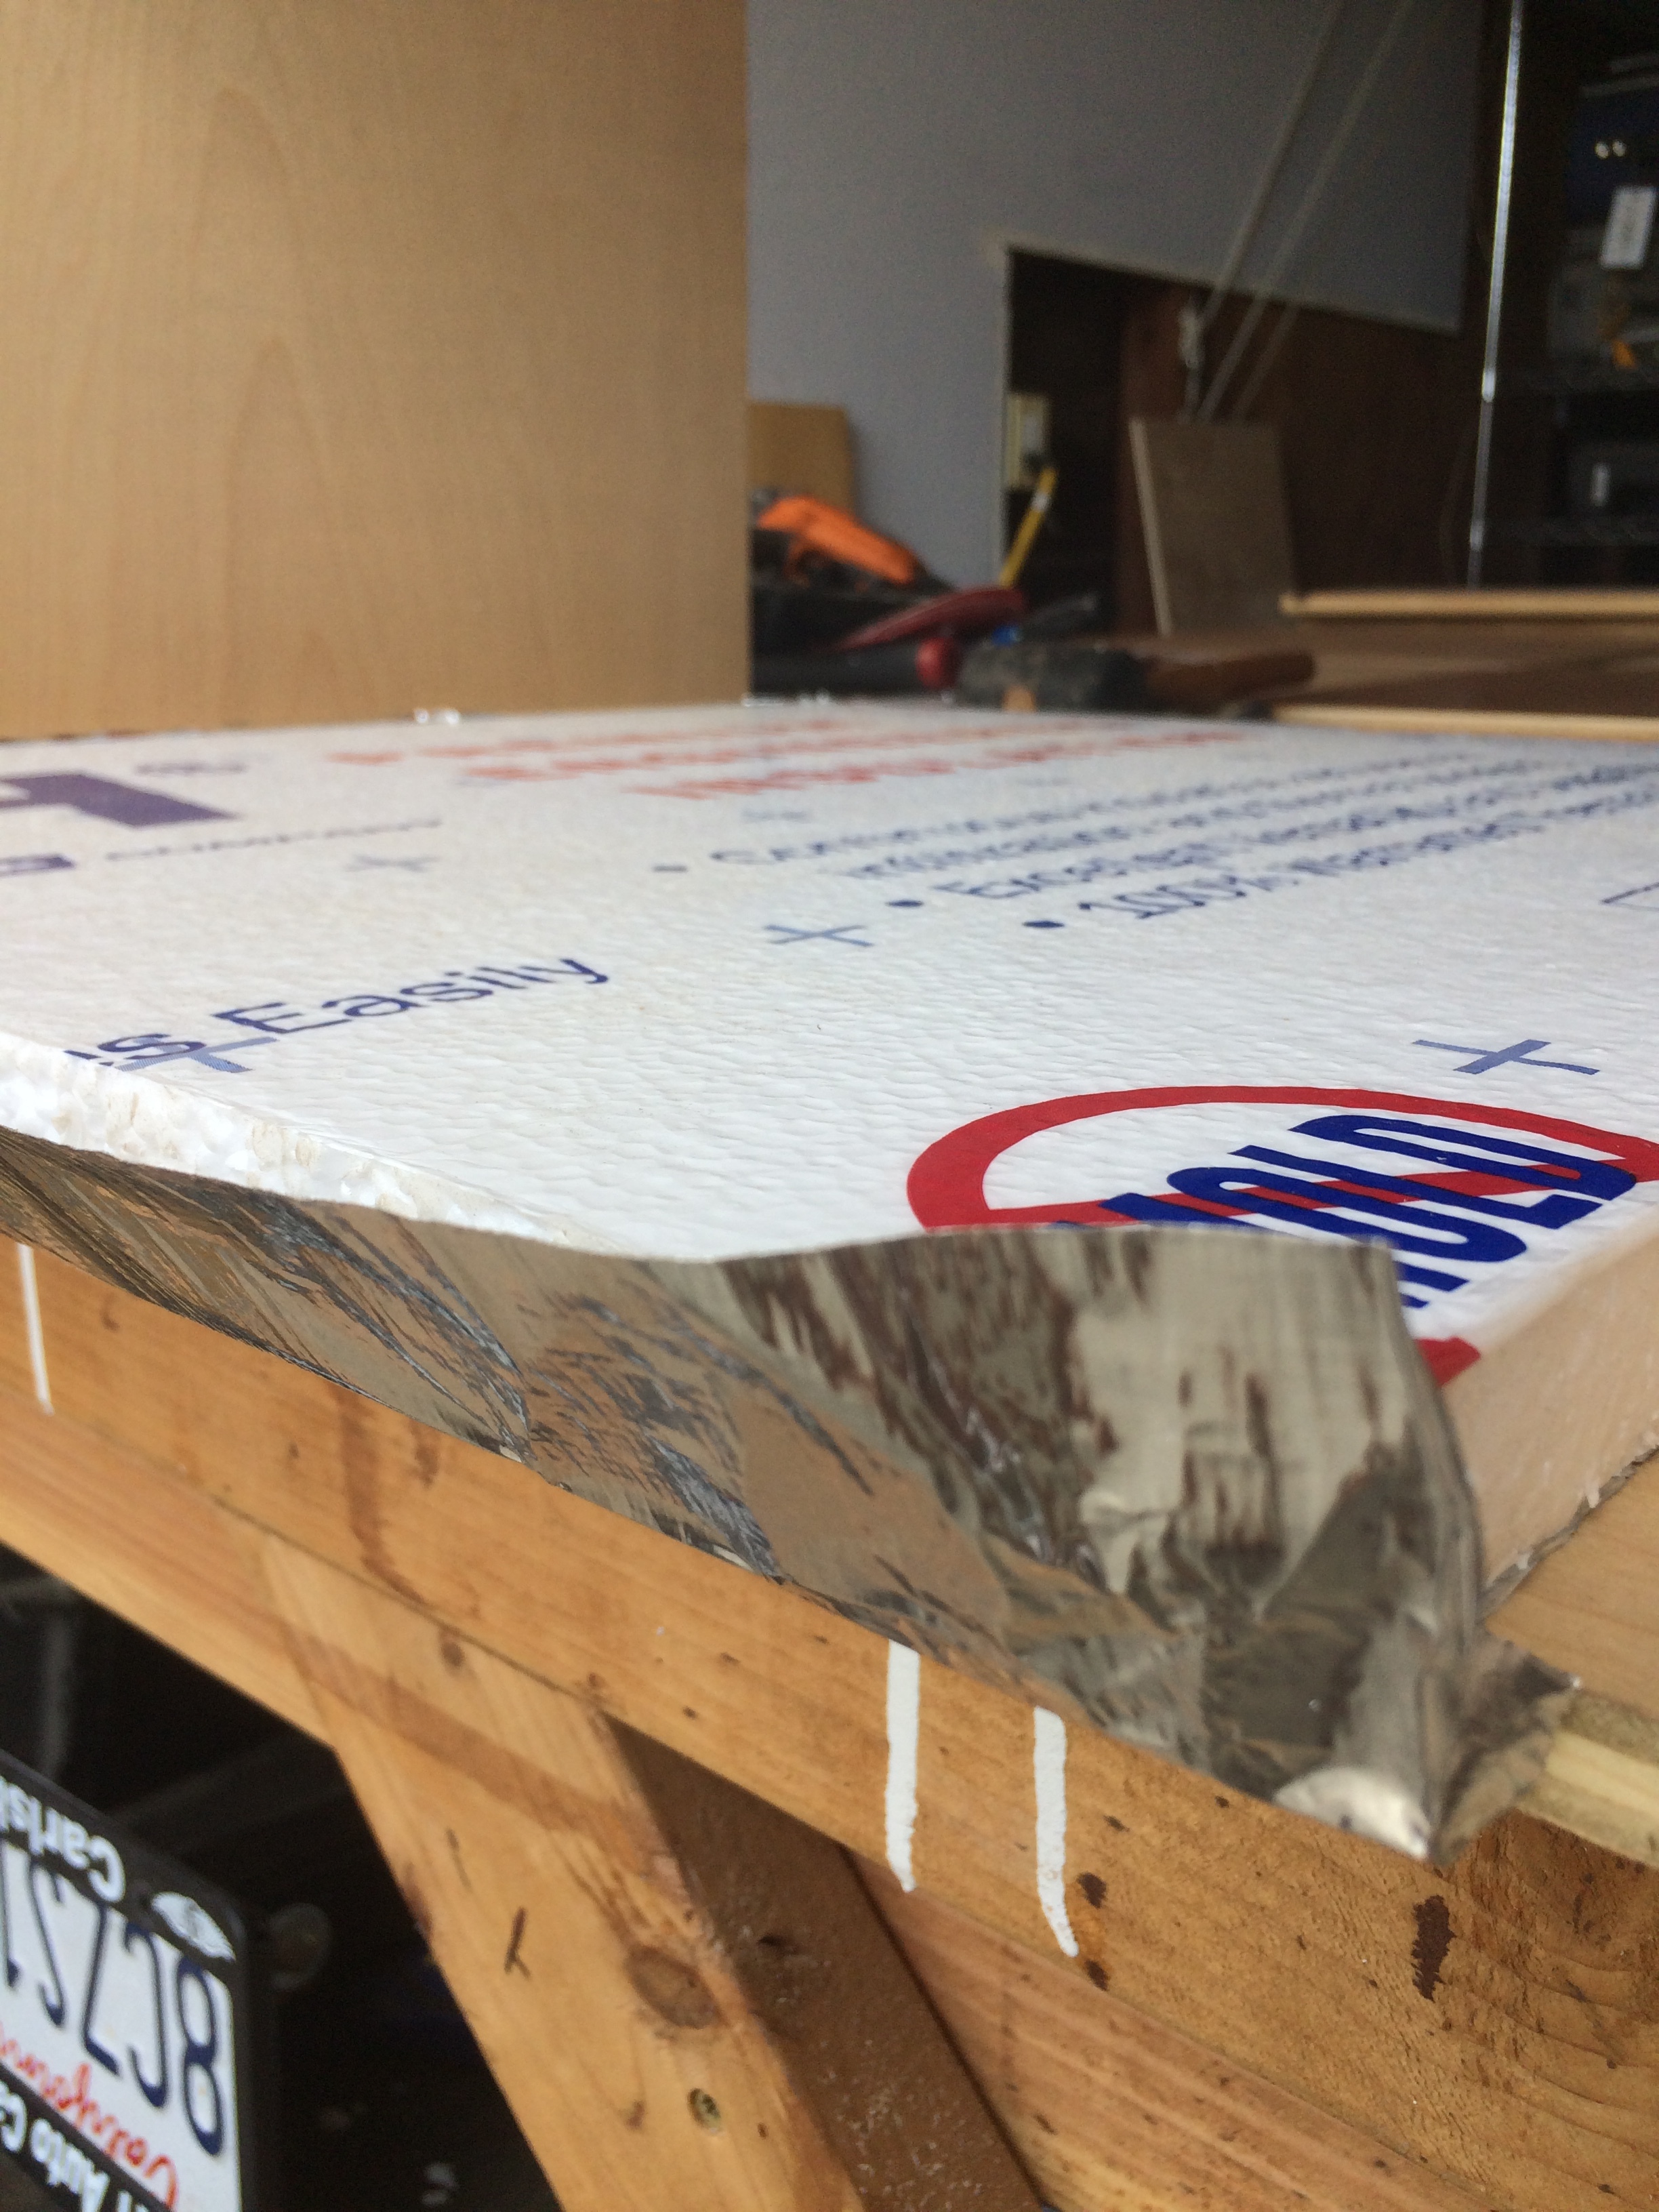
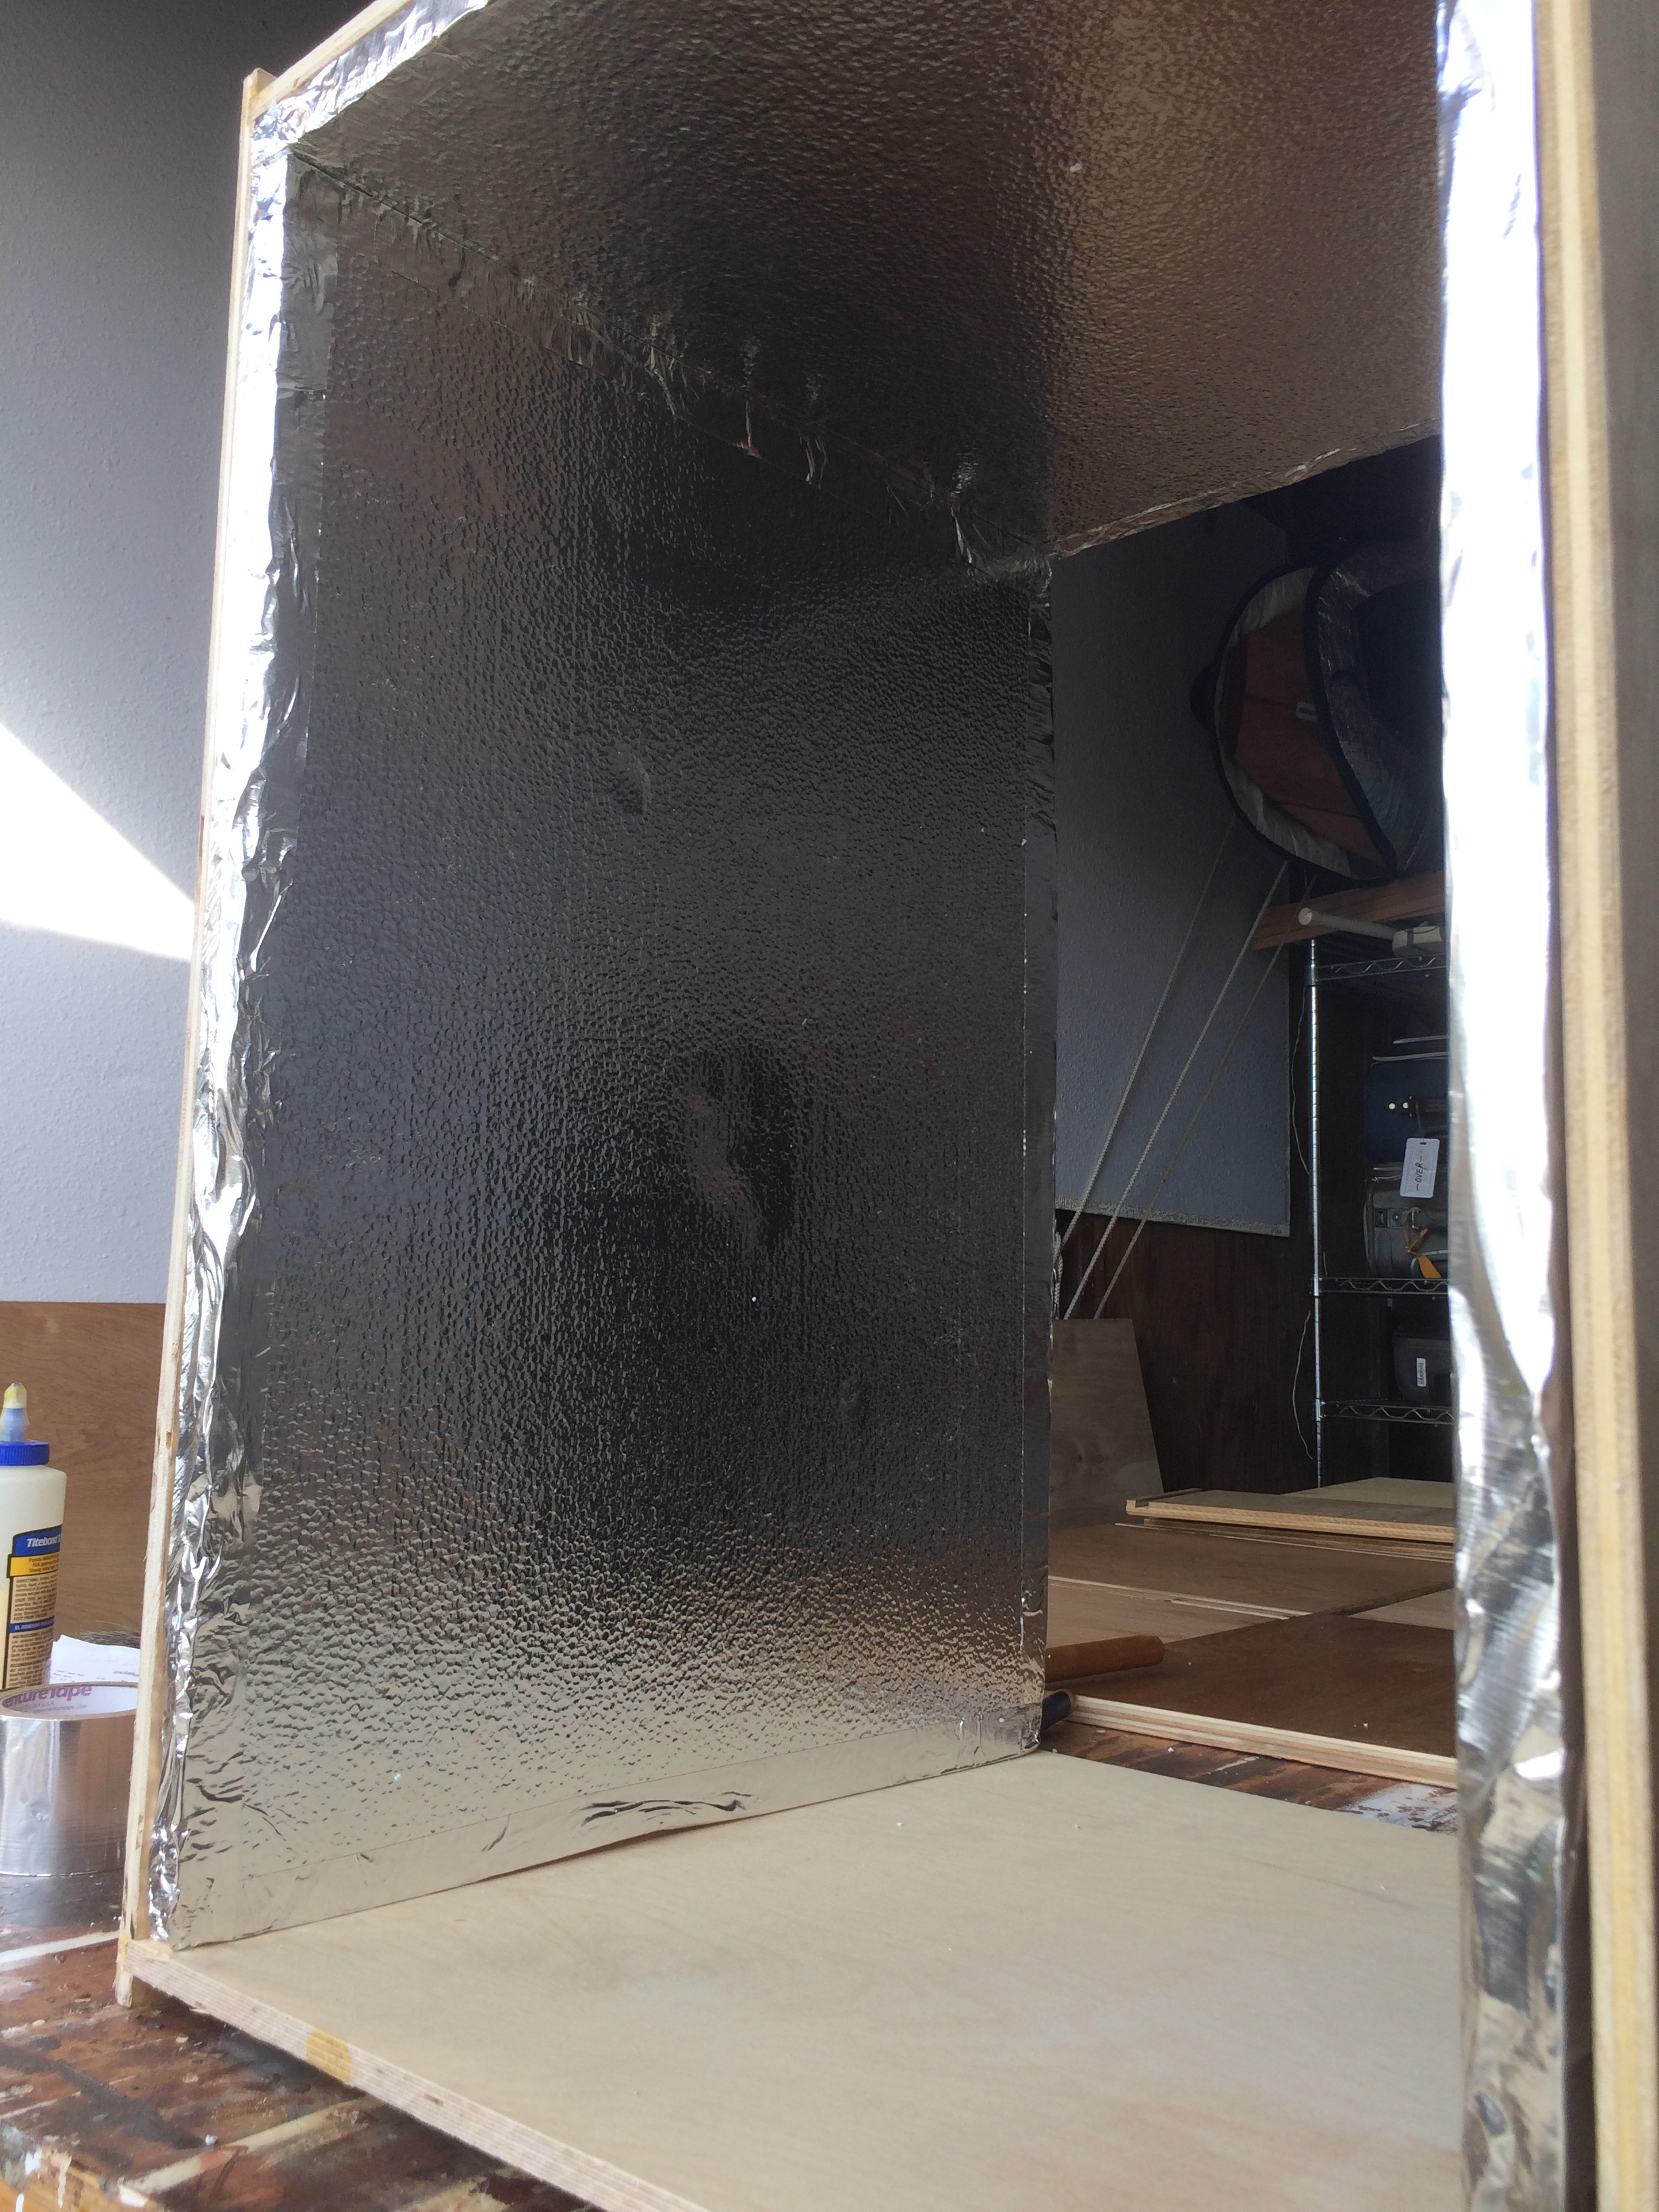
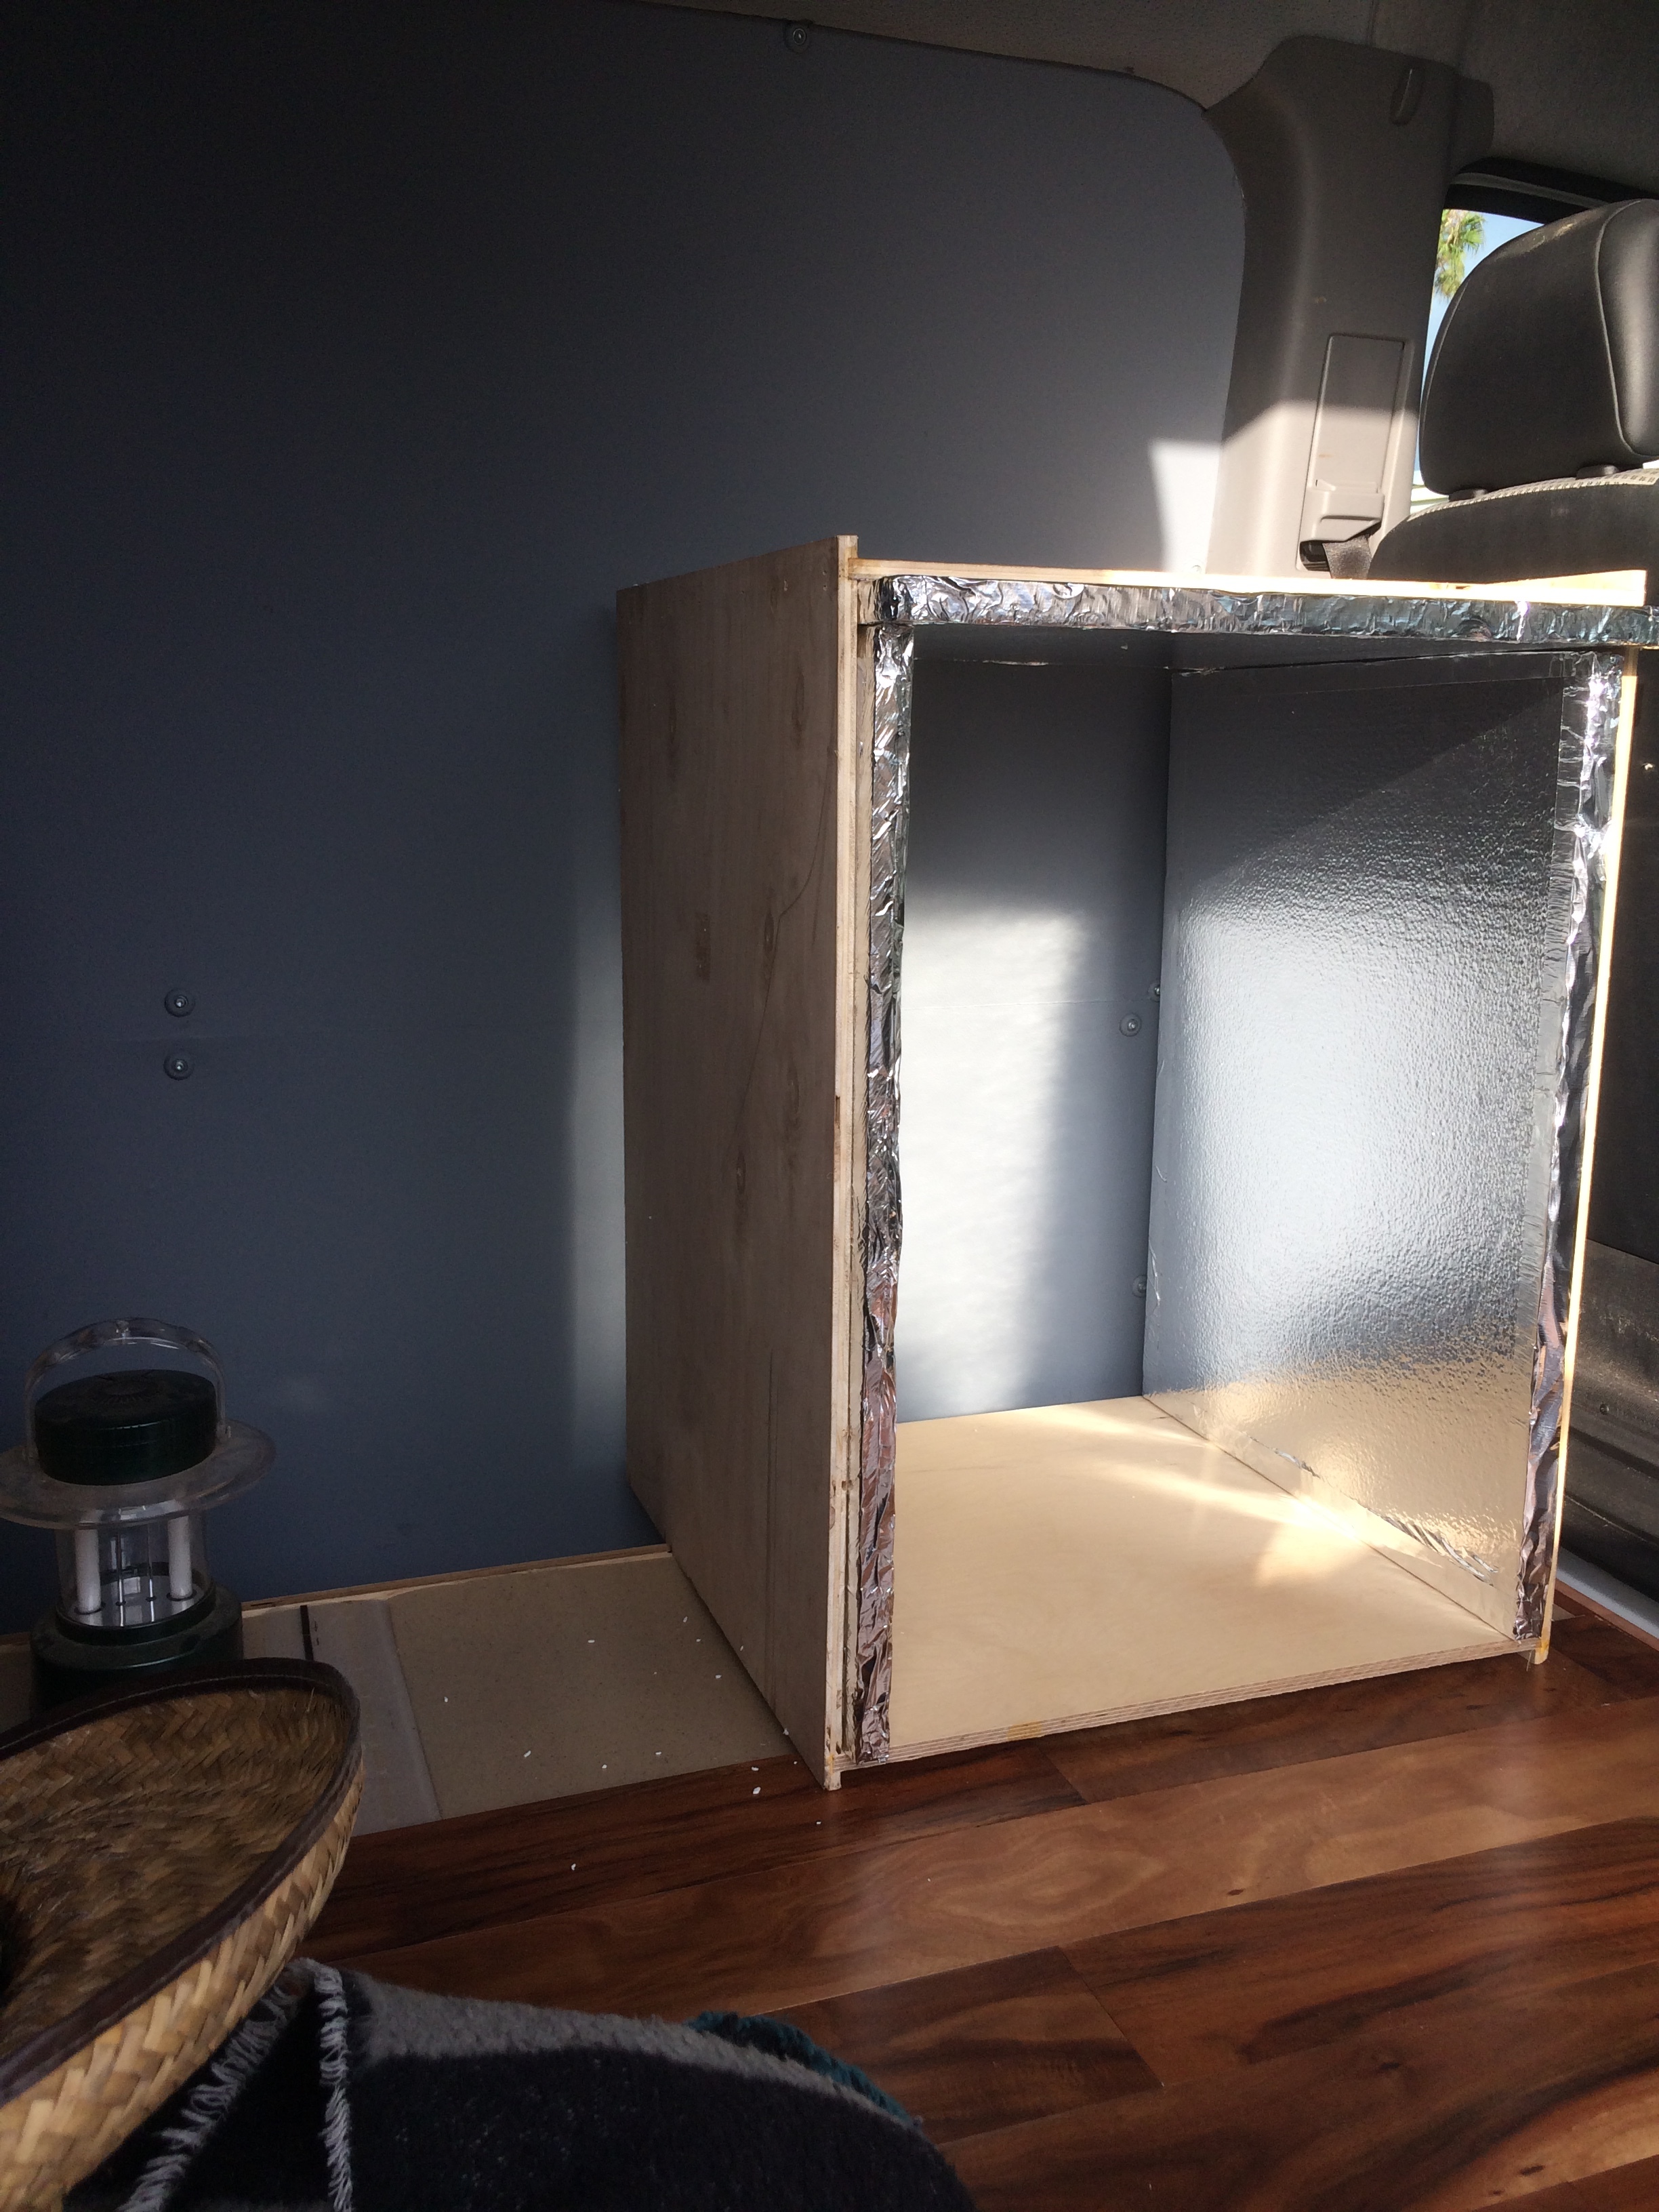
After being off for 3 weeks I am now back at it. I completed cutting most of the cabinets. First up is the refrigerator cabinet because it does not need a finish coat inside. But it did need insulation. I used R-Tech from Lowe’s. A real mess to cut, little white foam cells every where. To try and contain the mess I sealed the edges with aluminum tape (great stuff).
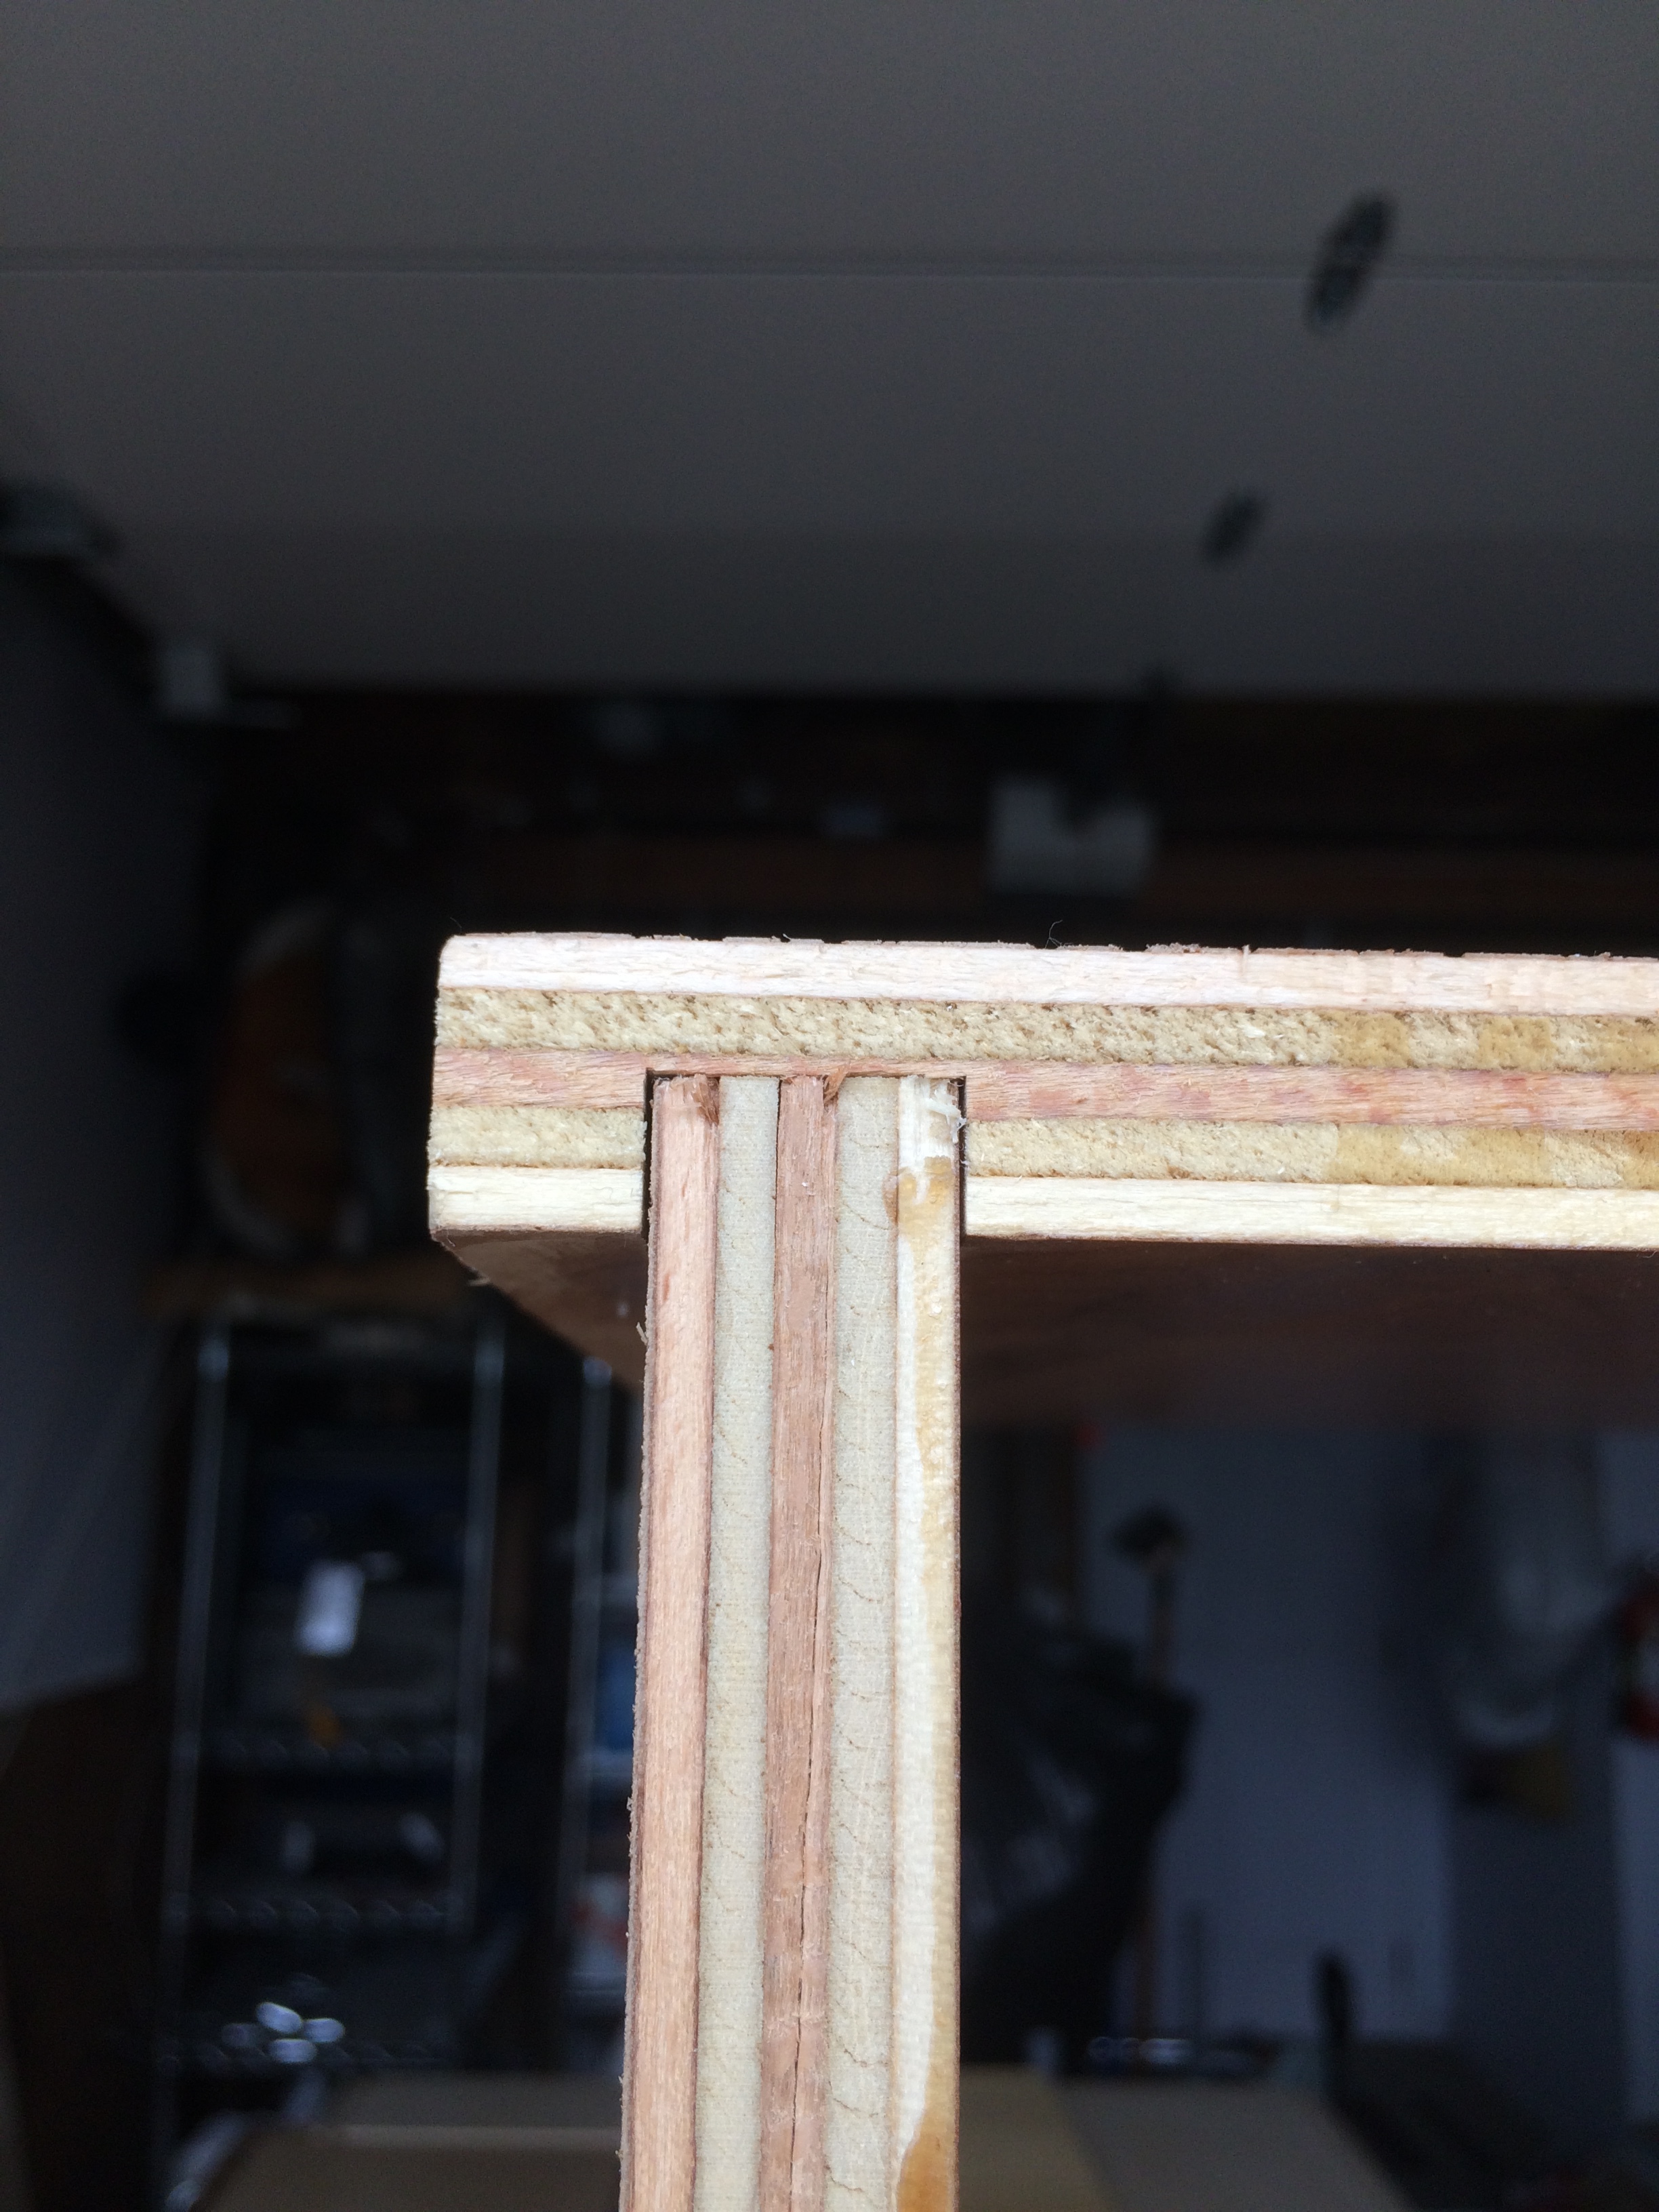
Building cabinet boxes is pretty easy. You need a stable table saw with a set of dado blades. Determine your inside dimensions and add to the dimension based on the thickness of your plywood. If your using 1/2 inch ply, the sides with the dado cuts add 1 inch for each side that has a dado cut. That accommodates 1/2 inch offset from the edge and a 1/2 inch for the cut. If you are using 3/4 ply each side with a dado adds 1 1/4 inch, 1/2 inch for the offset 3/4 for the cut. So for a cabinet in 1/2 inch ply that needs to be 22 inches wide internal dimension, you need to cut a piece of ply 24 inch. The dado depth is 1/4 inch on 1/2 inch ply , 3/8 of an inch on 3/4 ply. When you cut the top and bottom they need to be a 1/2 inch longer ( or 3/4) to accommodate the depth of the cut and get the desired height. To add a back to the cabinet do this exercise on both the sides and the top and bottom pieces to achieve the desired depth. I try to get my grain vertices on the sides and tie that direction to the top and bottom. It gets more expensive with more leftovers. But it is nice if you can do it.
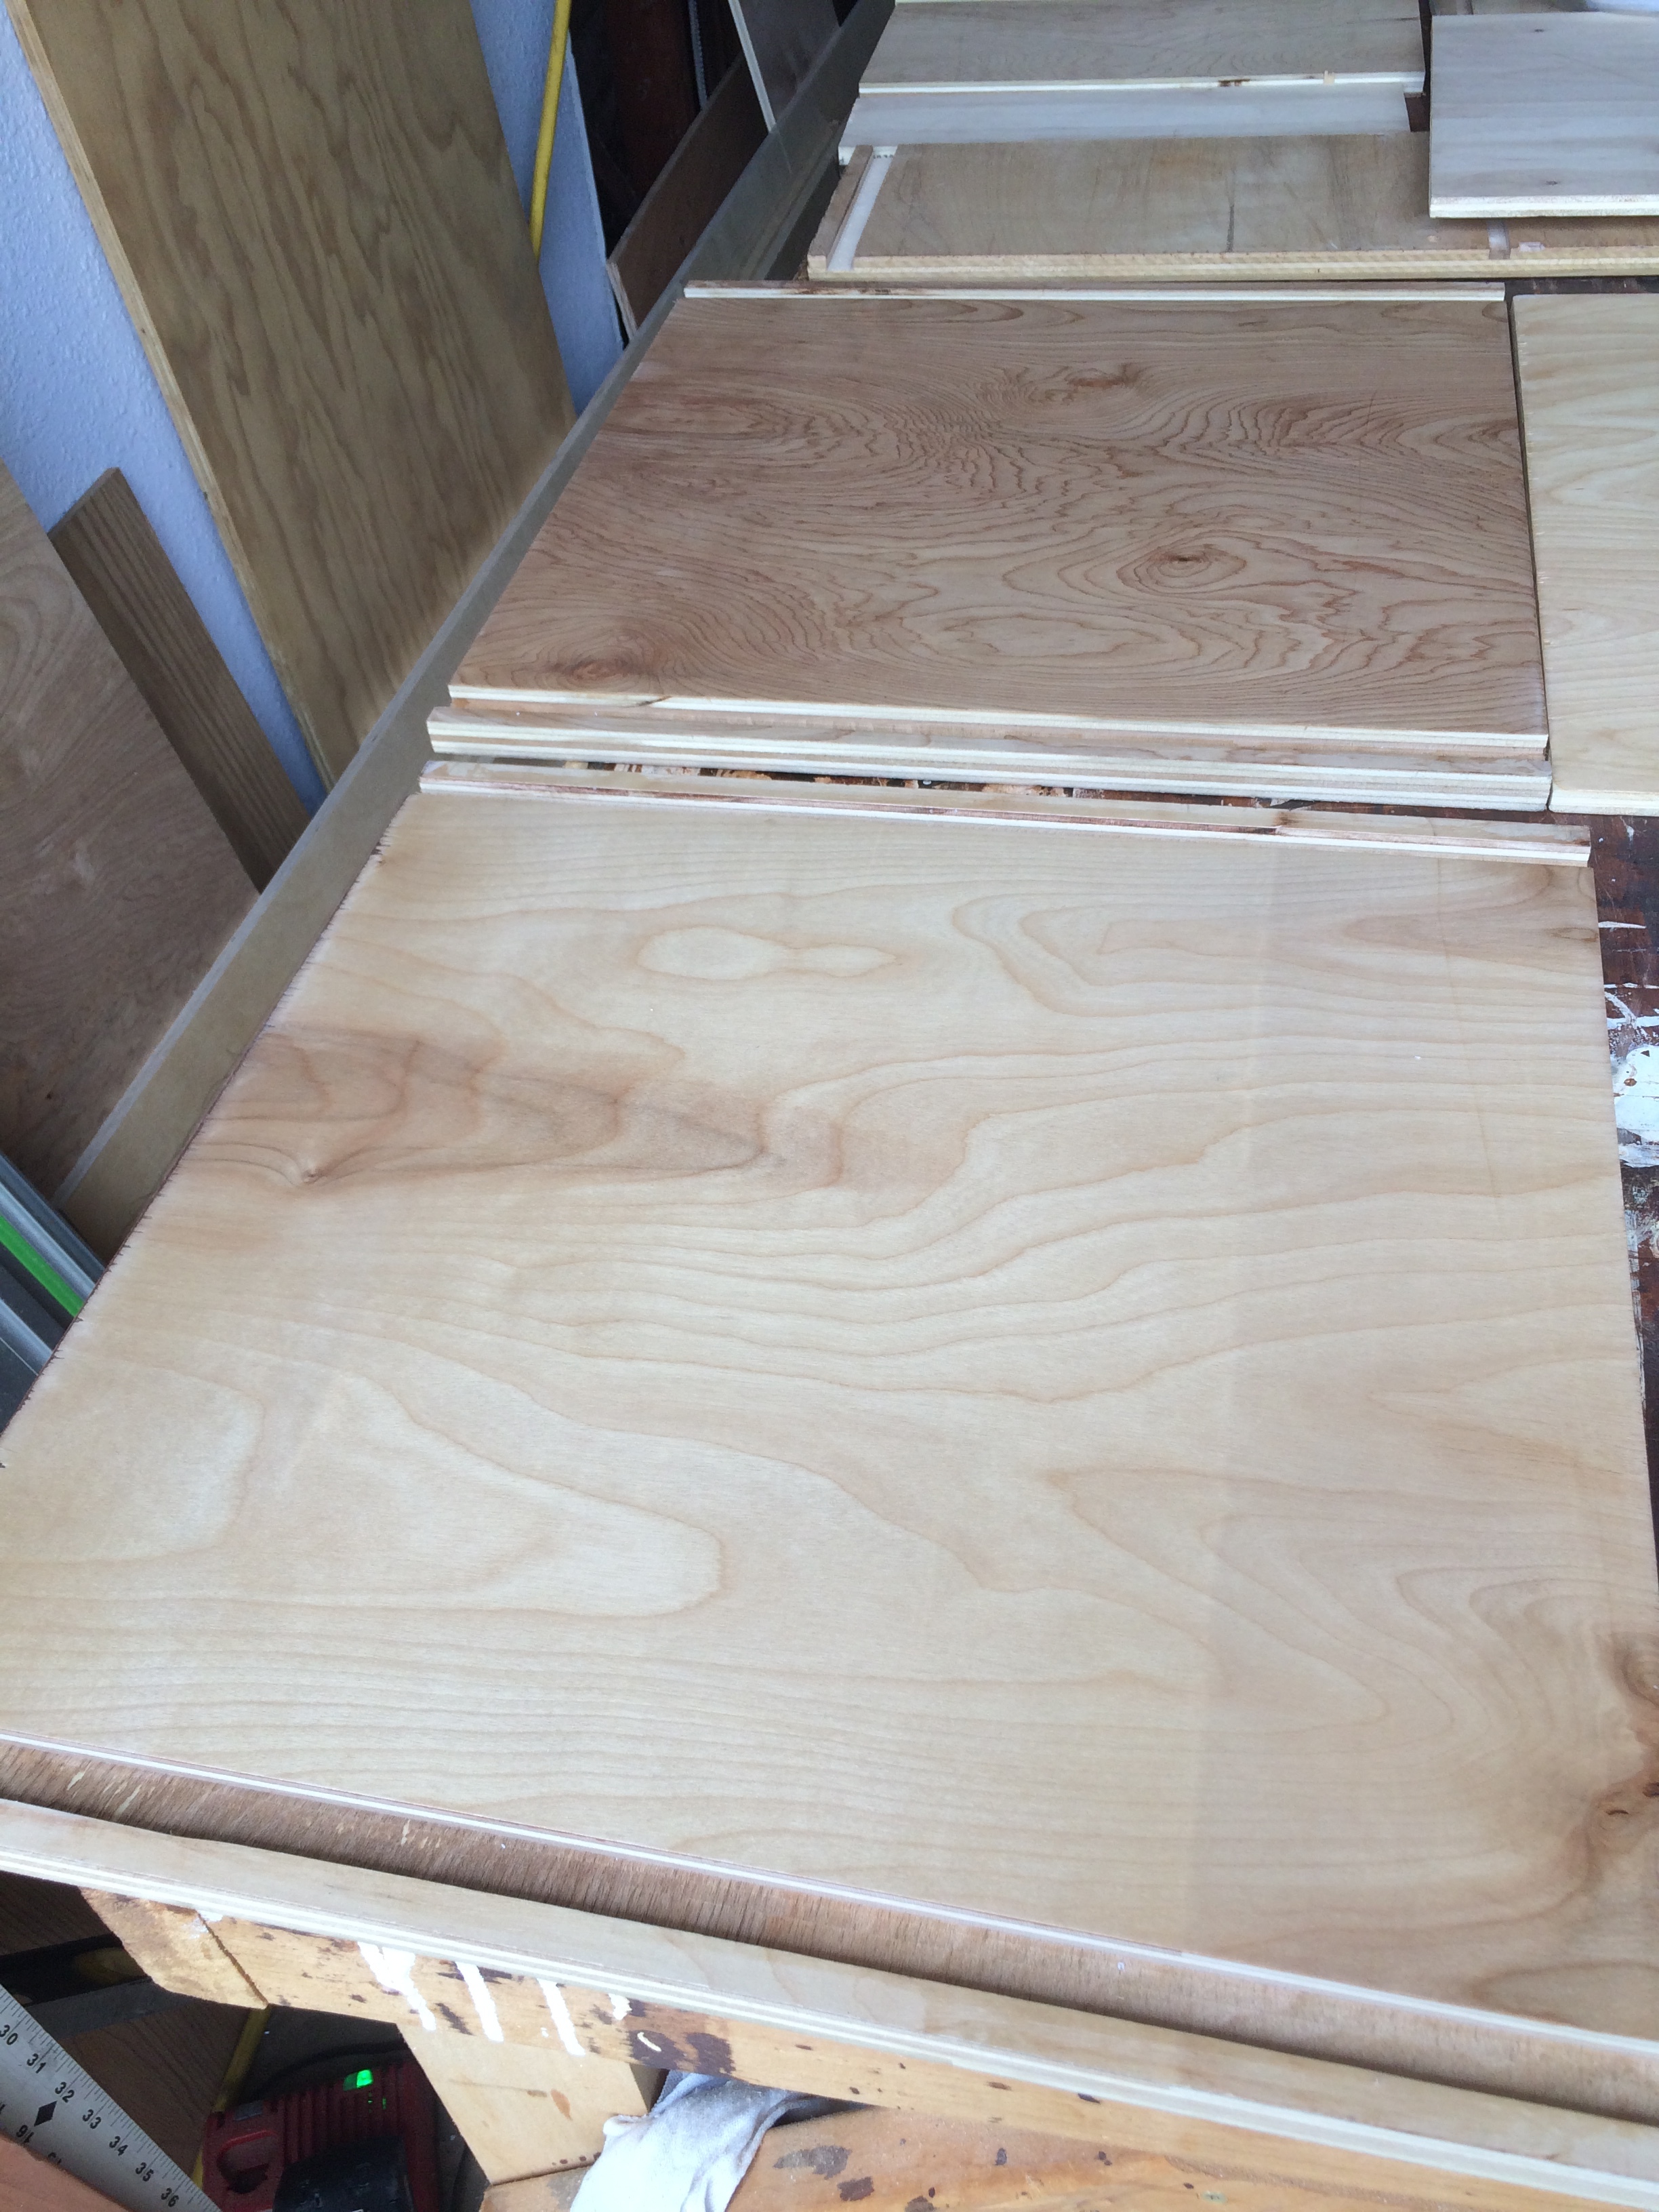
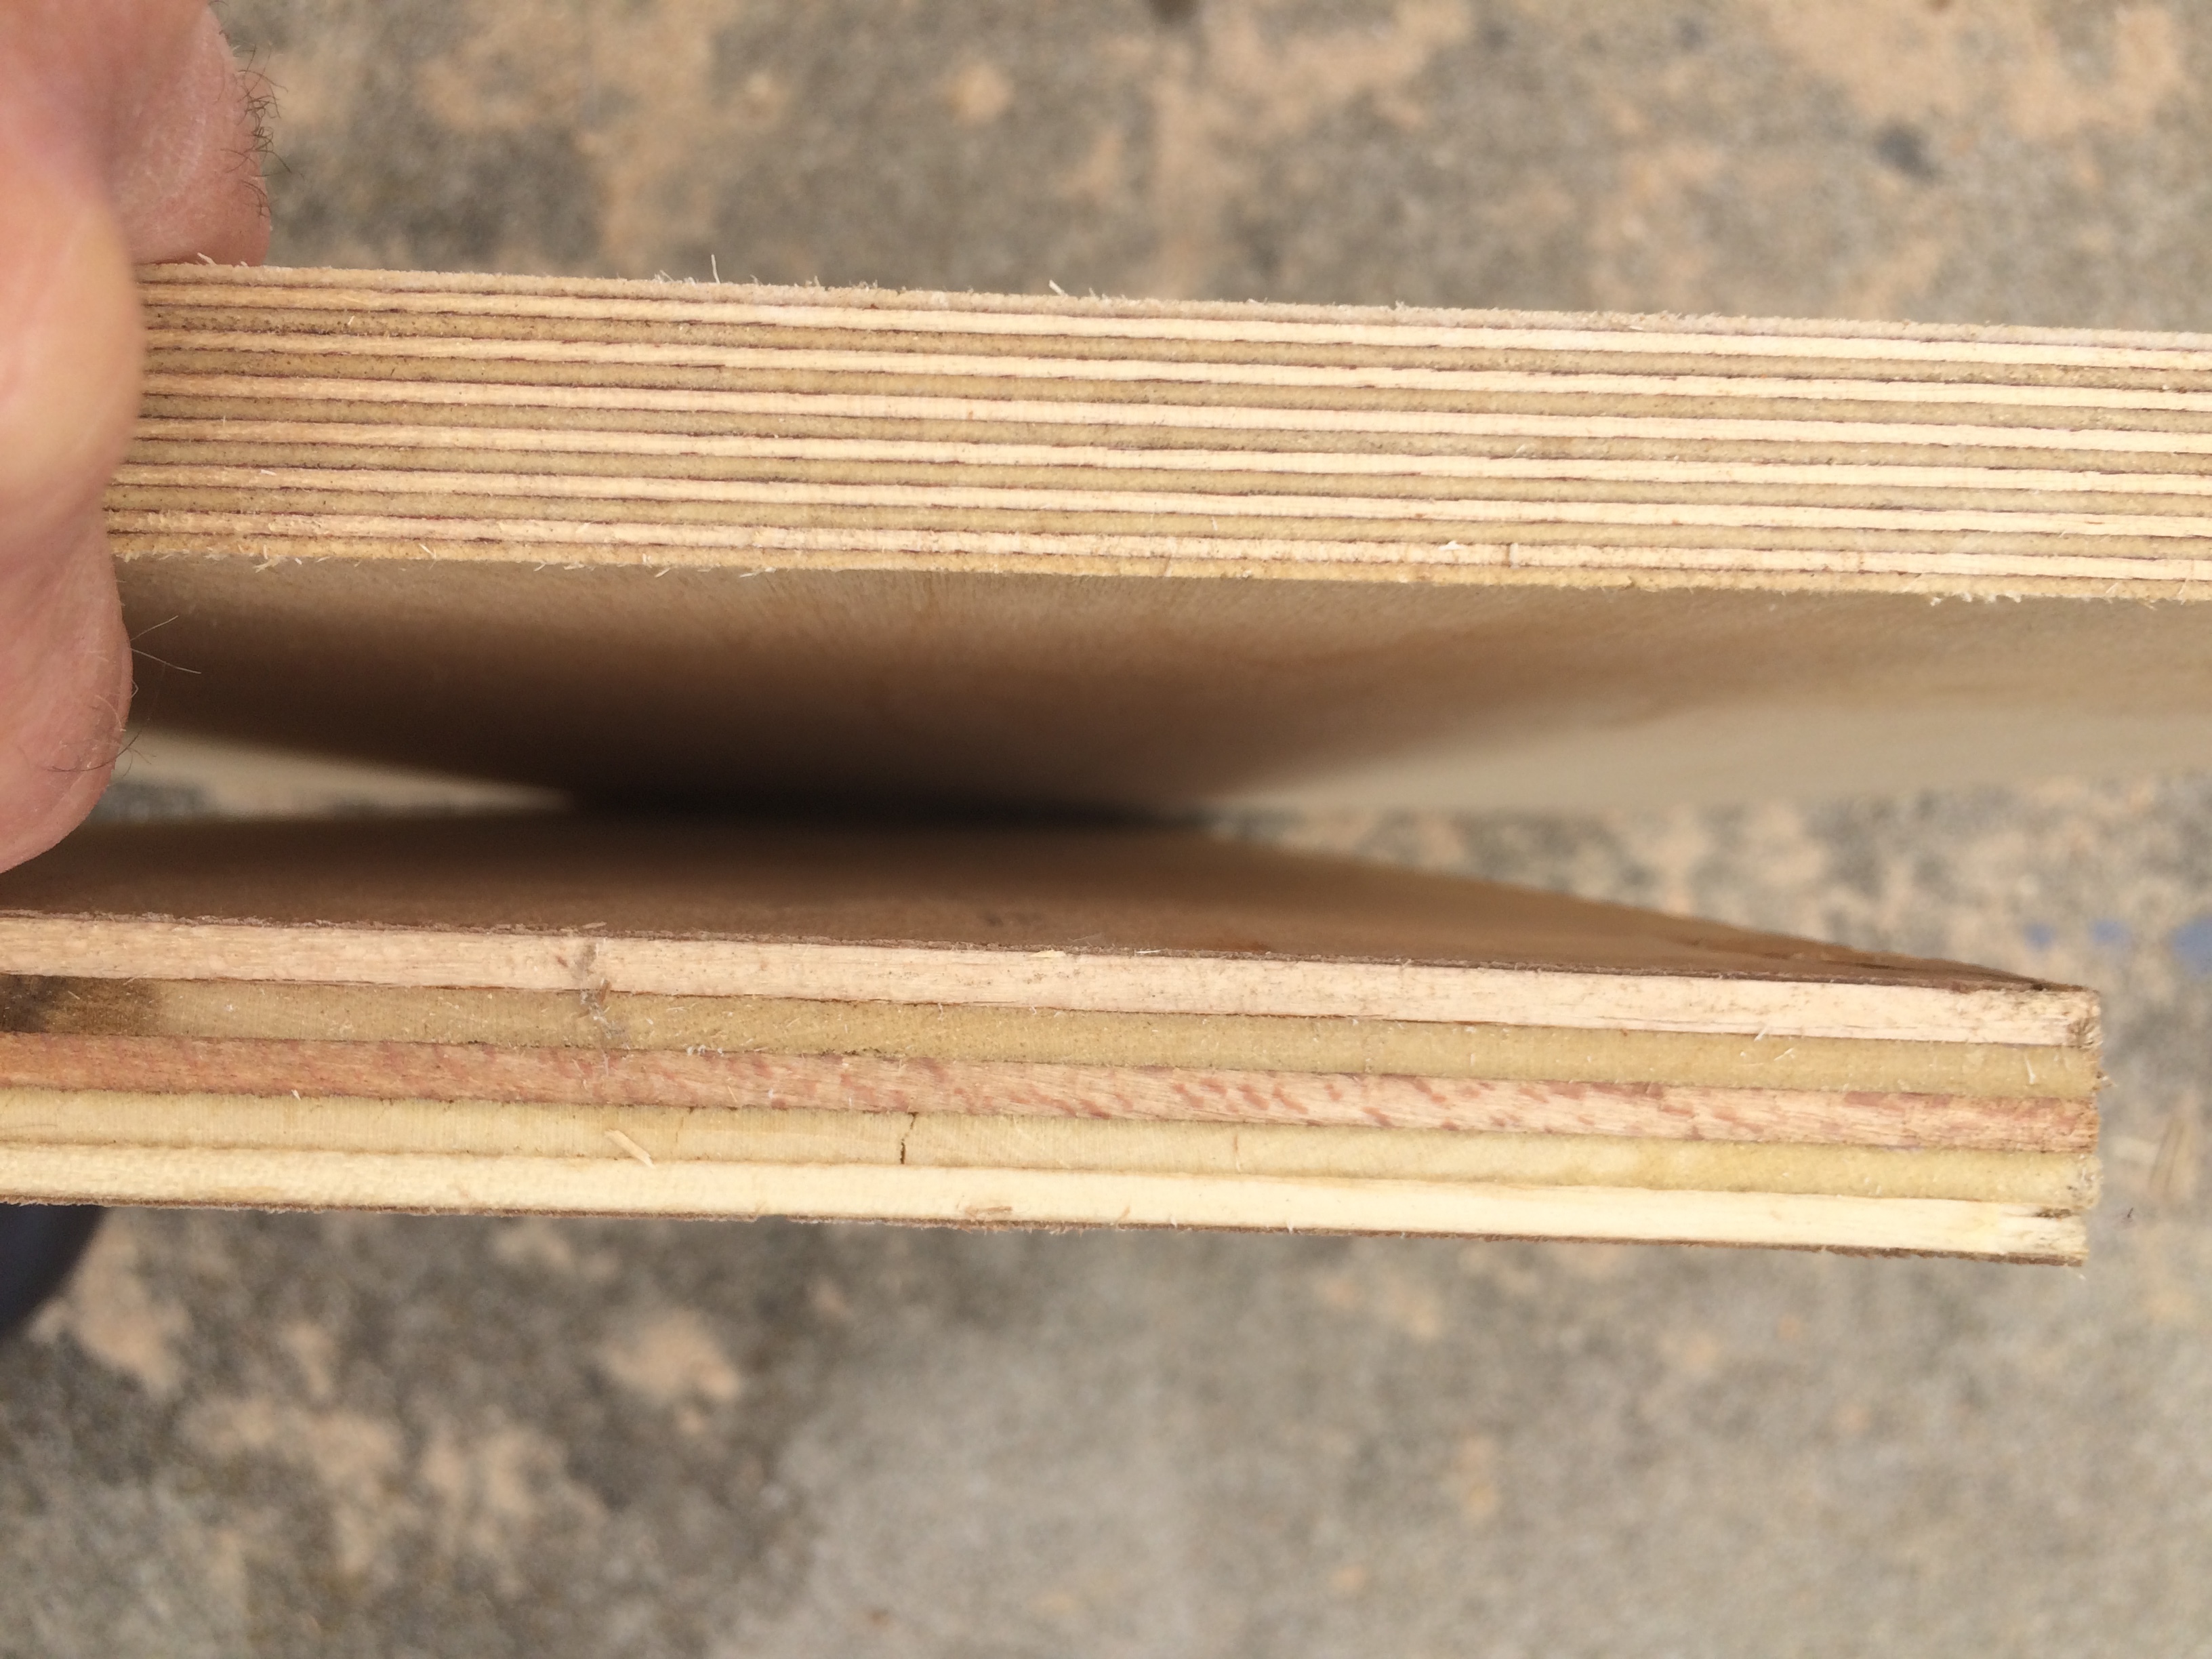
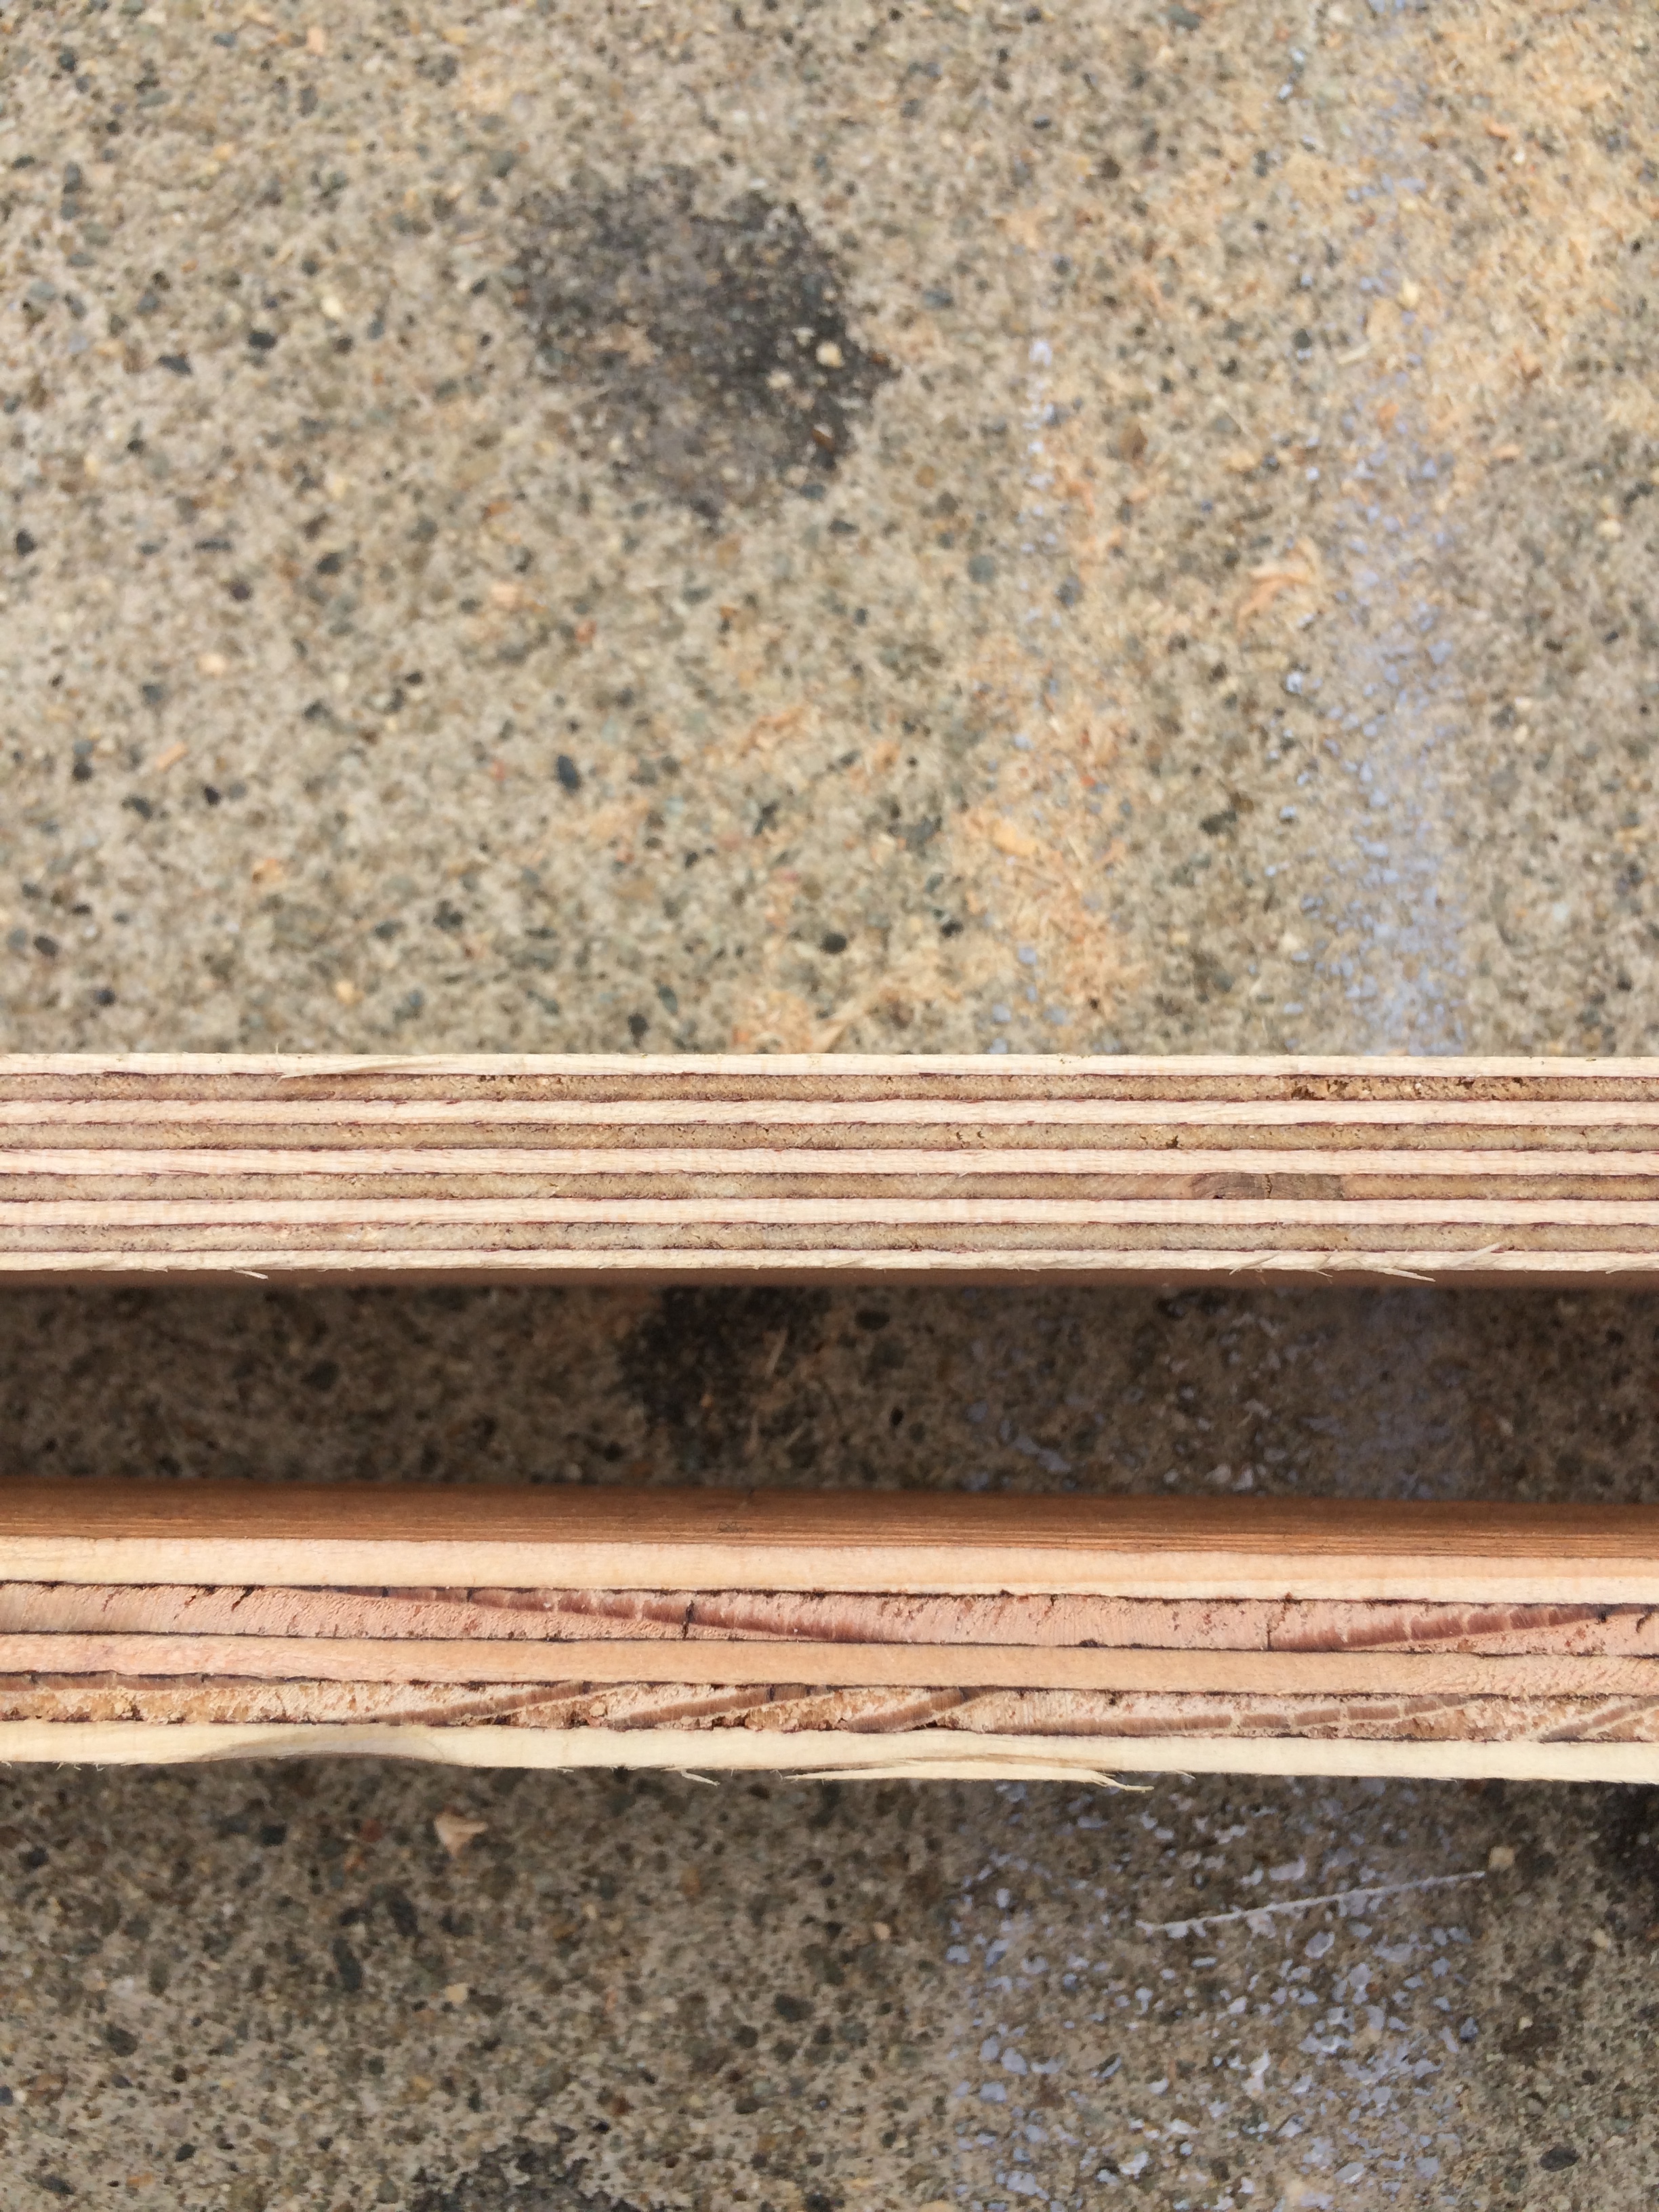
Do not confuse me with a true craftsman. I my have a slightly elevated hack factor but I will never be in fine woodworking. So when hacking my way through this, I dealt with a range of material. Yes you can get ply from HD or Lowes but you are better served to go to a high end lumber store that services cabinet and furniture makers. In San Diego that is Frosts lumber in Orange County that is Austin’s in Santa Ana. In the Philadelphia area visit Diamond Lumber near Pemberton NJ. (Prepare to be amazed) You can get construction grade ply, or one side sanded or both sides sanded. Finished in oak, cherry, maple etc. if you want to do all one wood species cabinets try and use that type of ply on any cabinet end that is exposed. but the best of the plywood’s seem to be Baltic birch which like any plywood comes in many grades including aircraft grade. So here is an example of the difference in Baltic birch (1/2 and 3/4) from Lowe’s vs Frost lumber. If I were OCD I would go back and do all of my cabinets with this ply. But, too what end. Once all you boxes are done the fronts and drawers will hide it from view.
I don’t have a spray booth, only a garage and driveway. So to get the insides of my cabinets finished I use MinWax Wipe On Poly.
Great stuff, especially the new water based. Easy to apply easy to clean up. Second coat prep is to sand and wipe off with a damp cloth.
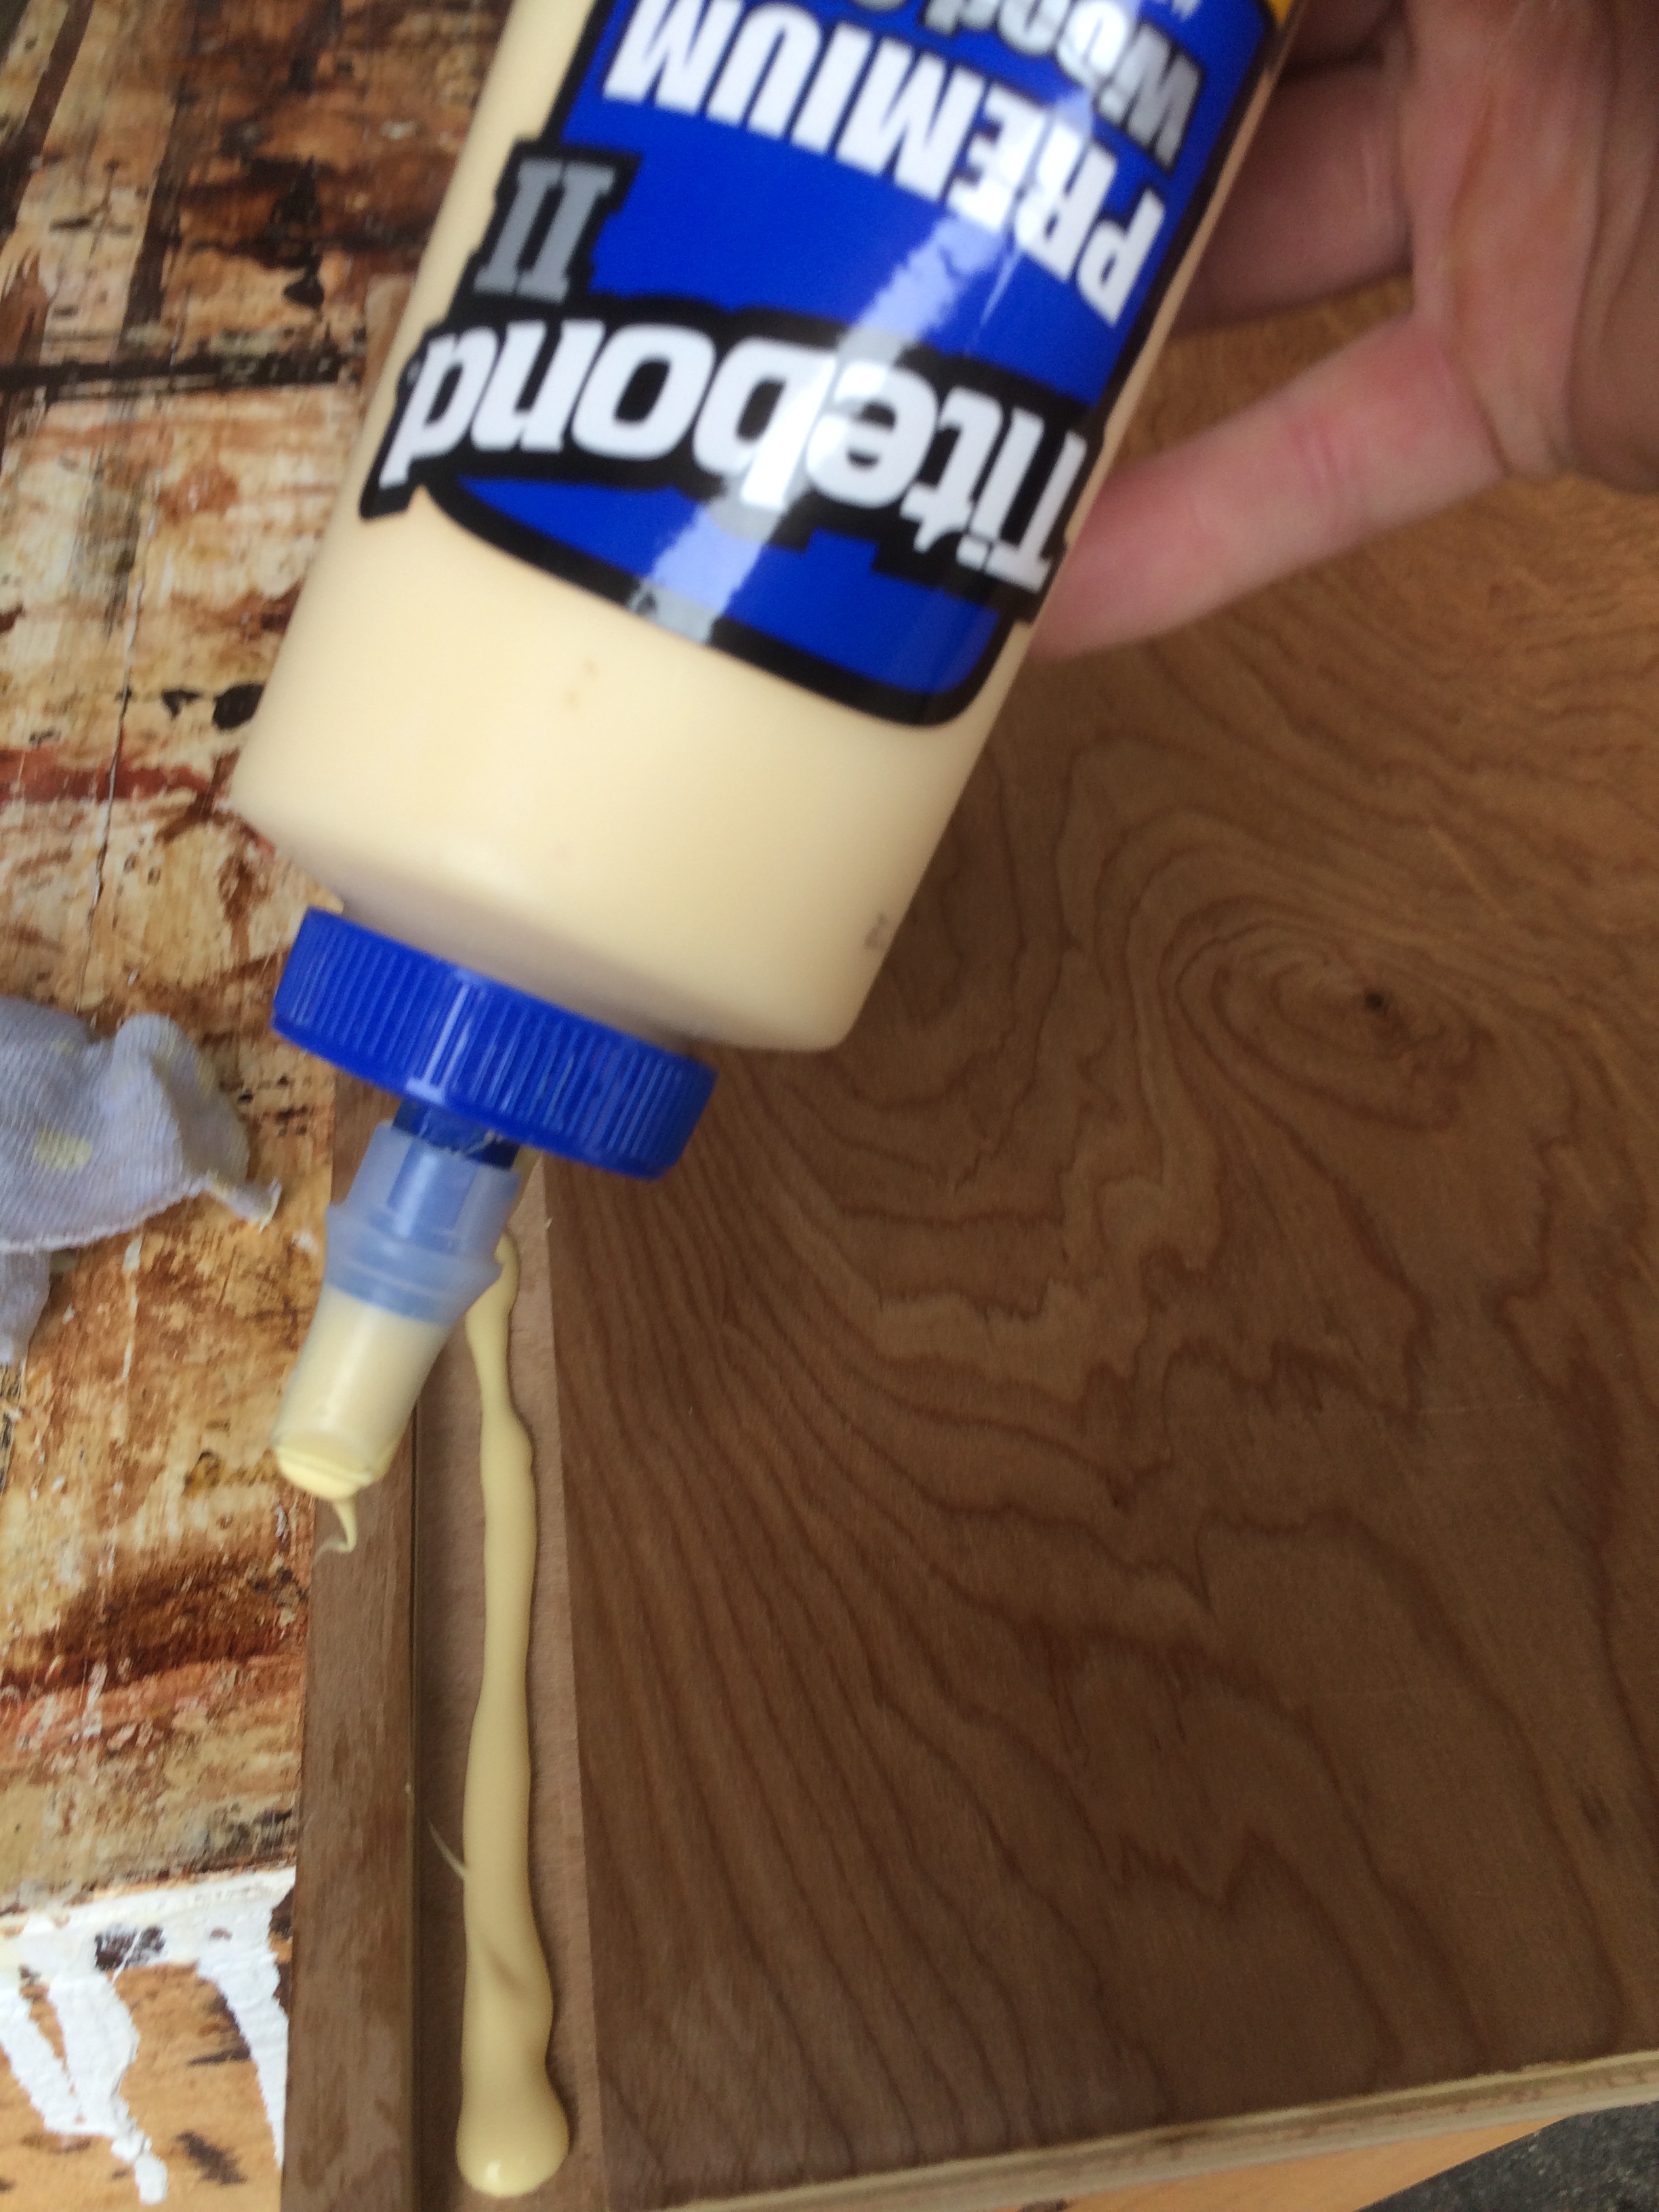
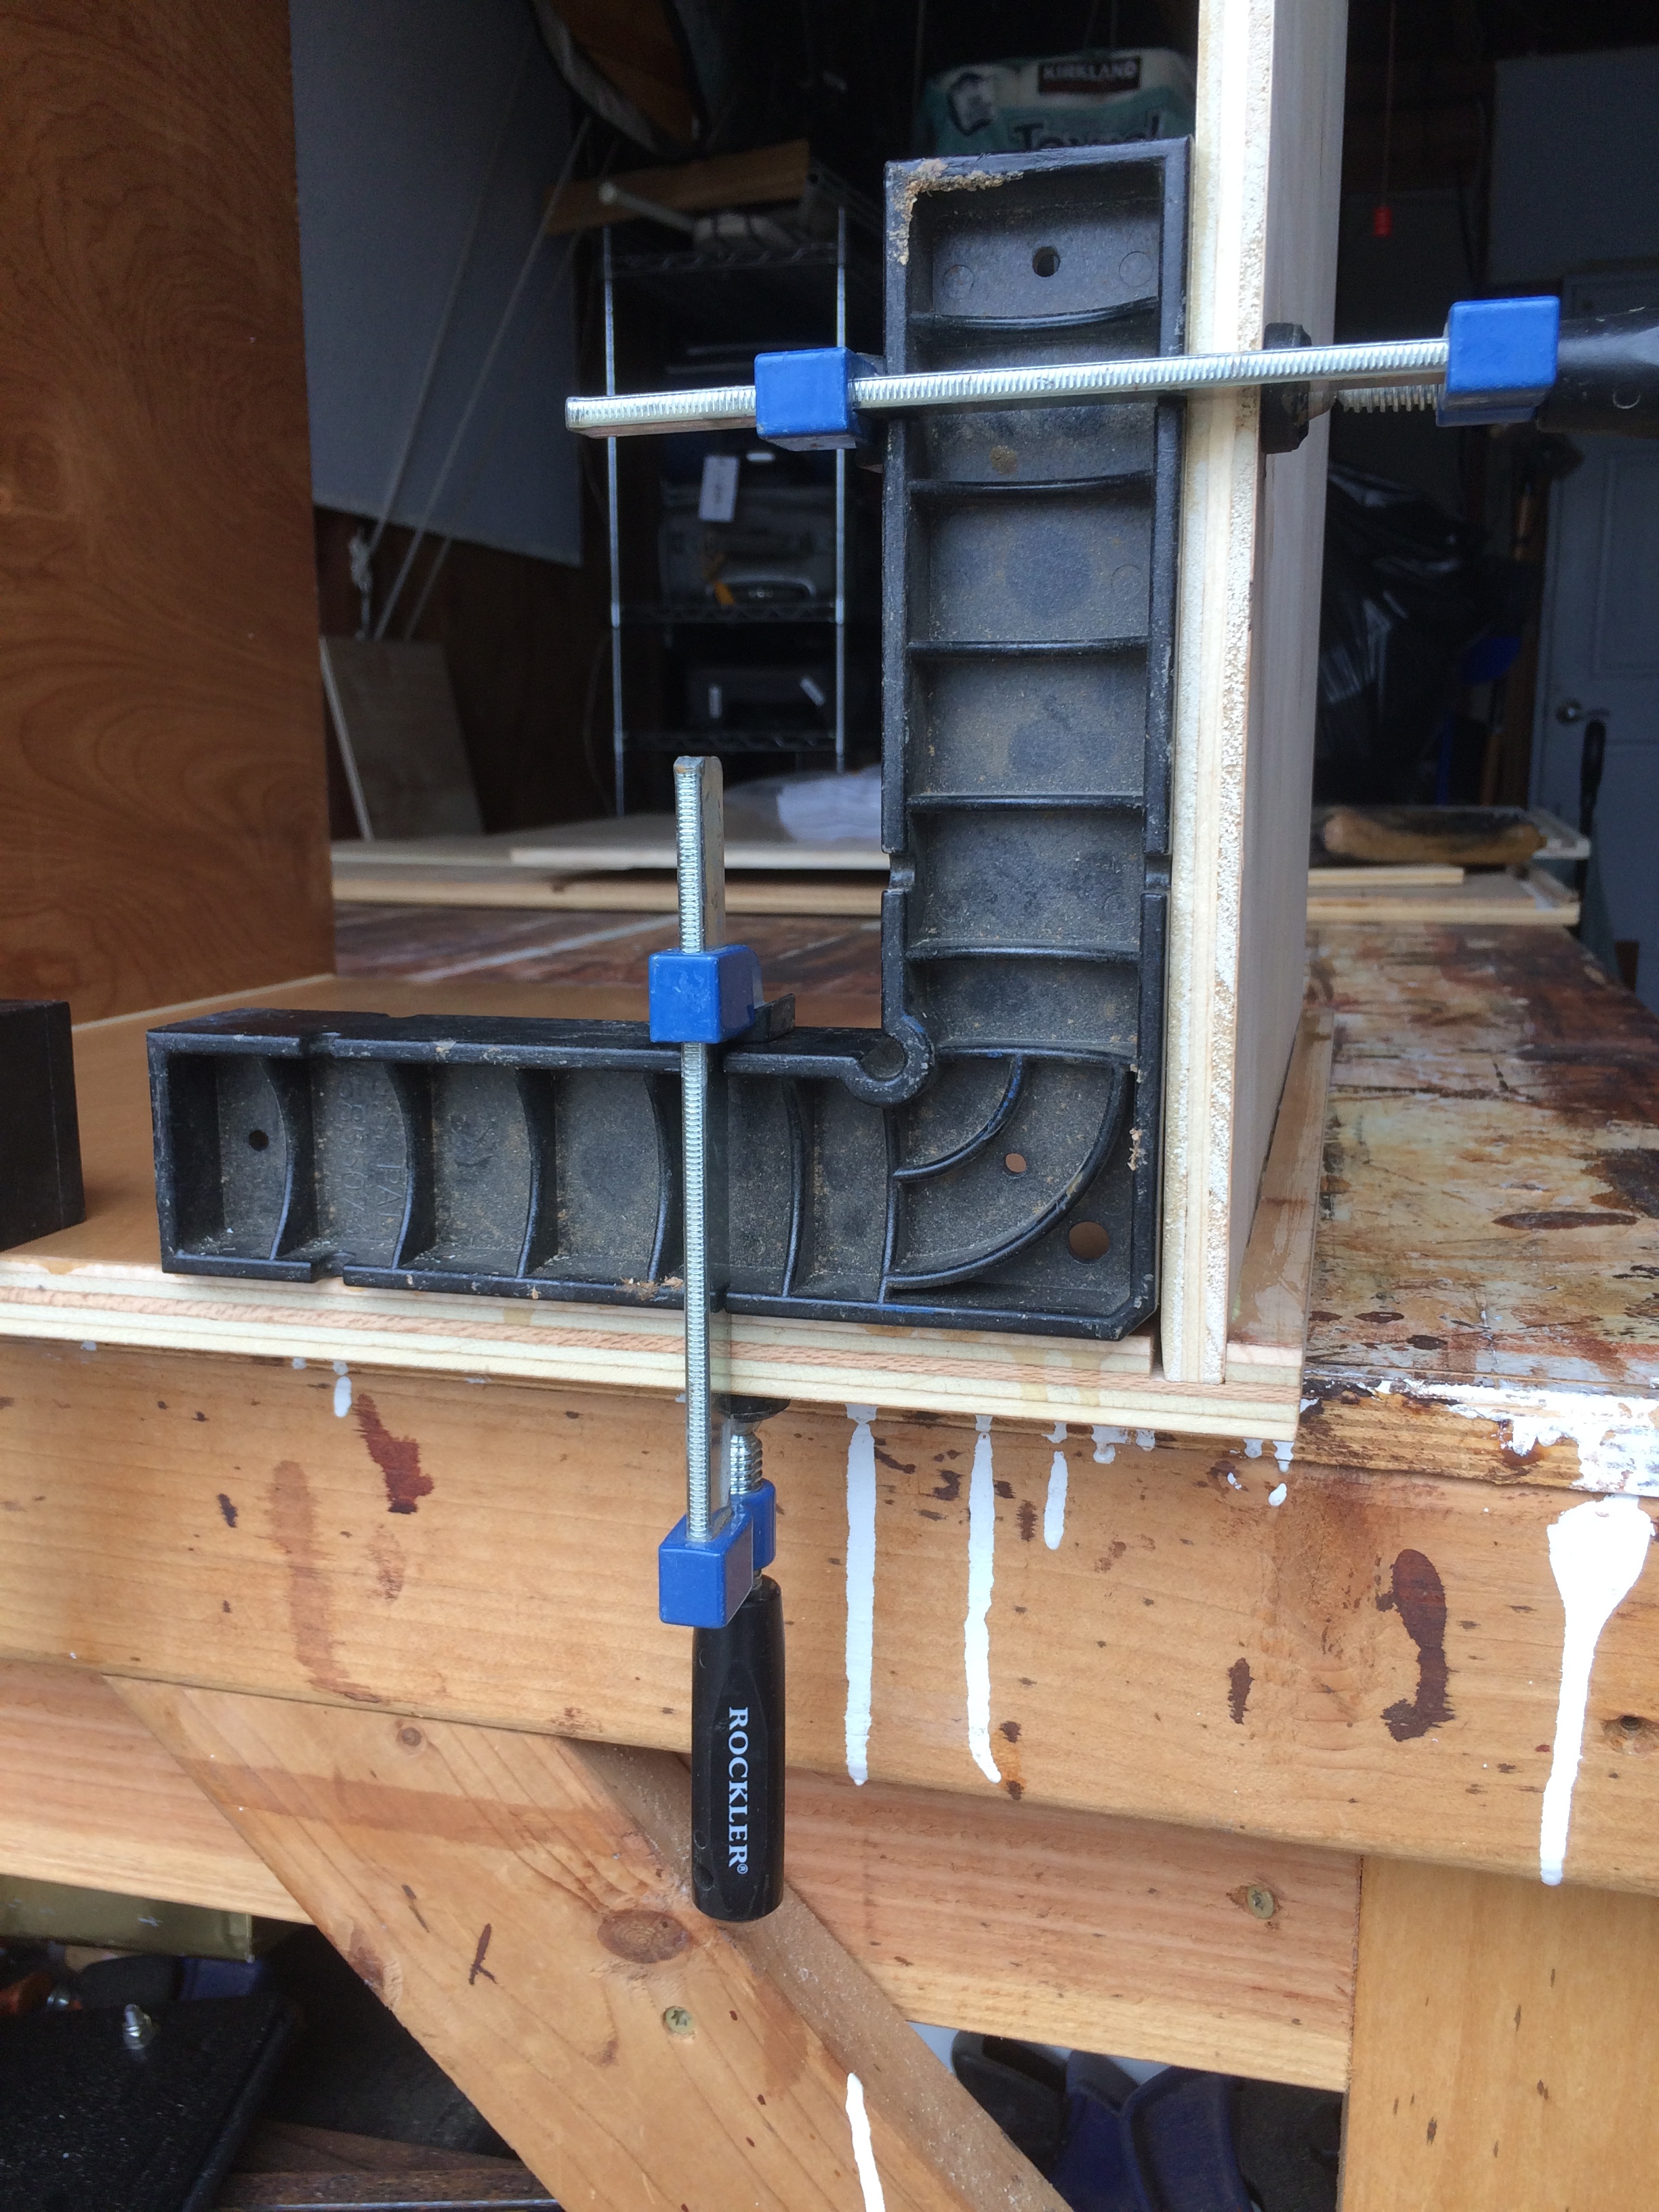
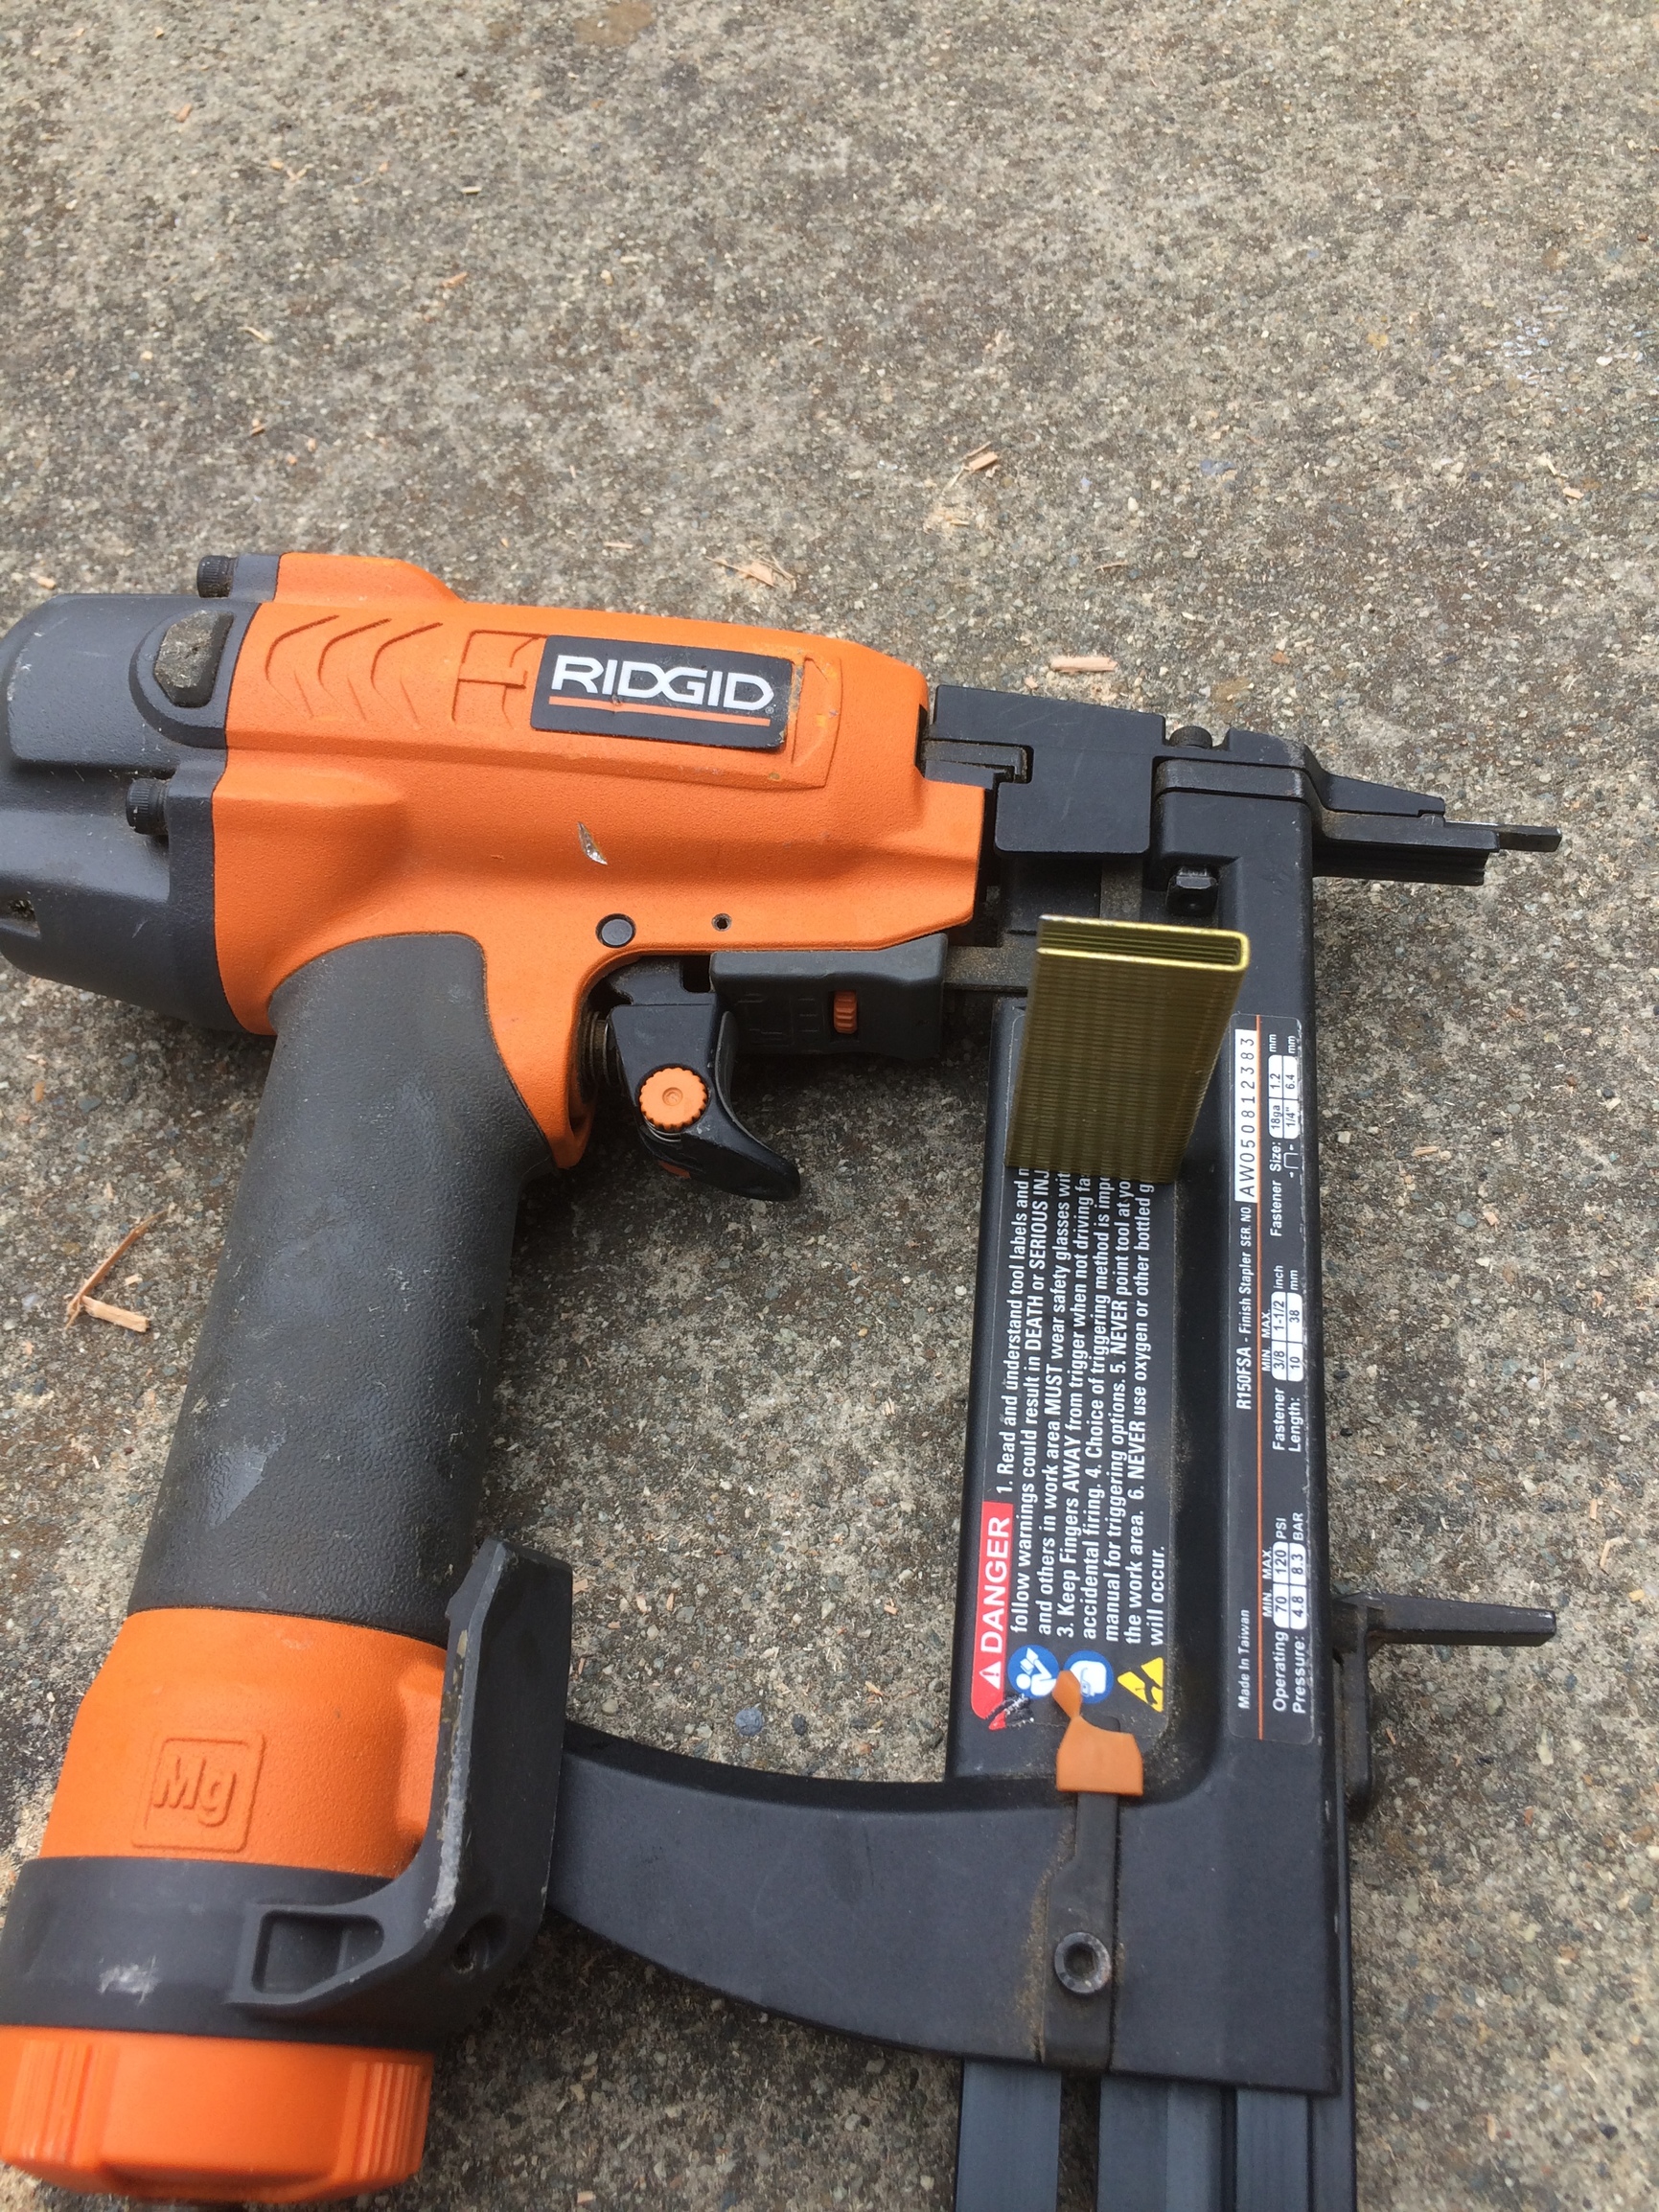
For this you wil need a small compressor and a stapler and a set of corner blocks or these clamps from Rockler. Glue the dados, set the bottom and top in the sides. If you have done a good job on your dados you will need to tap them in with a rubber mallet and staple together. Set the plywood with the clamps. Afterwards staple and do the other side. The finished product looks good even with lower grade ply.
How’s the build coming along so far?
How many days in are we?
Making progress, starting to work on refinements. Like this storage tray at the head of the bed for iPhones, glasses, Rx, tissues, etc.
My wife and I are camping in Santa Barbara this weekend. Not hard core, mostly just a place to sleep. She can give me input on what changes are needed. Some of the inconveniences are based on the small space of the Sprinter 144, and the 10" false floor for storing (4) longboards.
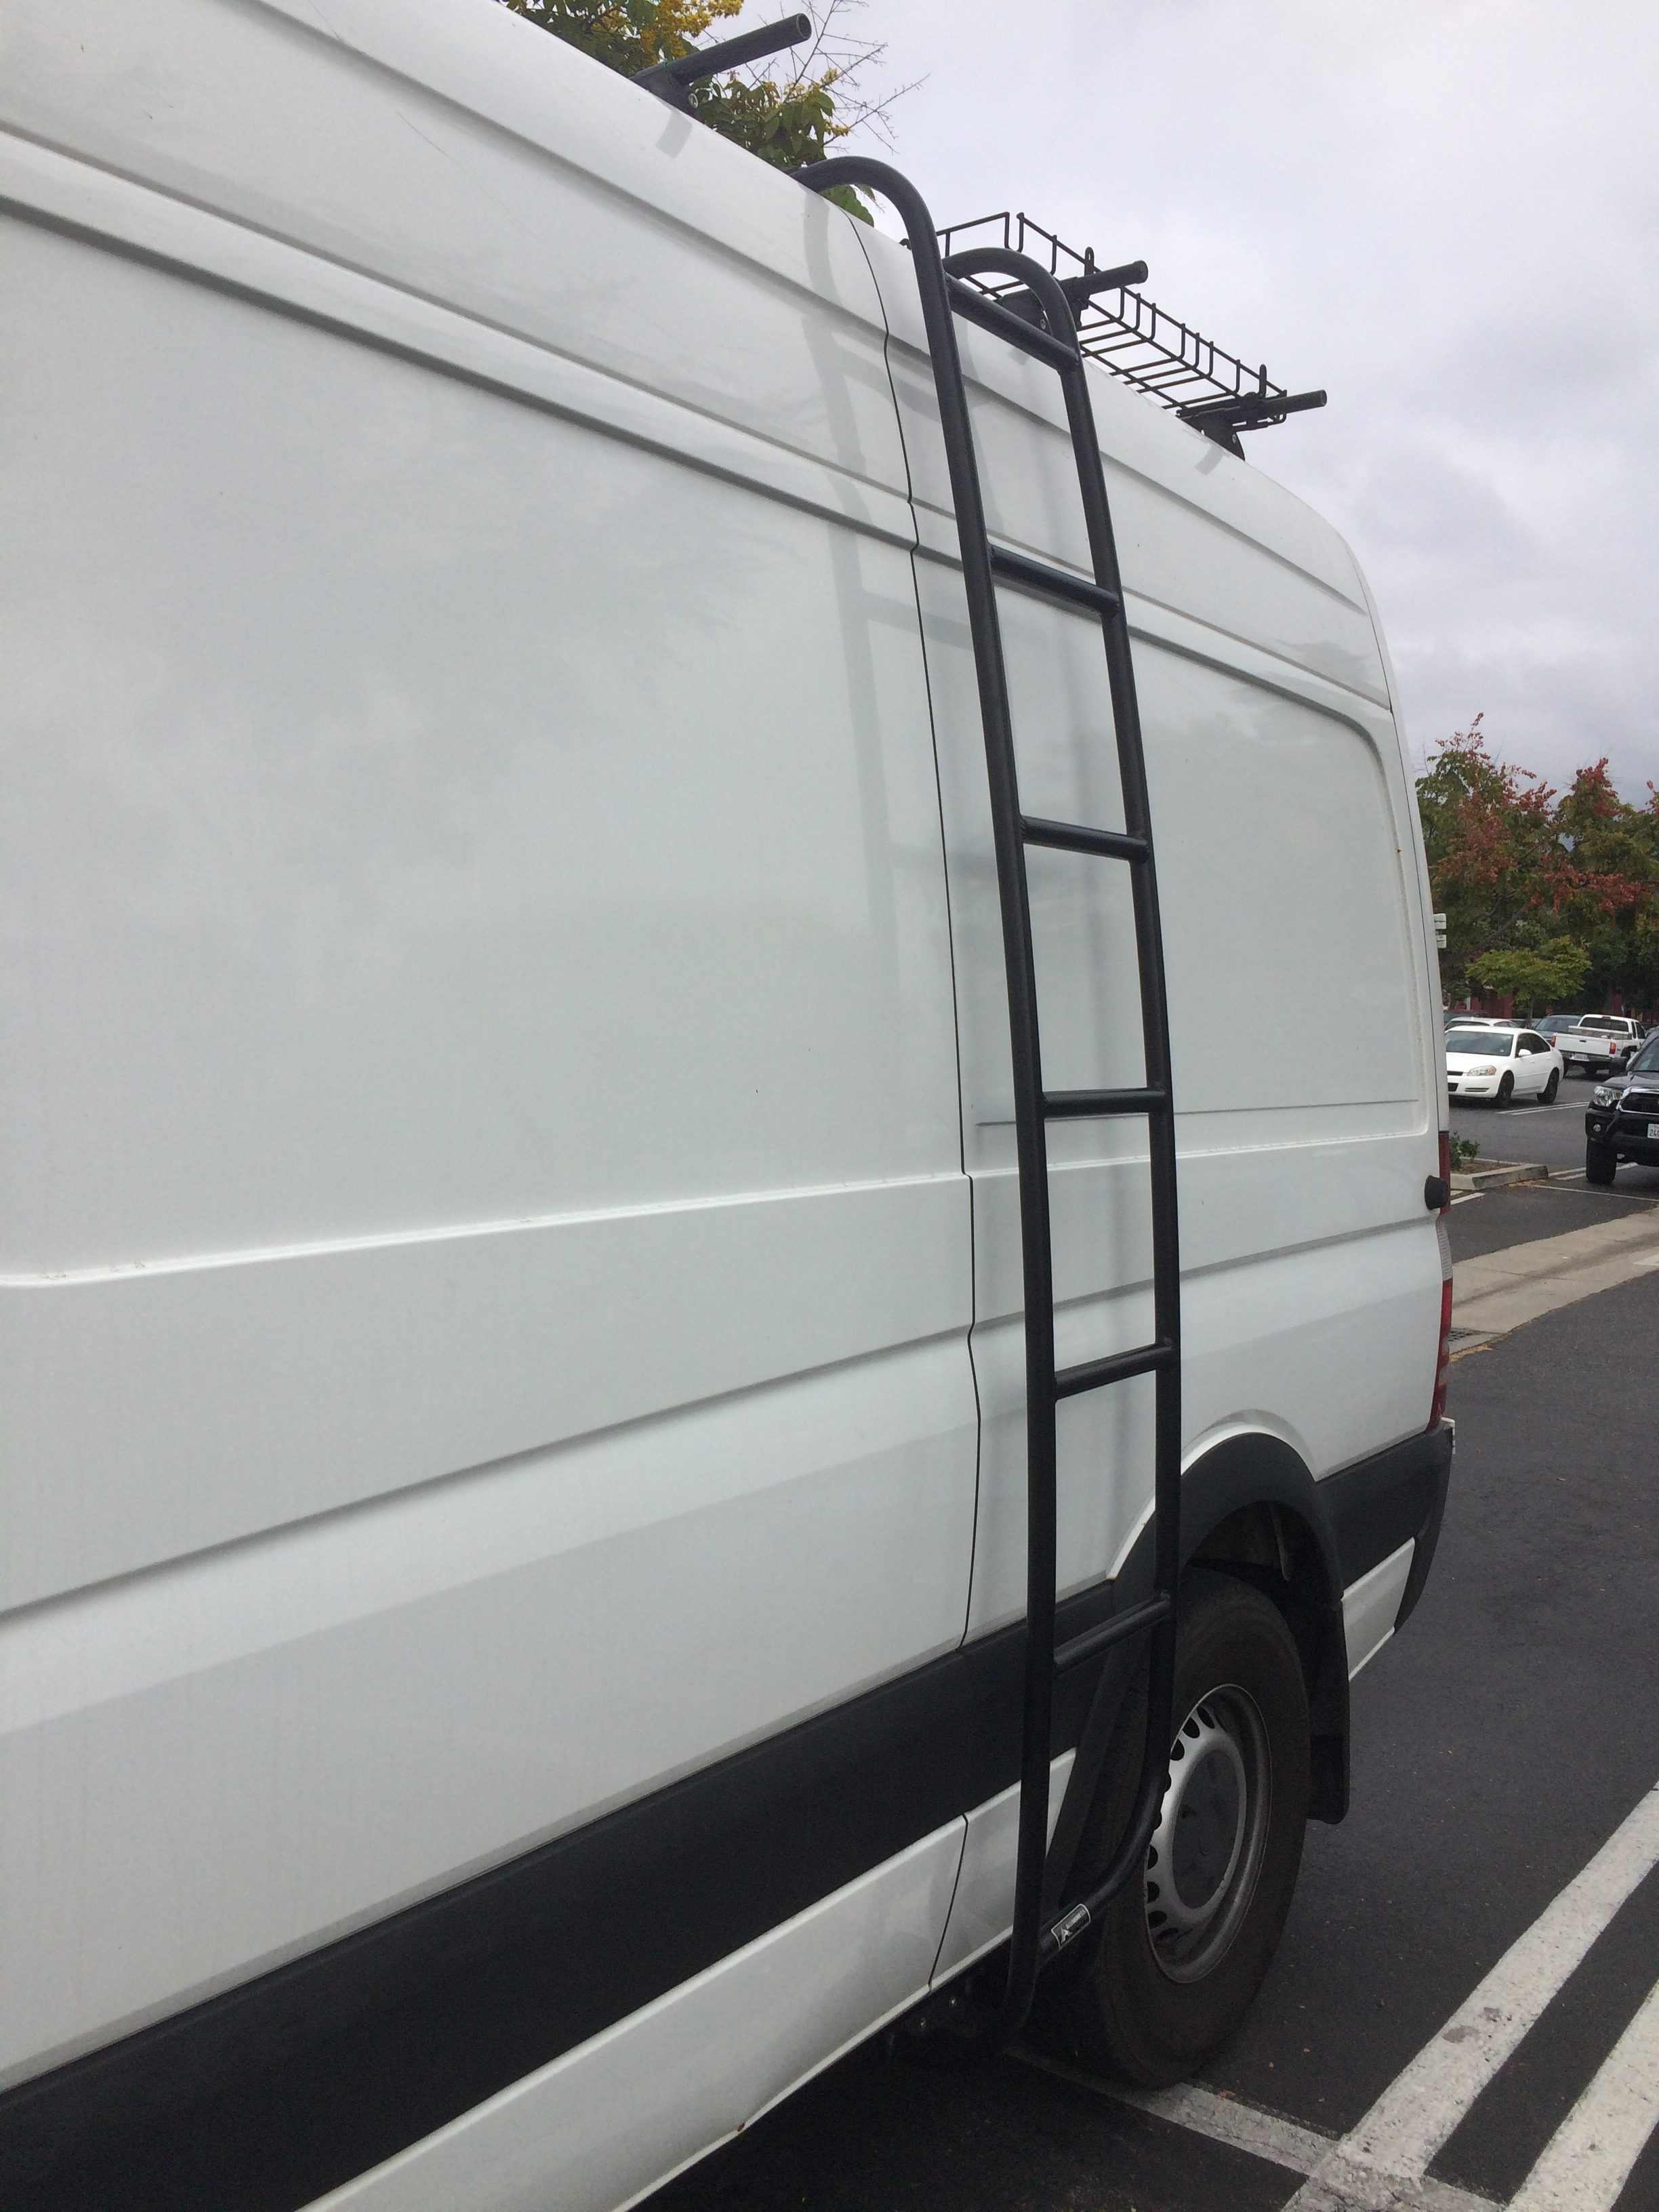
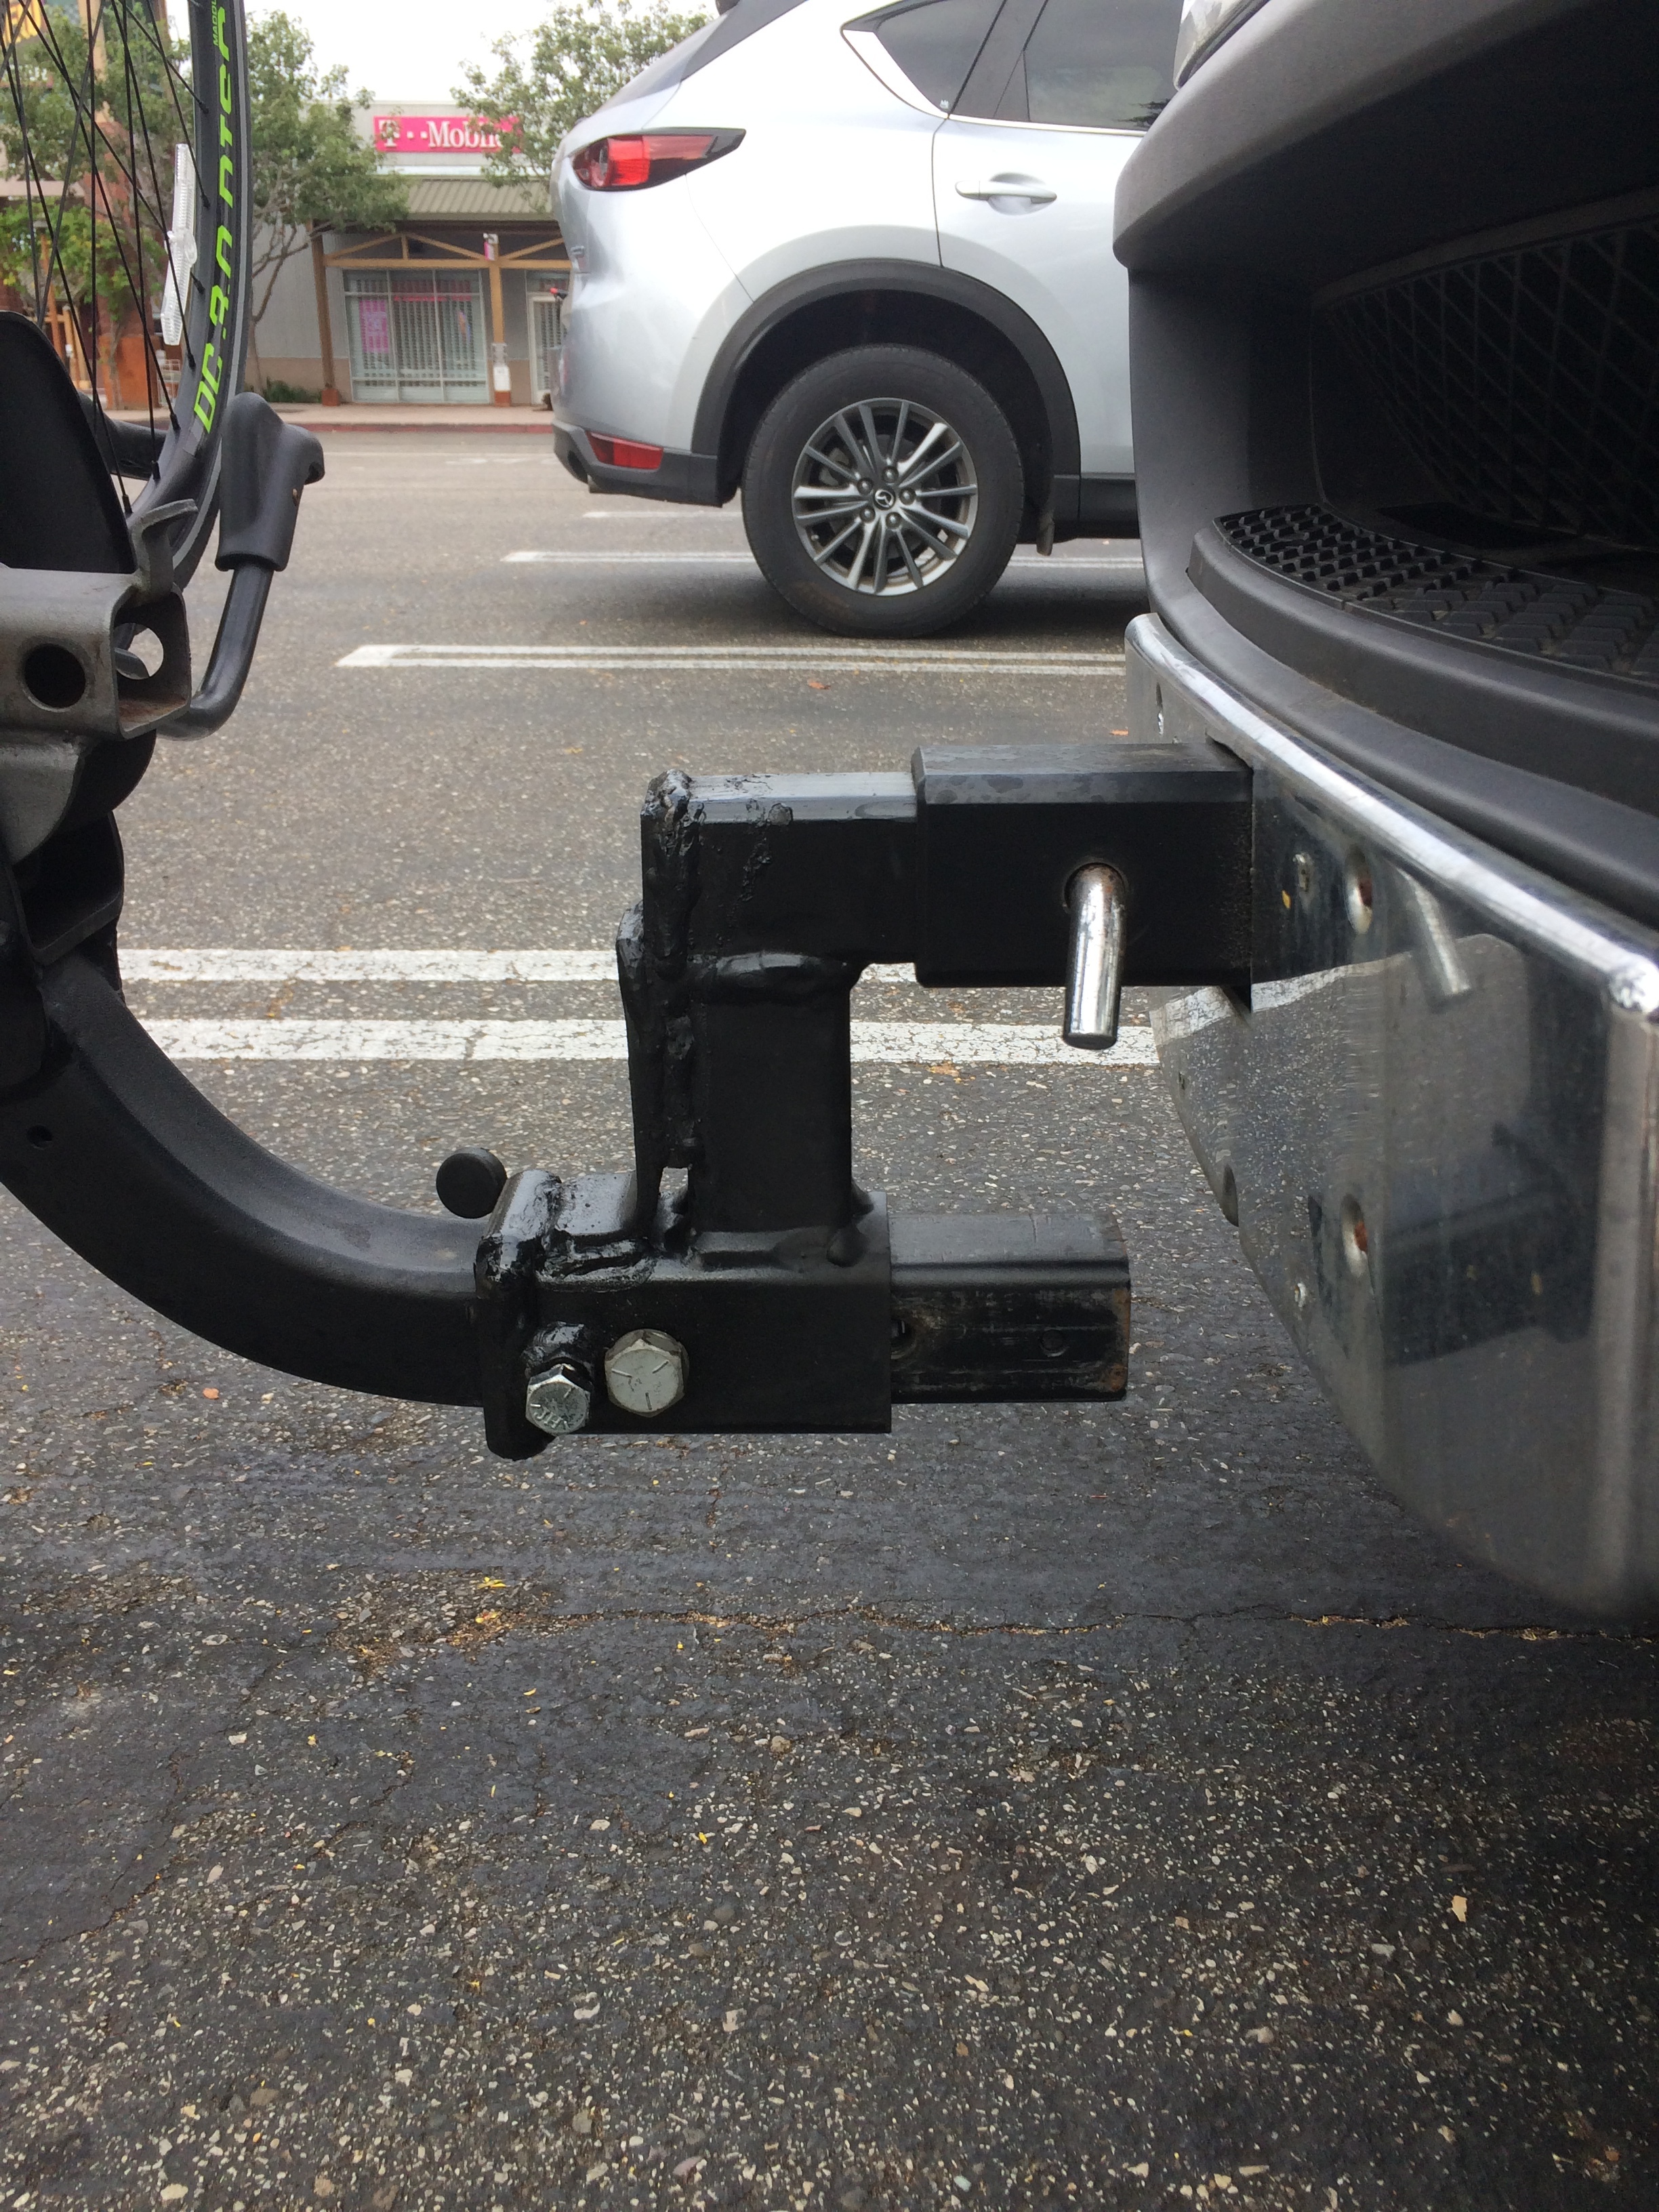
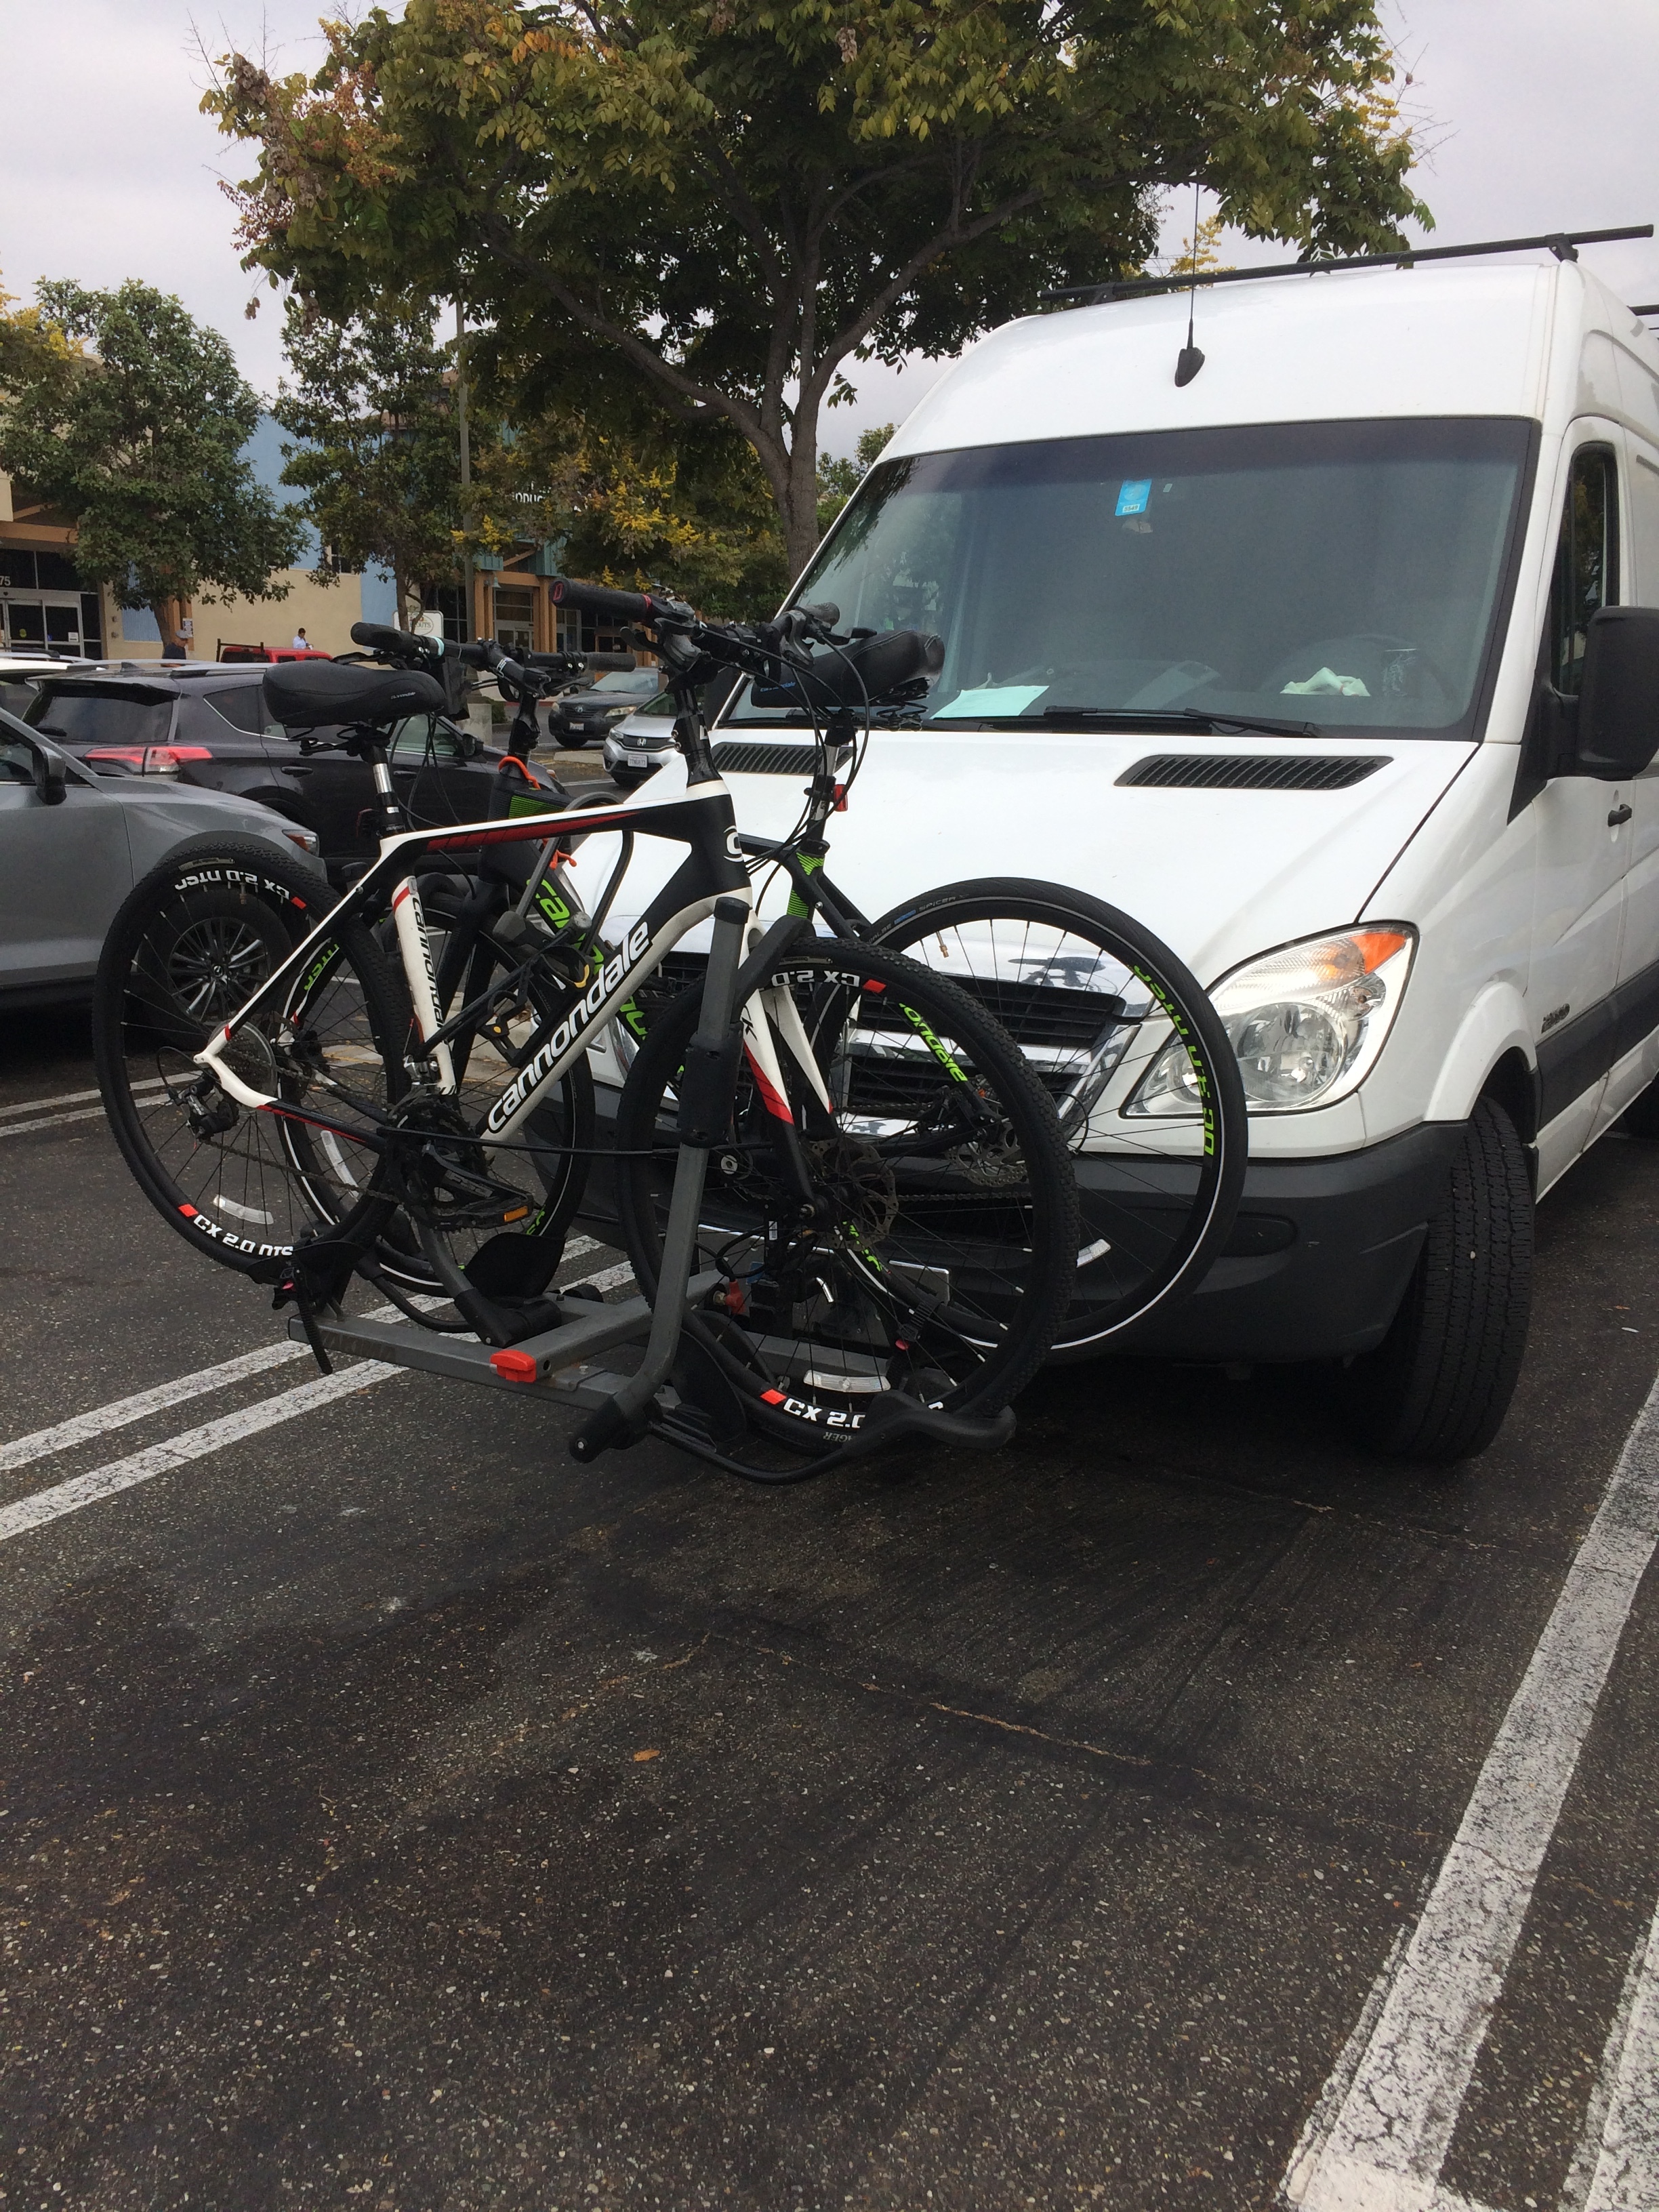
I added a front receiver and a ladder from Aluminess. The receiver needed an adapter to lower the bike rack, otherwise the driving visibility was obscured.
I will be updating again soon. Starting the electrical next.
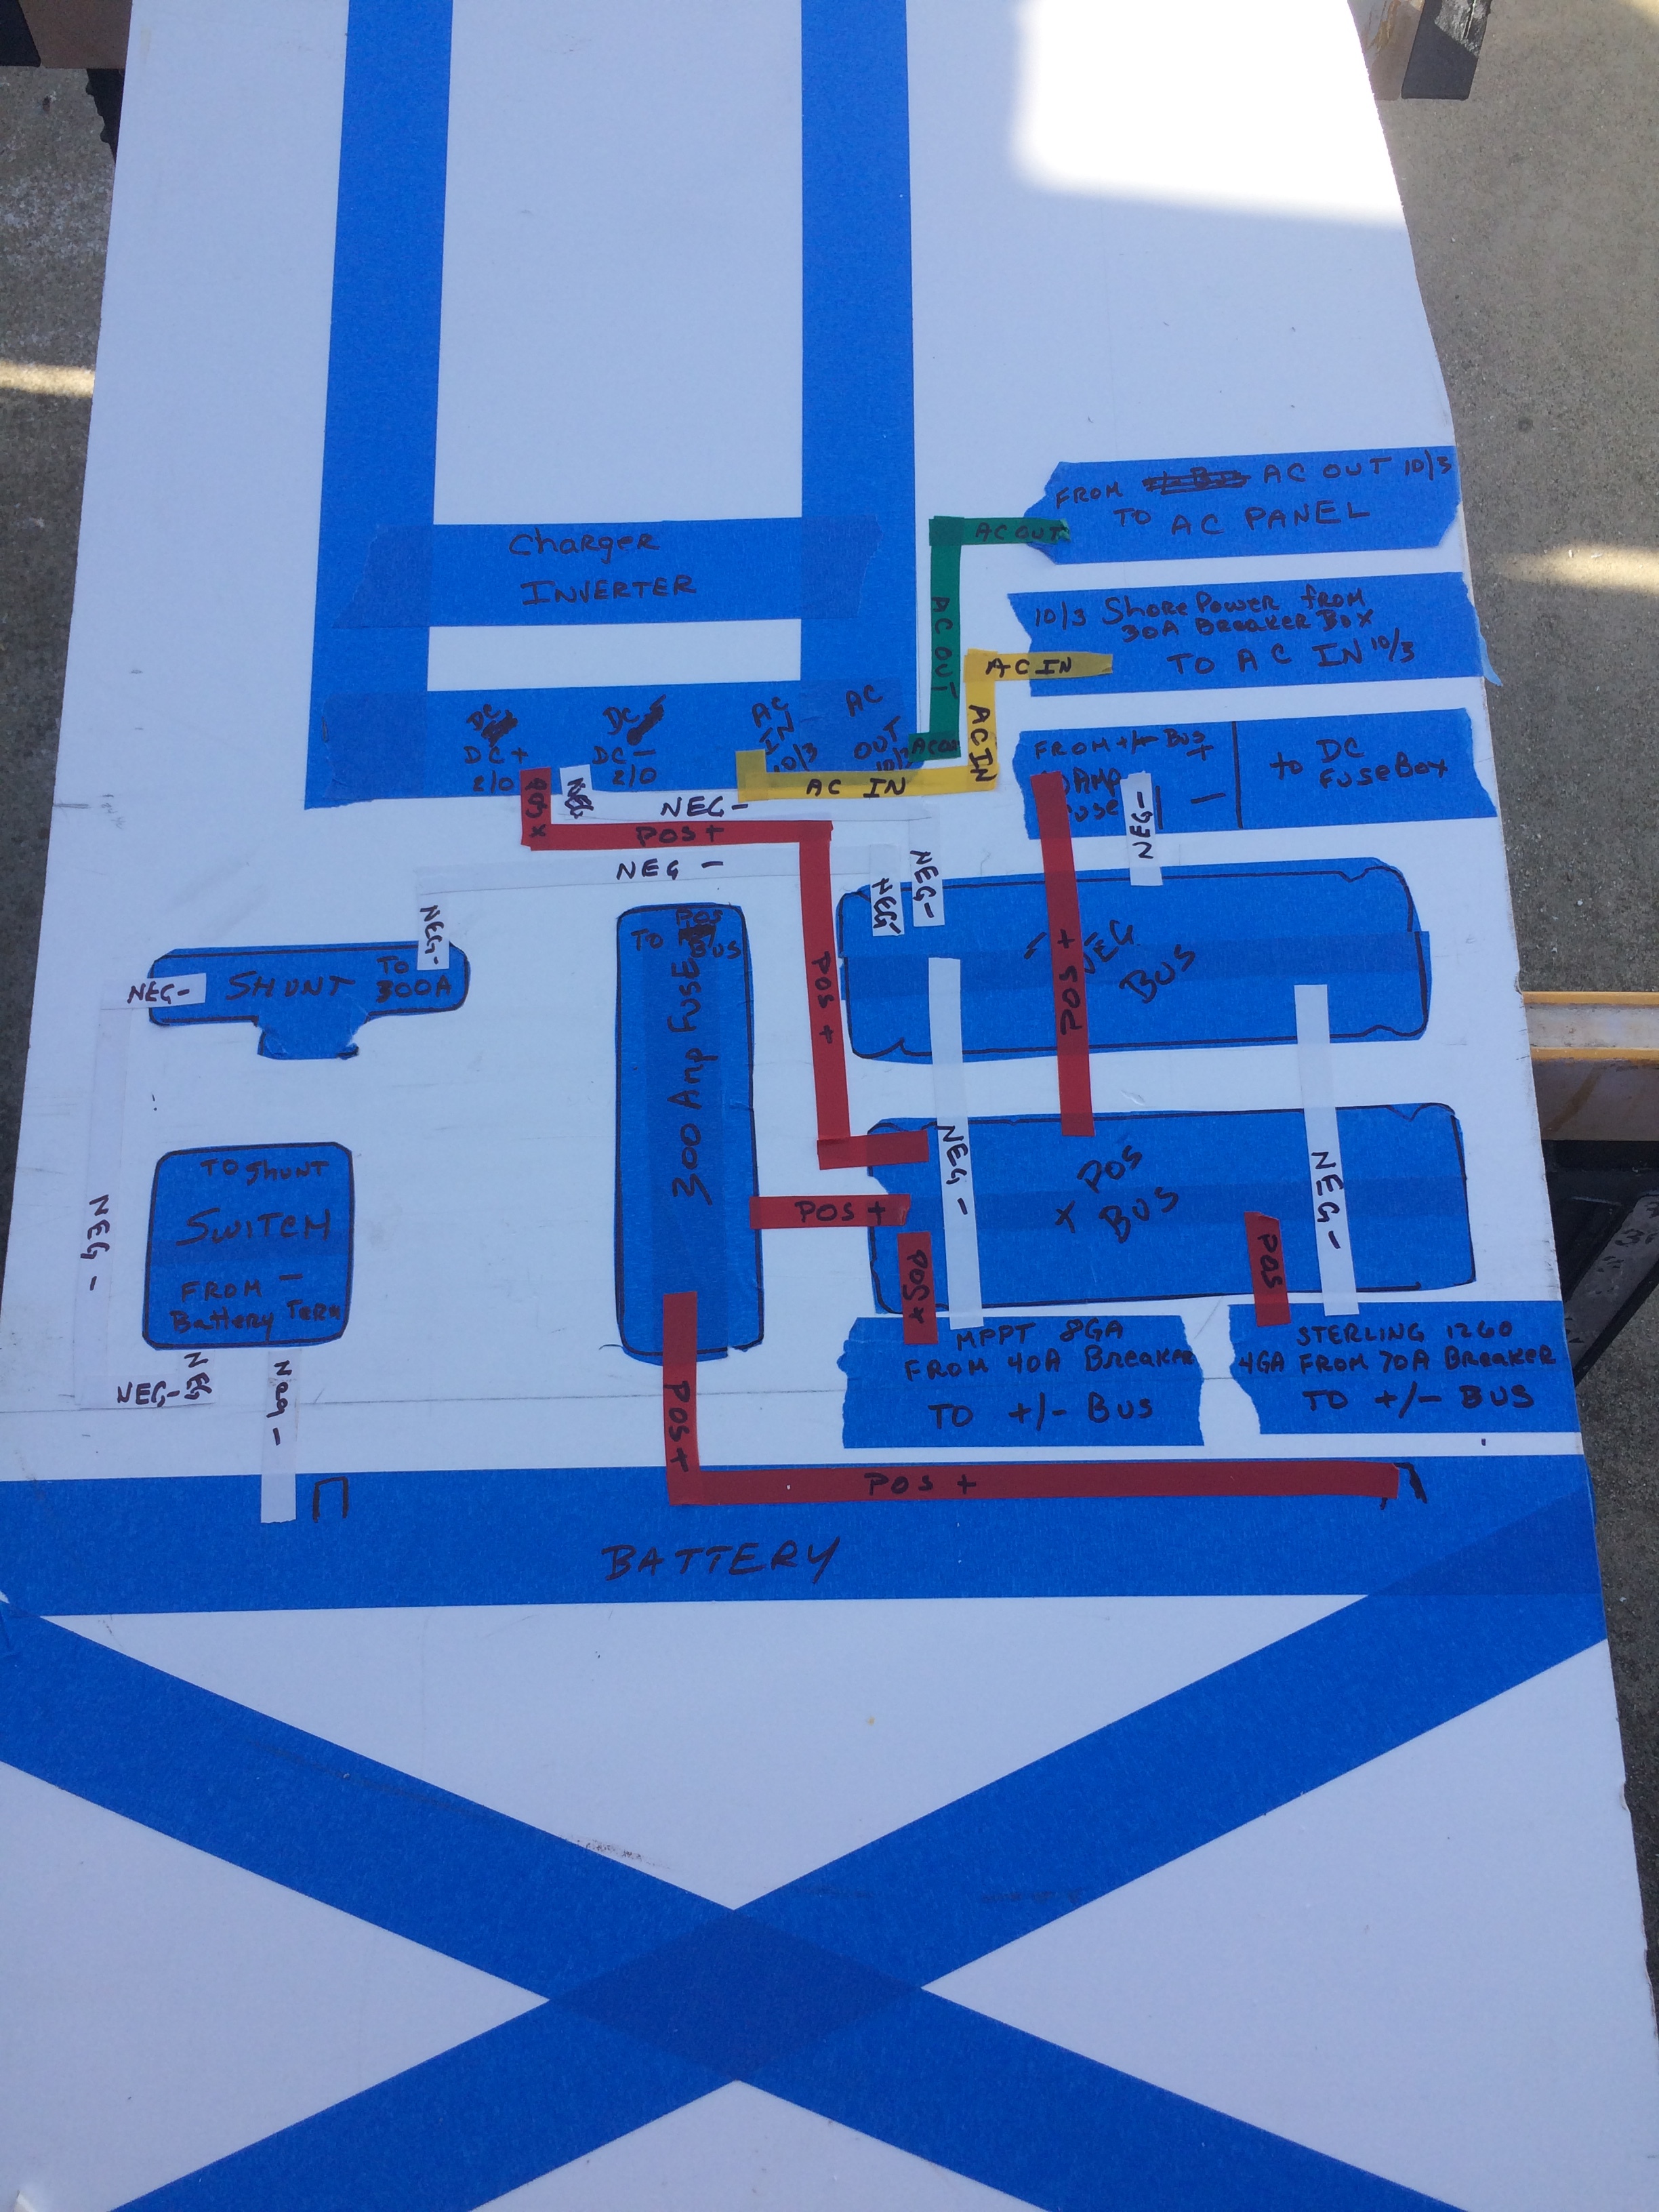
Getting serious about the electrical system. This is a piece of 3/4 inch azek. It will be mounted in a cabinet space on aluminum channel so it can be slid out for maintenance.
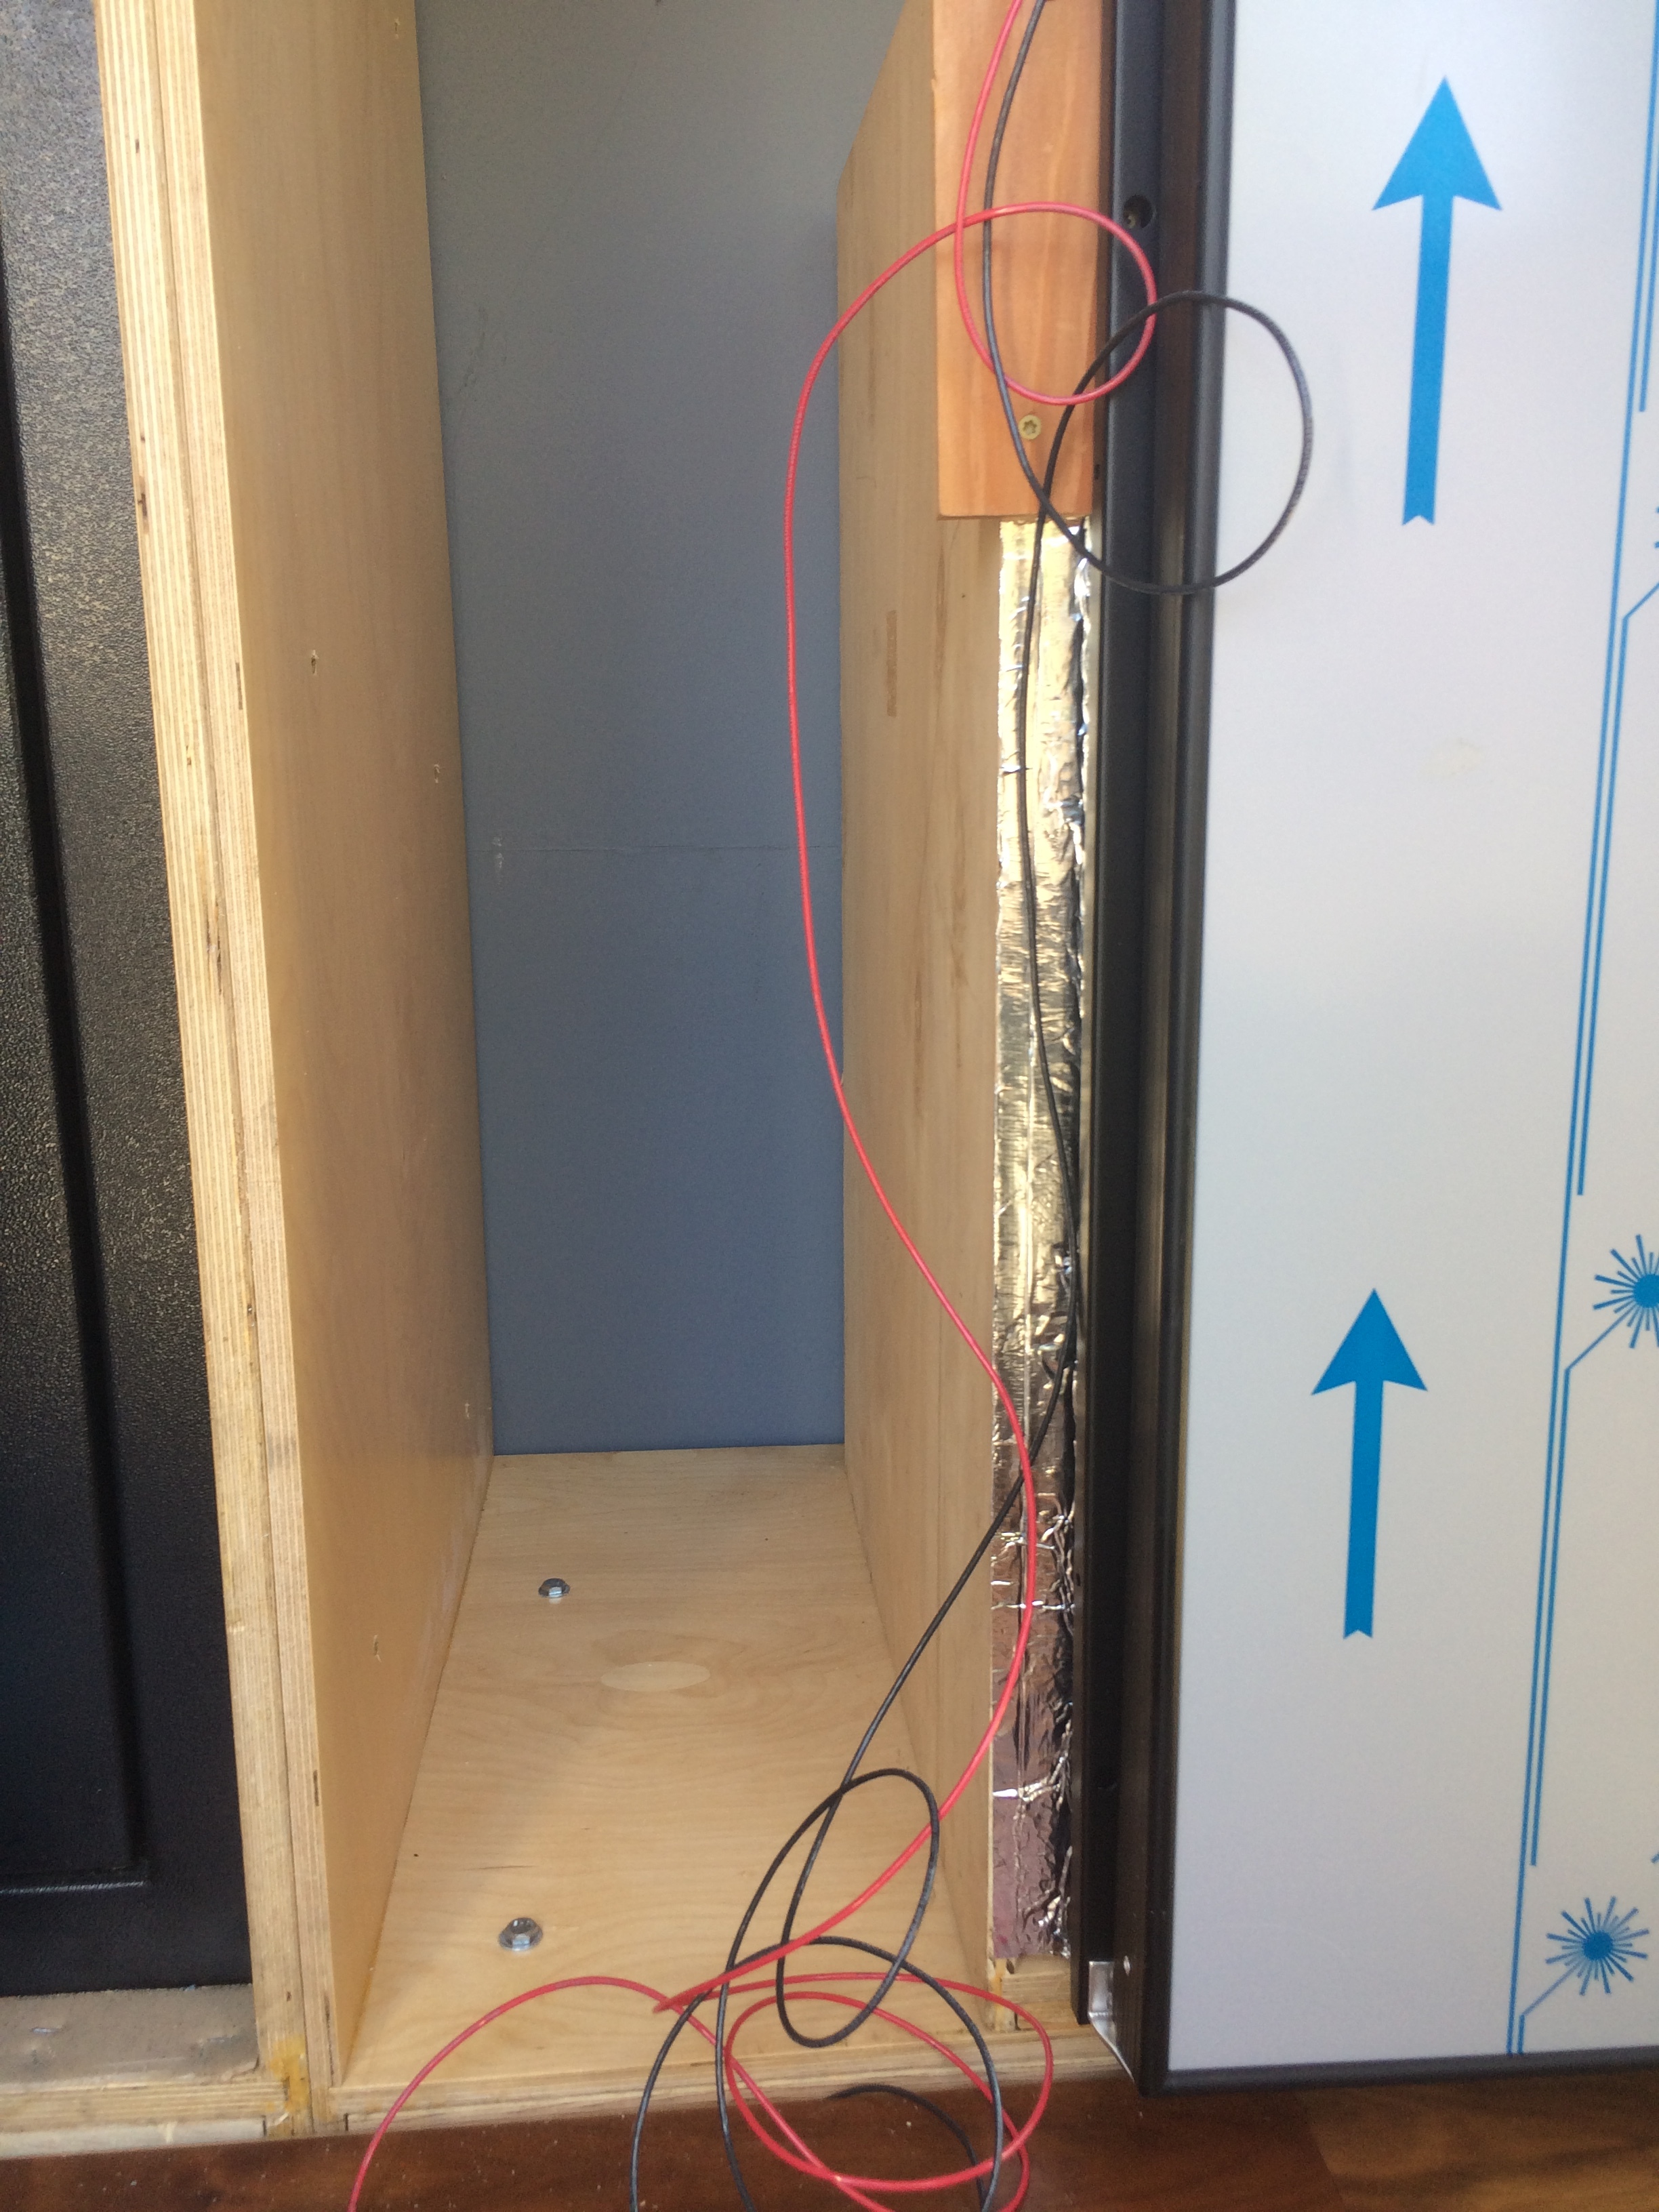
It will fit in this space with the battery at the bottom.
The electrical layout with tape is not the final layout. It is an example but the electrical paths as shown were an early revision. Not to be replicated as a working system
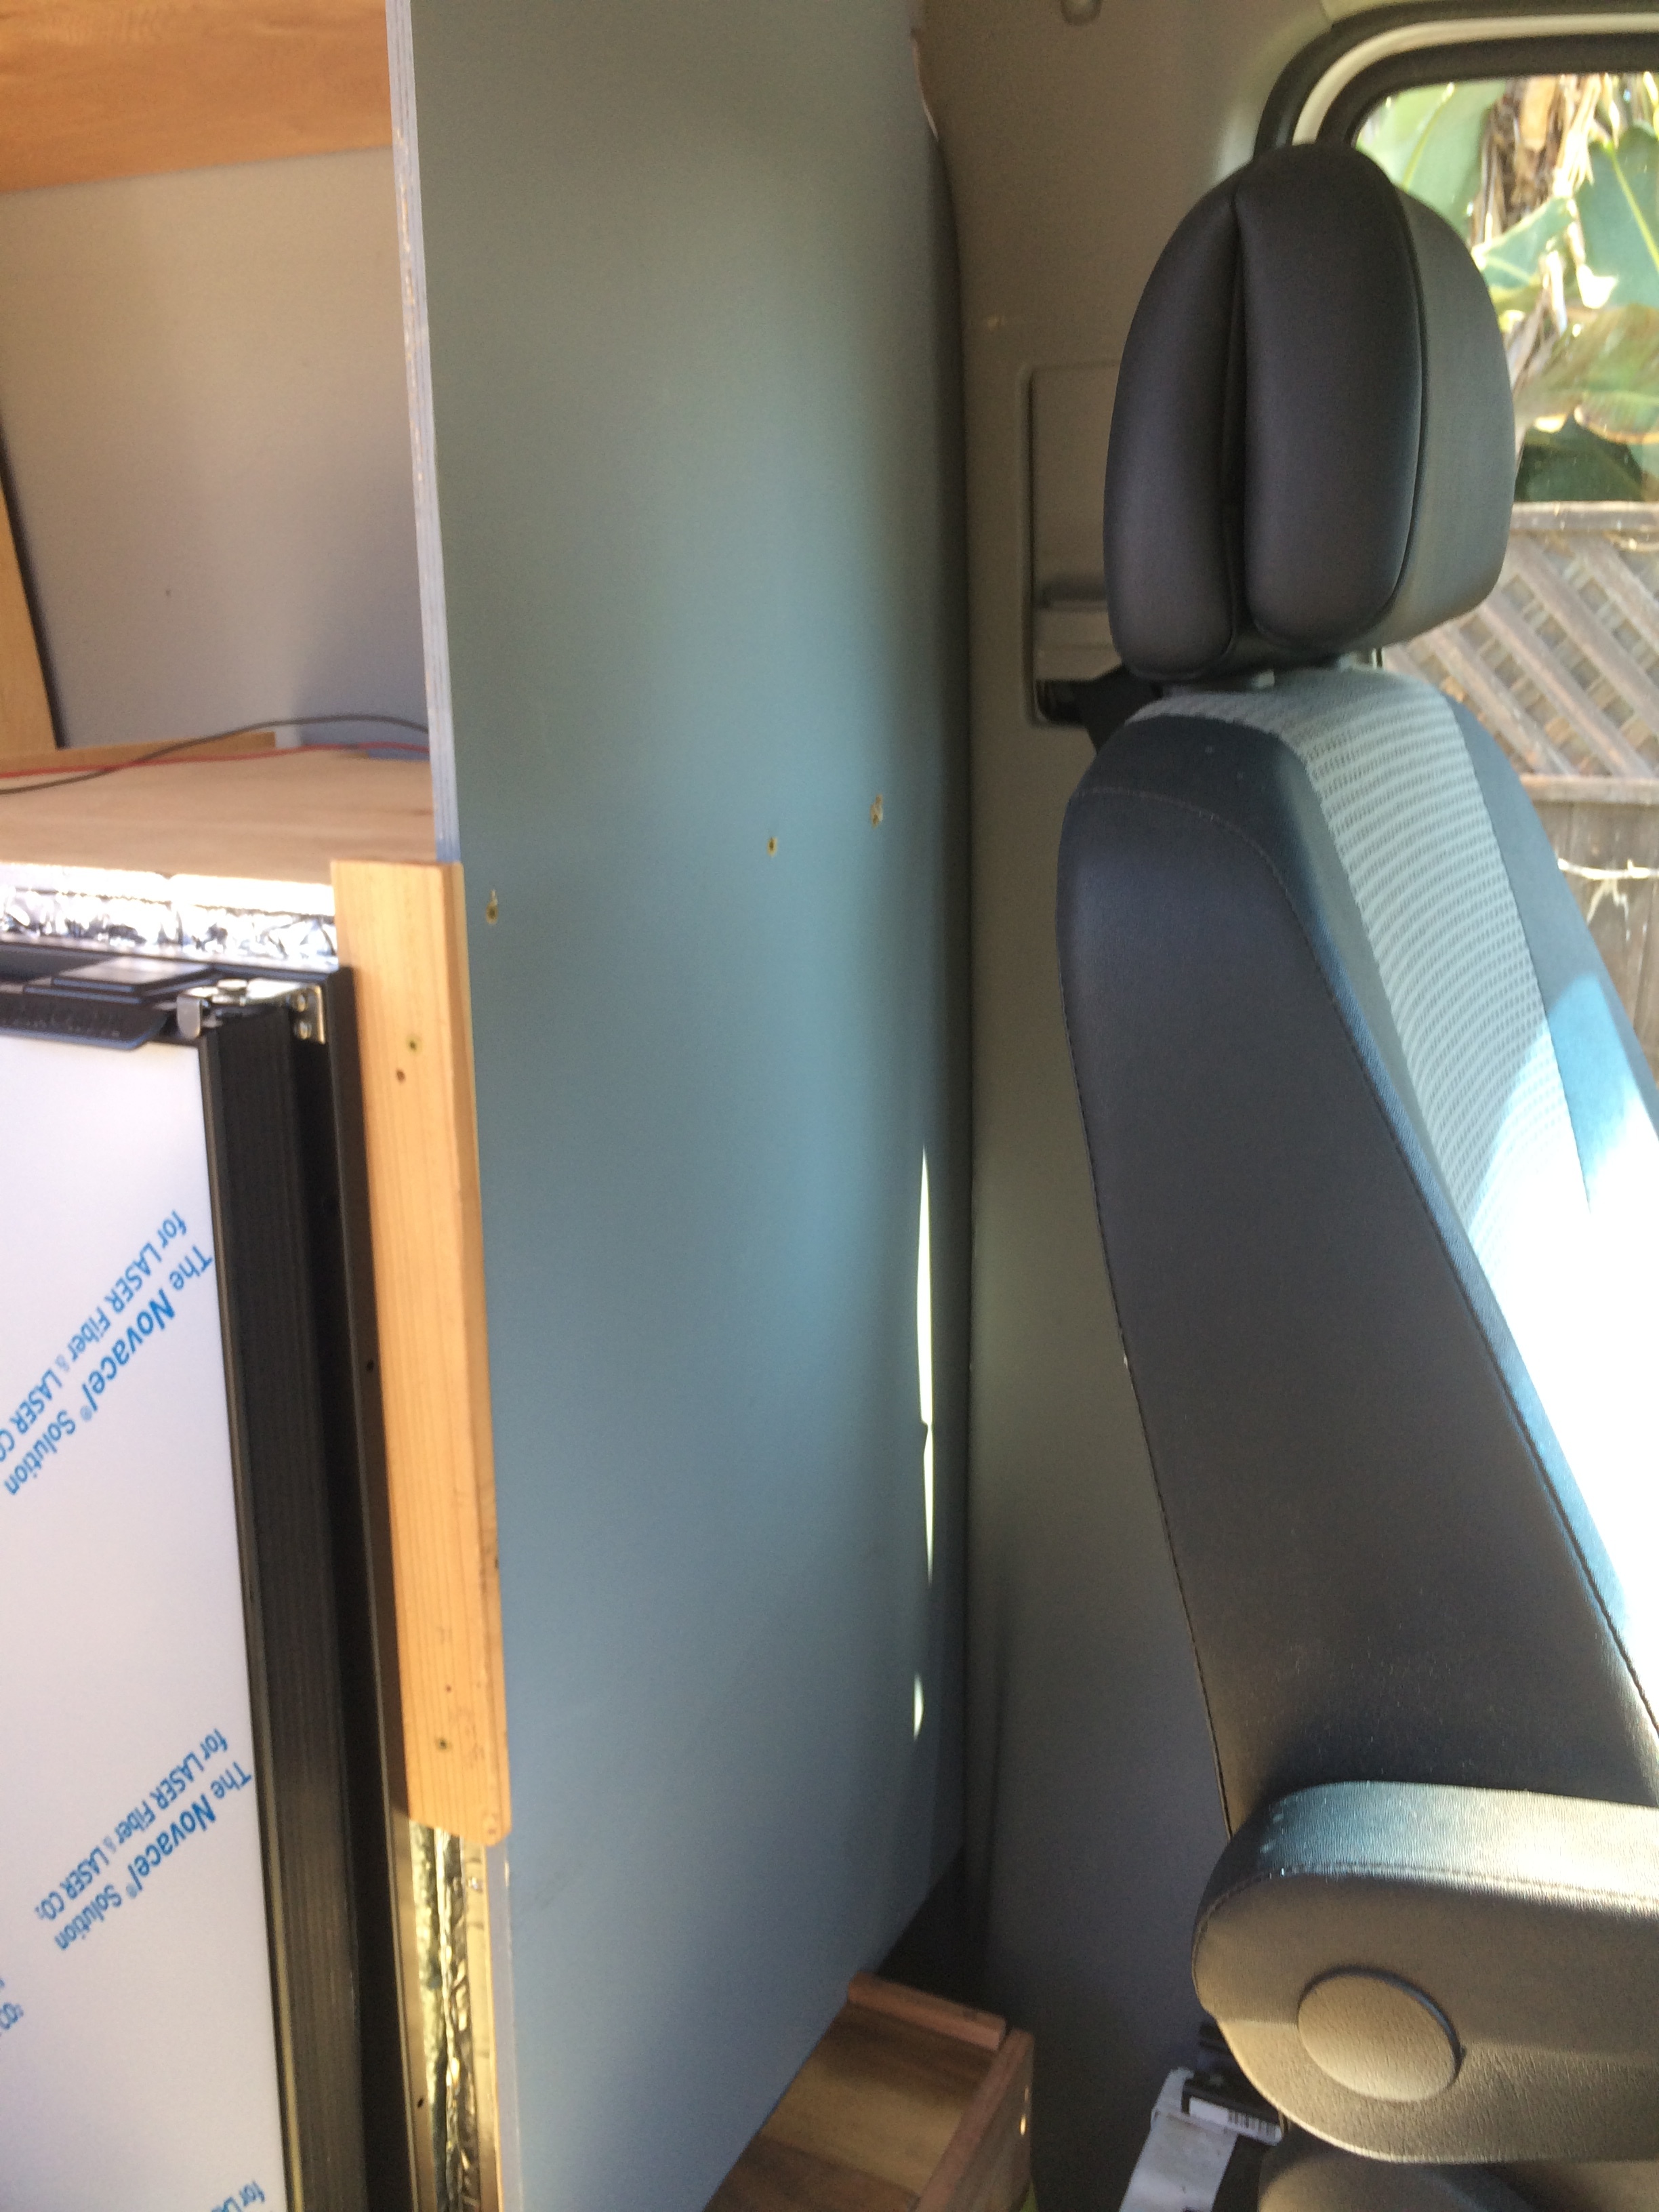
The Stirling BB1260, the Victron MPPT and shore power connection will all be housed behind the front seat along with a small breaker box.
Big thanks to Garret @amsolaroregon, Antoine @faroutride and Rod at MarineHowTo/compassmarine for helping me get to this point.
This is awesome! thanks so much for sharing in so much detail. Really helped out.