PIR flooring - confident advice from a Dad causing doubts

Hi All

Newbie here looking to verify some advice I’ve received!

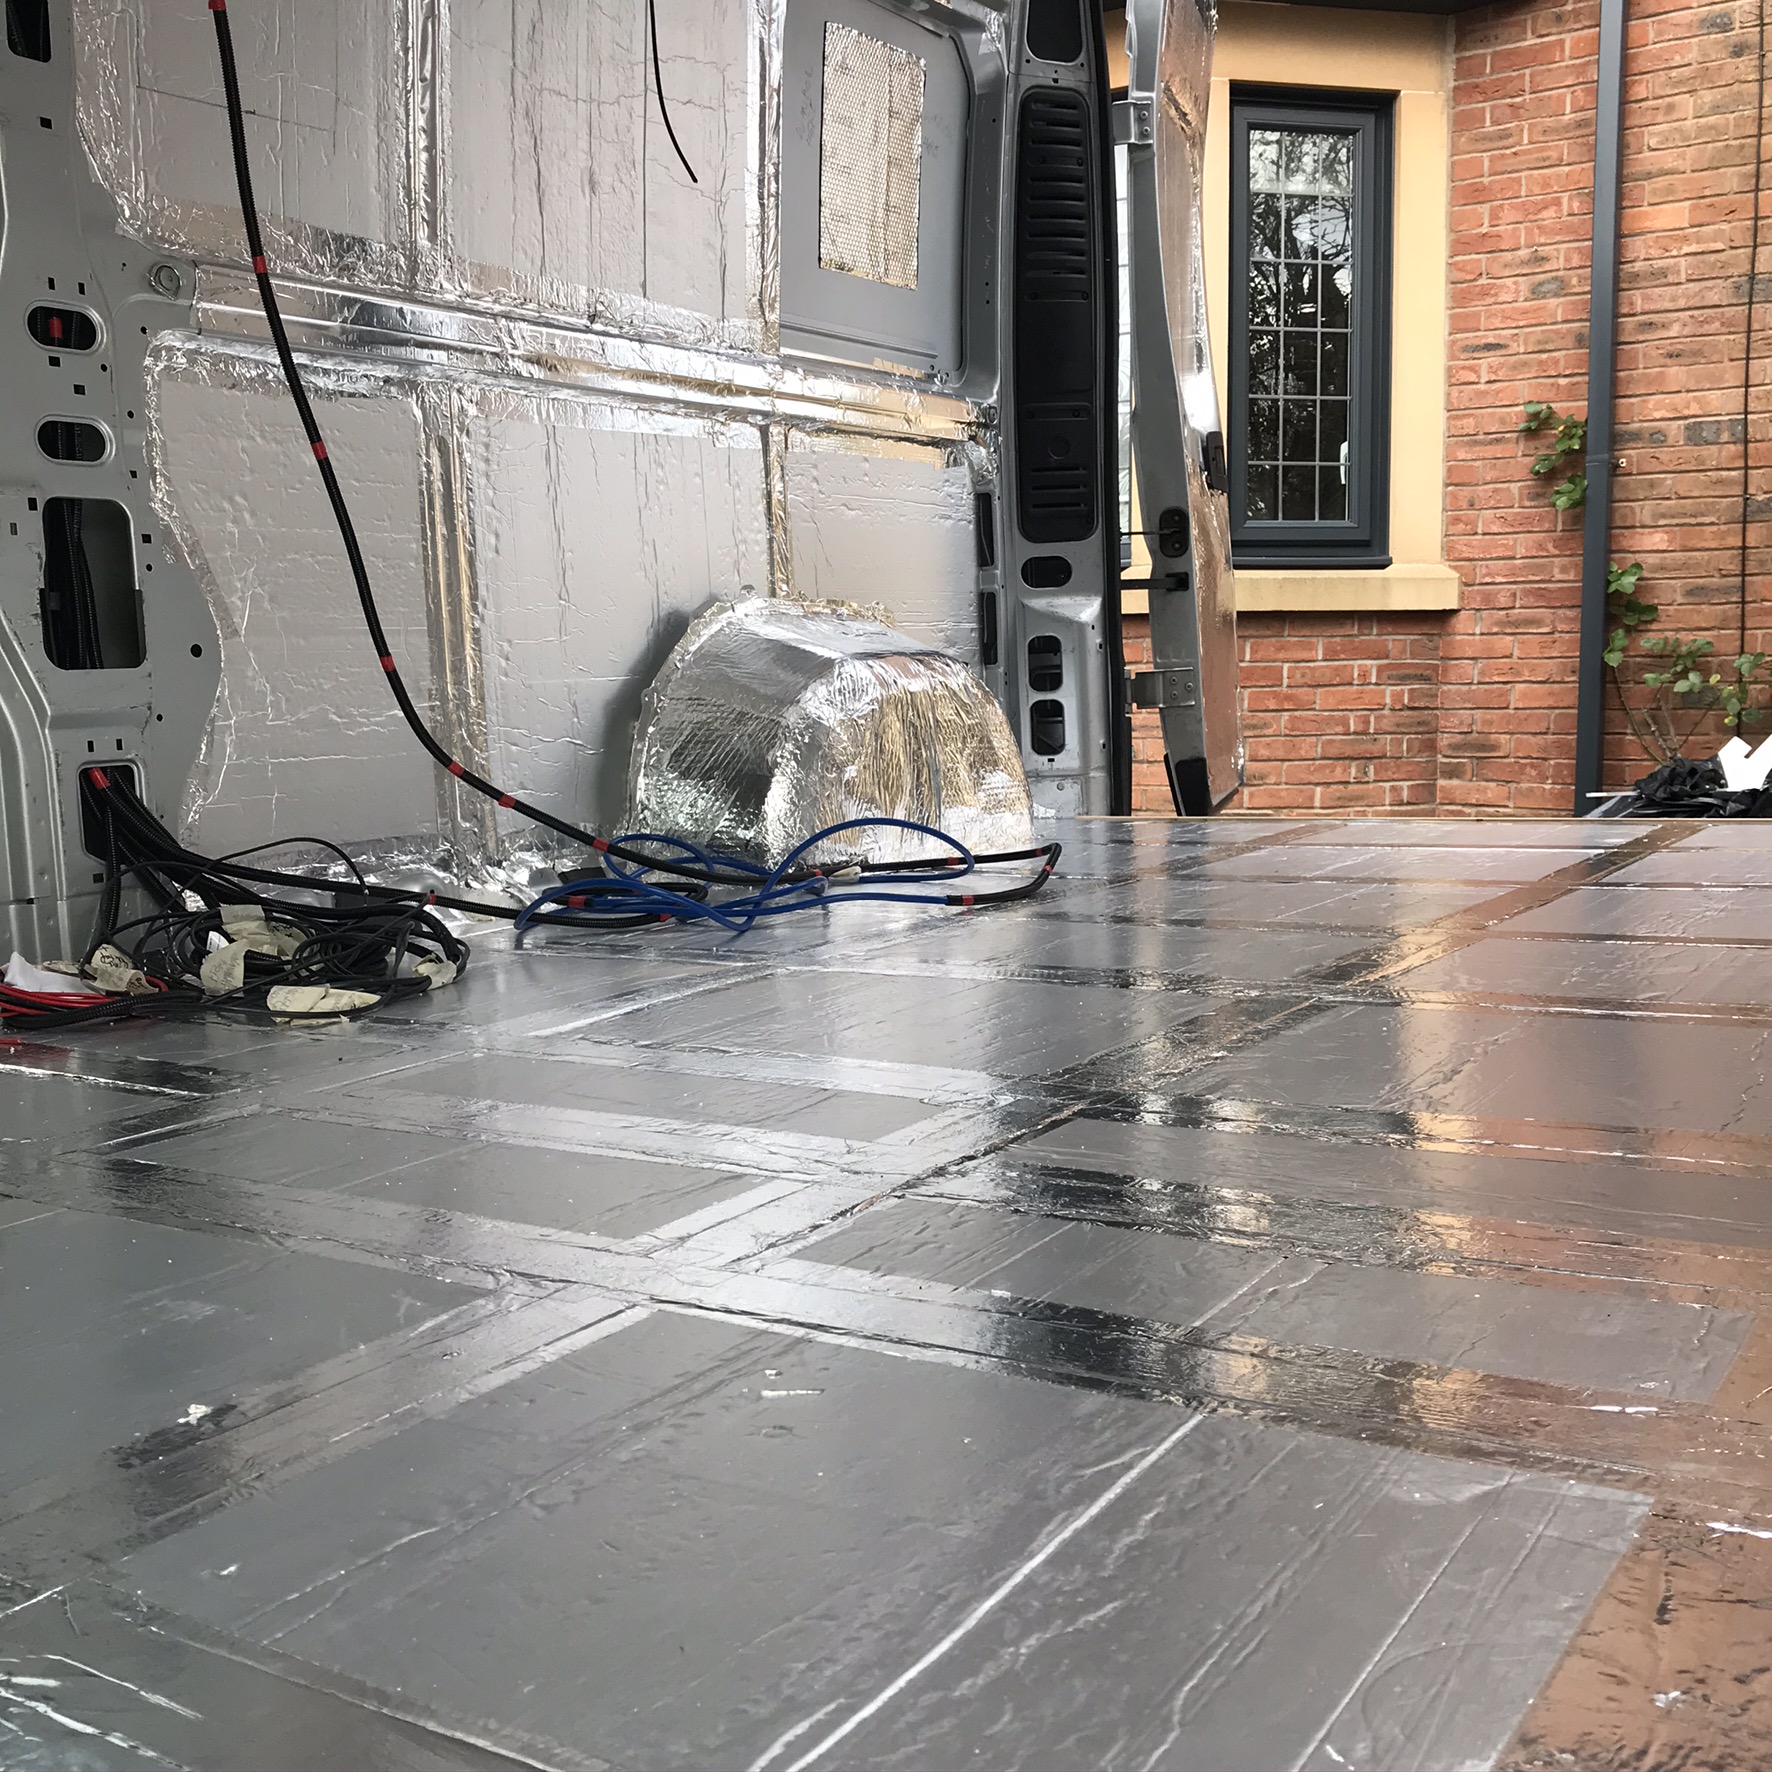
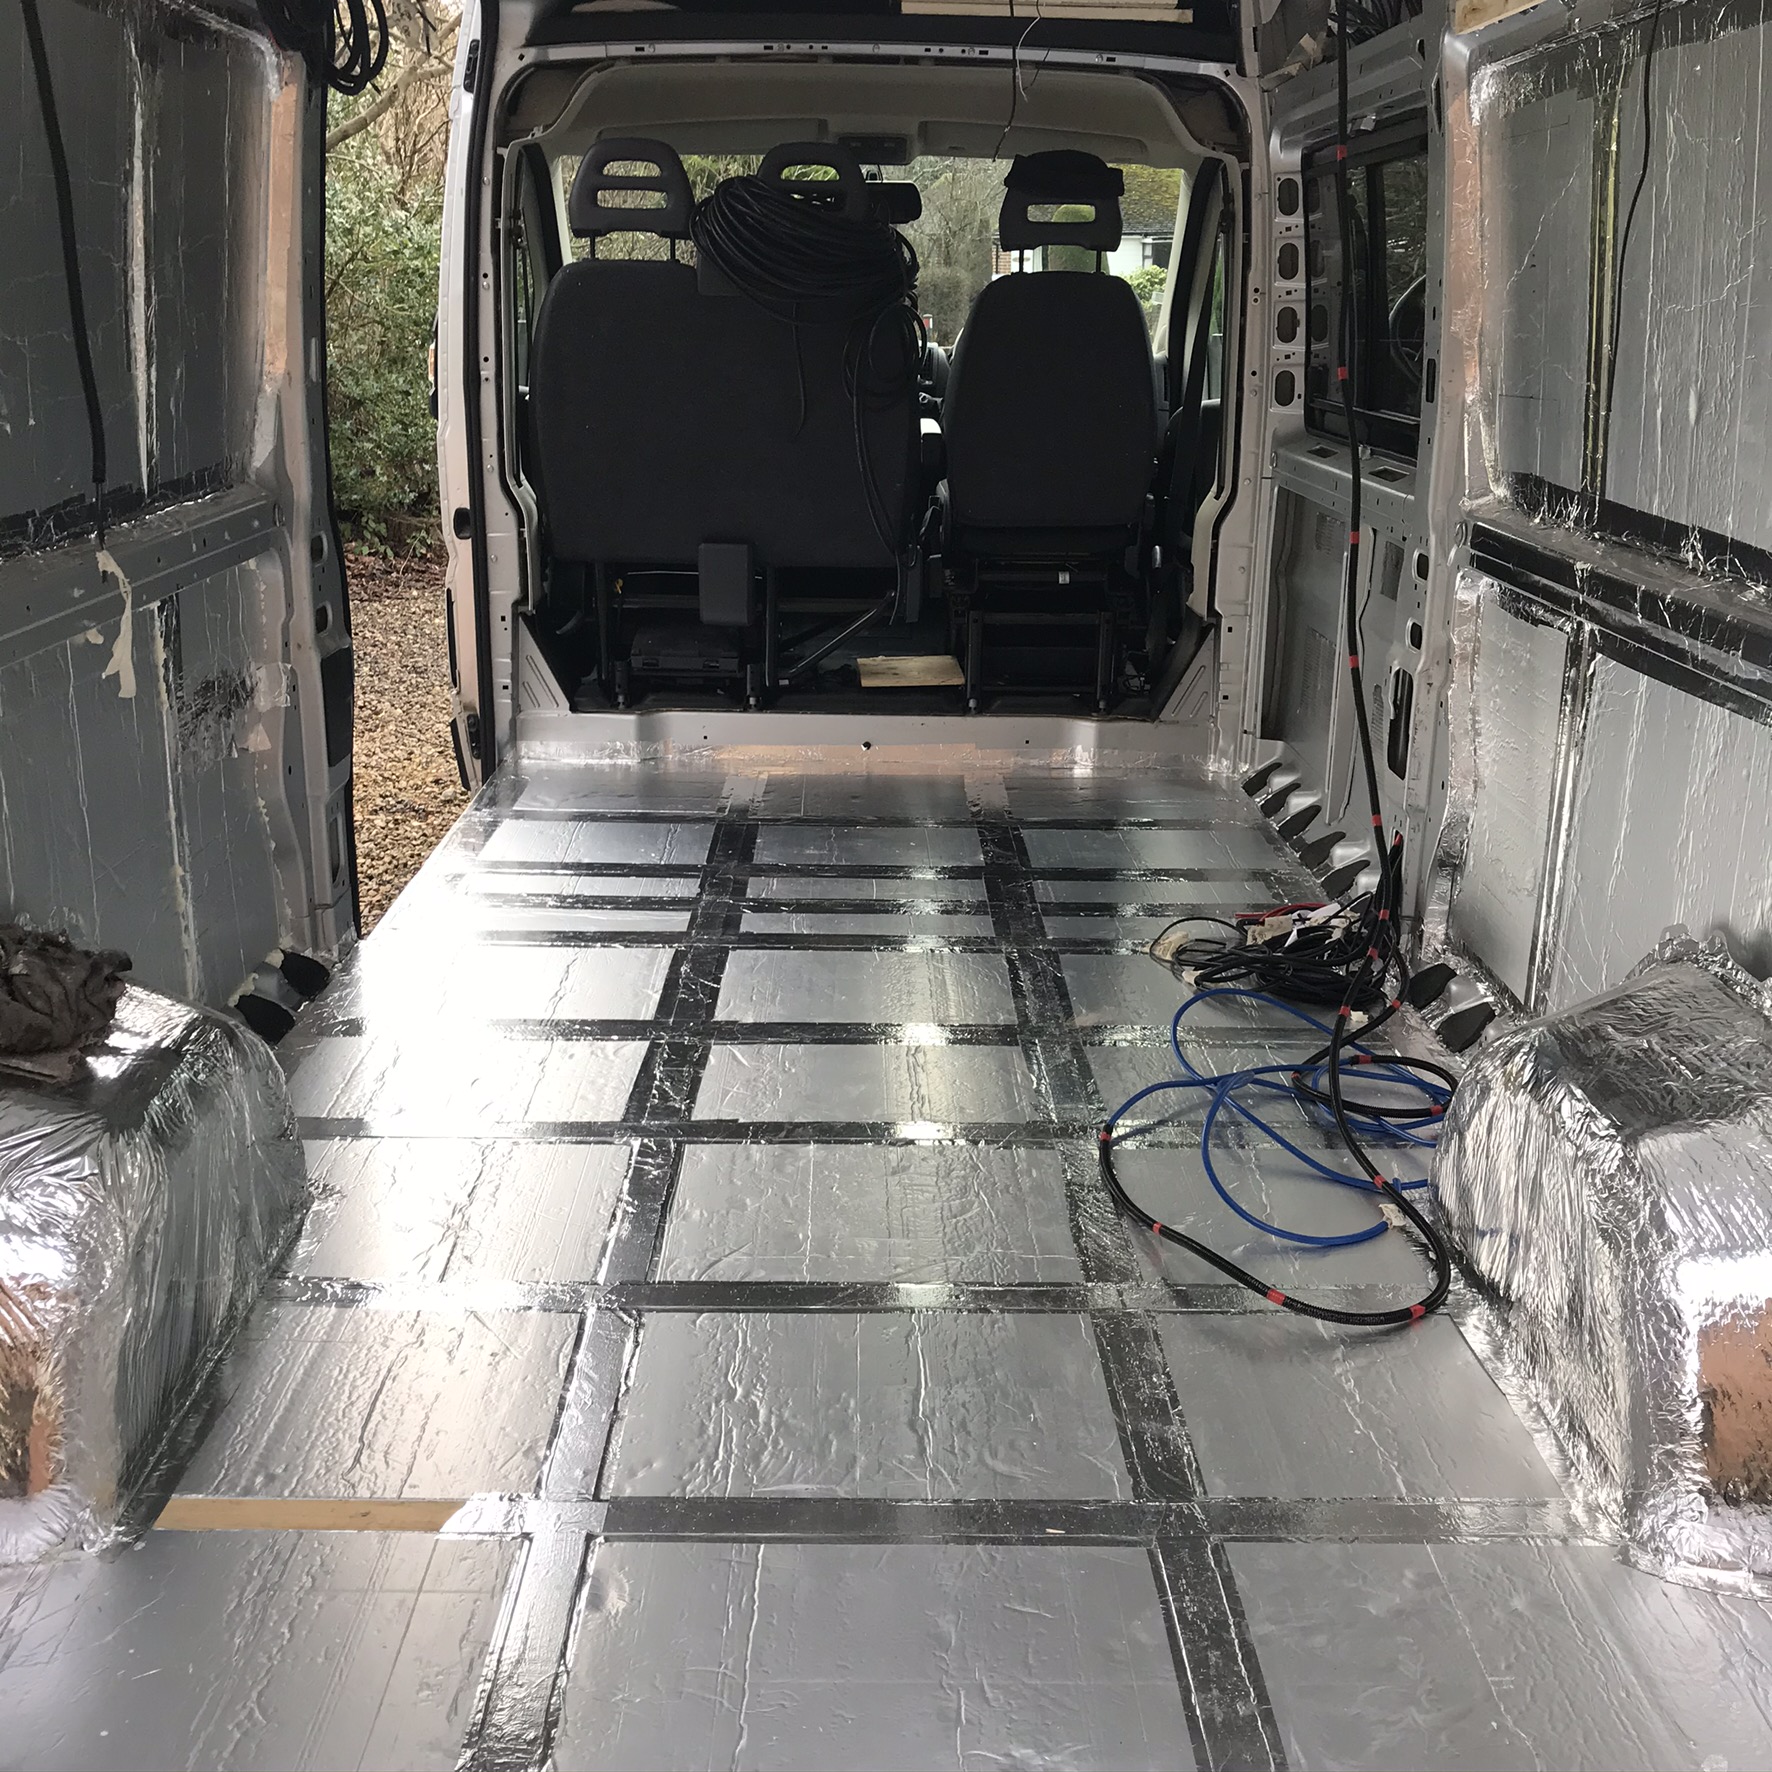
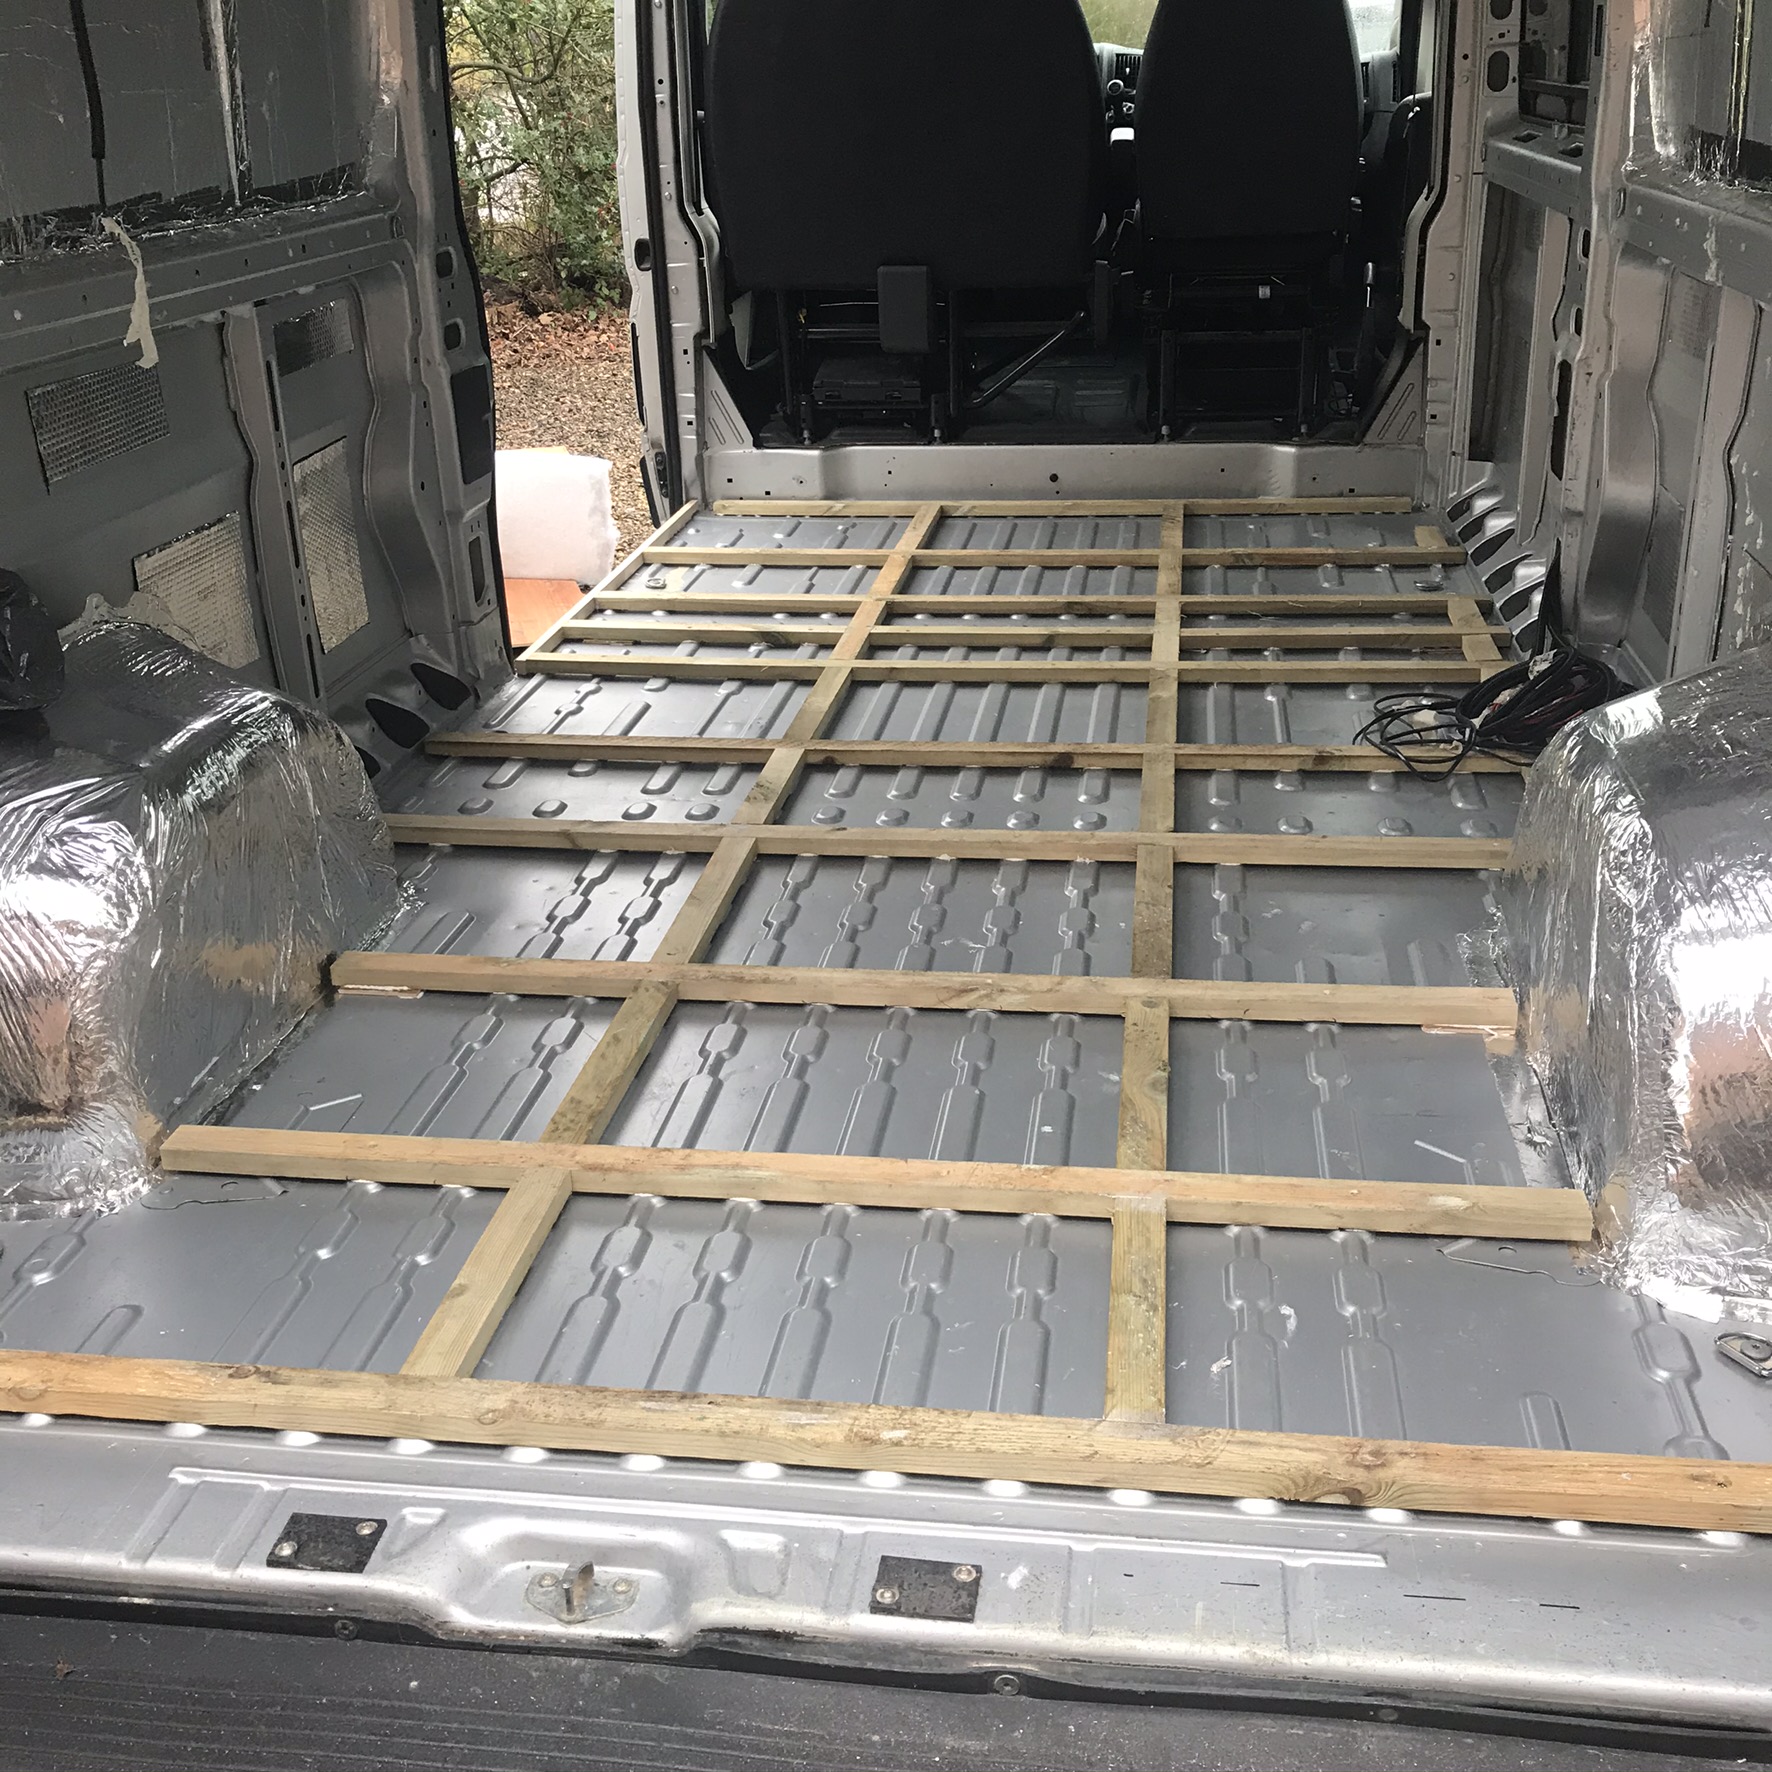
background: I’m converting a Ford Transit 2012 SWB van with a low roof so trying to lose as little height as possible, but its intended as a 4 season van in the UK, so needs to be warm and very damp proof!

The advice: To make the flooring from 5mm Ply stuck directly the base of the van (already been damp proofed) using a Hybrid grab adhesive, no nails or screws. With a layer of high compression resistant PIR insulation (polyisocyanurate purchased) with no thermal breaks as a solid layer across, topped with a further 5mm ply layer. This would be sealed around the edges with more grab adhesive around the edges as it is a sealant and would hold the flooring to the walls for when units are fixed above.

The conundrum: This is my Dad giving me this advice, he has built two houses and was an electrician by trade before retirement but he’s never built a van before and I’m nervous about the fixing and the compression risk in a moving vehicle - i.e. sudden breaking causing a heavy fridge unit to shift above is substantially different to a floor in an attic that maybe gets occasional use.

The reasoning behind this method is that PIR is often used as the insulation in garage flooring and “you could drive a cement truck on it and it wouldn’t compress” and that the adhesive used is “used to put airplanes together, screws aren’t used anymore”.

Any experienced van builders want to weigh in? It would give me 15mm head height back and reduce the thermal breaks but my Dad does have a small reputation for being very confident, sometimes without justification.

And will this pass any MOT requirements for the fixed floor? :grimacing:

Greetings & Welcome!

Sounds like it should work and pass inspection to me…

Cheers!


"Opportunities are everywhere, but only action makes it happen." ~ Van_Dweller


Hey-o!

Yeah, I’ve been in a similar situation. Like any and all comments I make, just to be clear this is purely my own opinion.

My Step-Father is a Master Plumber, has been in his field for 25+ years, and owns a rather large company in the field. I asked for his help putting a shower in my vehicle because I wanted to be as self-contained as possible even when way out in remote locations like Northern Canada.

So when he defined a shower for me and told me I had to have this and that, that I should have whatever and whatever, I listened because you gotta figure the experience was there.

The experience was there, in building houses…

My Shuttle Bus, as much as I love it and consider it my home, is not a “house”.

So when I bought a cheap $500 Shower Stall (because “I had to have a drain pan, and shower walls, and blah blah blah”) and cut it all sorts of funky ways over the course of 2 days trying to make that fit/work… Well, let’s just say I tried mighty hard but you can call a donkey a horse all day long, don’t make it no horse. So I ended up having to toss $500 into the garbage, literally.

No disrespect towards your father by any means and I’m sure just like mine he wants to help and see you succeed at this endeavor, so he gives his opinion with that in mind, however…

Over the course of my project, I’ve learned to take first-hand accounts and directly relative experience over “somewhat relative” experience. Because my Step-Father has so much experience with building codes, with industry standards, etc etc… He mostly just stresses me out, because then I start to wonder if the work I did is “good enough”.

But when I do my research, make a plan, and execute it with confidence… Well, that’s when I get the most done, rather than sitting around overthinking or over-engineering things.

Up until this moment, none of the work I’ve done has had any problems. Fingers crossed I didn’t just jinx myself… :laughing:

So in my opinion, do your research, and trust your gut! It’s your journey, own it. :smiley:


In this picture, you can see the cut-up Shower Stall.

Then in this picture, you can see the shower I designed and put together myself.

It’s not done just yet, but still. Not to toot my own horn, but I think it came out pretty darn well. It drains and doesn’t leak, what more can a man want! :laughing:

3 Likes

Greetings!

And I like the fit of your version too!

Cheers!


"Opportunities are everywhere, but only action makes it happen." ~ Van_Dweller


1 Like

Thanks! This is exactly what it feels like yeah, we’ve had some stressy conversations this past week! But, we’ve gone with a blend on his designs and professional van converters. Hopefully this is how we’ll work as we go! Thanks for the response.

1 Like

Welcome, I am also in the U.K. Cold and dampness are your biggest enemies and I would advise that you add an insulation barrier followed by a moisture barrier. You will have some condensation you can’t avoid it no matter how well you insulate. Unfortunately this comes at a cost to height as the insulation I would suggest is 25mm foam sheets (Celotex or Kingspan). Personally speaking 5mm ply on a metal van floor may work but it’s unlikely to work well, it may not be sufficient for the U.K. climate if you want warmth and good insulation especially in winter. I also accept you may not want the same level of insulation as me, everyone has different objectives so what I suggest doesn’t mean it’s right for everyone.

Whilst I try not to paste too many links in this forum I have photographed each stage of insulating a floor on my website, there are too many images to post here www.diyvan.co.uk (apologies for posting this link, the site is non-commercial, zero profit and is not indexed by google - I gain absolutely zero from posting links). Look for “Floor Insulation” on the column on the right hand side. If you prefer a step by step video then look for Greg Virgo on YouTube.

I hope this helps.

2 Likes

@Rydel - What are all of those black rocks for in the bottom of the shower?

@Bretly

I’m going to do a rock flooring for a “massaging spa” kinda feel. But instead of grout, which I’m pretty sure would just crack, I’m going to try sealing them in with a liquid plastic like “Flex Seal”. I’m hoping that will allow enough movement for it not to crack, but still keep the rocks held in place like a grout would.

I did toy around with the idea of “free floating” them (think like, rocks on the bottom of a fish tank), even considered using smaller rocks exactly like a tank, but I’m not entirely sure how that would go.

I haven’t “finalized” that concept yet though, still toying around with it.

I actually even bought a giant 16x16" shower head for a “rain shower” kind of effect, but I wasn’t able to fit it after I changed something in the ceiling. With the recirculating shower allowing me to take “endless showers”, I wanted more than just a way to clean off. I wanted to give it an almost “relaxing zen” kind of feel.

The whole design is meant to be used “Japanese sit down” style, I have a wood bench that will go in there.

Greetings!

@Hotpot

Helpful links are always welcome, it’s just the influencer/promoter type we frown upon. You’re always welcome to promote your own work though. We just try to keep the spammers out, that only come here to spread bad advice, and they’re only here to make a profit.

Cheers!


"The less you have that CAN go wrong, the less you have that WILL go wrong!" ~Murphy


2 Likes